Introduction

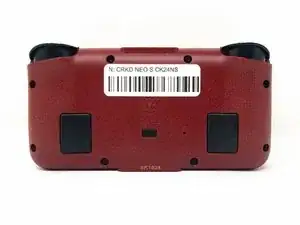
If the bumpers and/or springs on your CRKD NEO S CK24NS controller are unresponsive or not functioning properly, use this guide to replace them.

Over time, dirt or sediment can build up under the bumpers, causing them to become unresponsive. Use a cotton swab lightly dipped in isopropyl alcohol to clean around the edges and gaps of the bumpers. Let the alcohol evaporate naturally before testing the triggers again. If they still don’t function, follow this guide to disassemble your controller and replace the faulty bumpers and/or springs with new ones.

Ensure the controller is powered off and disconnected from any power source before beginning the repair.

  1. DvQJcu5MoyxPZfUA
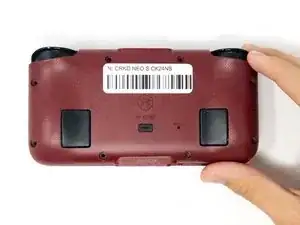
    • Turn the CRKD NEO S CK24NS upside down with the front-facing buttons facing downward.

  2. toErkIkqHcgwjlyU
    toErkIkqHcgwjlyU
    LEqyYfRlyREMjMUR
    OFDHbBcupPVn4bS5
    • Use a 1.5 mm Hex screwdriver to remove the eight 1.5 mm Hex screws from the back of the controller.

    • Carefully lift off the back panel and set it aside.

  3. xItUwUb6GcFX4xDD
    xItUwUb6GcFX4xDD
    2M2fmgh6ZS3EsIB4
    skCj1lxdwsJKByhZ
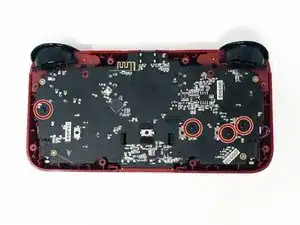
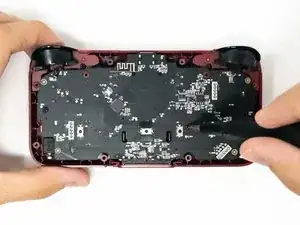
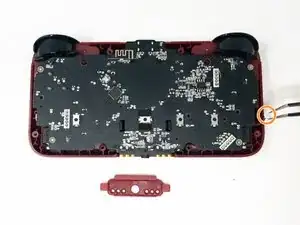
    • Remove the four 2.5 mm screws holding the motherboard in place using a Phillips #0 screwdriver.

    • Take out the white plastic pieces connected to the motherboard with tweezers.

    • Gently lift the motherboard and set it aside.

    • If the small red plastic piece next to the audio jack falls out, don’t worry. You can pop it back into place during reassembly.

  4. iwHRObnAdhPJdDs4
    iwHRObnAdhPJdDs4
    SiVo2sJIb6iUOvaX
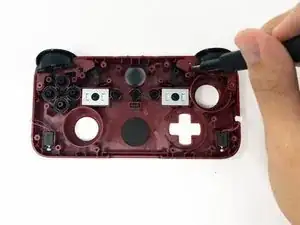
    • Remove the two 2.5 mm Phillips #0 screws and keep them for reassembly.

    • The screw for the the left trigger will be on the right.

    • The screw for the right trigger will be on the left.

  5. MsXpJDaCckVE4Xys
    MsXpJDaCckVE4Xys
    JtGj2jJHInfJNj2B
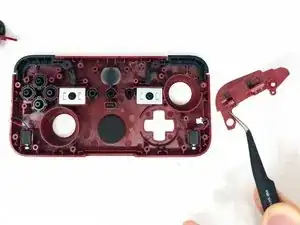
    • Using tweezers, carefully remove the ZL and/or ZR trigger pieces.

  6. 1SYYYE4yXFZQWU3c
    1SYYYE4yXFZQWU3c
    vW53HMIfUUa1hWjh
    AwjnYdLrKj3av5kQ
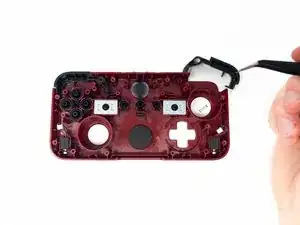
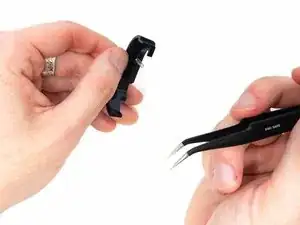
    • Pull out the bumper(s) with tweezers

    • Place the new spring inside.

    • When you pull the bumper out of the controller, the spring inside will release and pop out quickly. This is completely normal, so don’t be alarmed! To keep track of all parts, hold the bumper firmly and perform this step over a flat, open surface.

Conclusion

To reassemble your device, follow these instructions in reverse order.

Nick

Member since: 04/09/24

277 Reputation

0 comments