Introduction
Thrustmaster sells spare part through their online Eshop.
You can also contact Thrsutmaster technical support to get spare part if not available in your region.
Tools
-
-
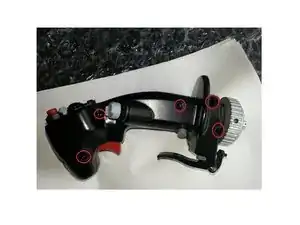
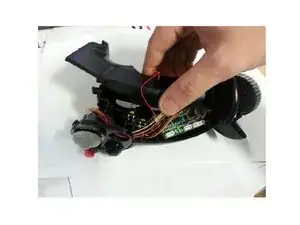
Unscrew the 5 screws shown in the first image
-
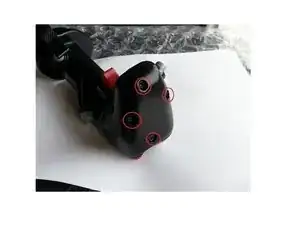
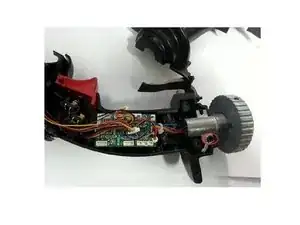
Unscrew the 4 screws shown in the second image
-
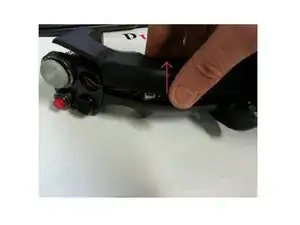
Turn the handle over and remove the black cover shown in the 3rd image.
-
-
-
Slowly pull the top half of the stick and rotate it. (Be careful not to damage the wires inside).
-
-
-
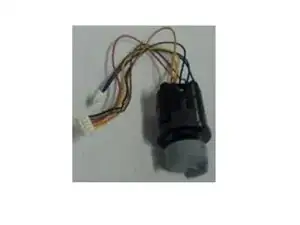
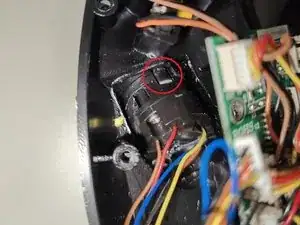
Disconnect the wires from CMS connector, they are highlighted in red.
-
Remove the screws so that you could detach the PCB.
-
-
-
Hold down the CMS clip which will allow you to remove the switch. If necessary, you can force it out or brake it.
-
Once the old CMS is removed, you can insert the new one
-


To reassemble your device, follow these instructions in reverse order. Be careful not to damage the wires when reattaching the two halves of the joystick handle.