Introduction

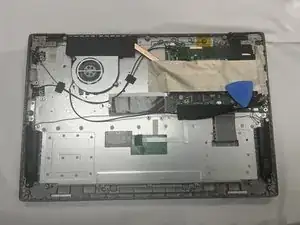
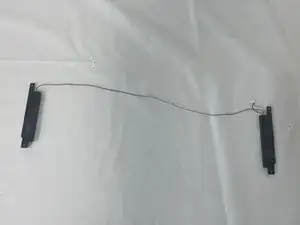
The CHUWI Gemibook XPro does not feature dynamic speakers as they may underperform if you are seeking audio quality in your business work. This easy-to-follow guide will help you for your speaker replacement or upgrade. This guide will require pointed tweezers and a Phillips 1 bit screwdriver.

  1. GKMO1YjdMihOZUsb
    GKMO1YjdMihOZUsb
    ZQhScebum3rSKqGW
    • Peel off the black tape on the upper-right side of the motherboard.

  2. hYniwSEcCNuSFEdy
    hYniwSEcCNuSFEdy
    MEXZ6mdideYU4CWU
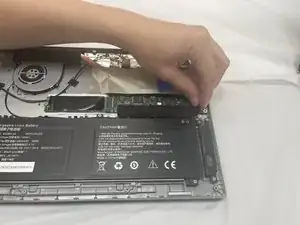
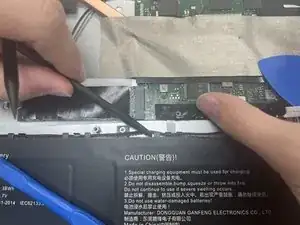
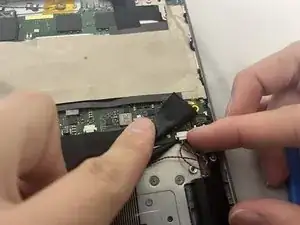
    • Use two opening tools or your fingernails to carefully "walk" the battery connector out of its socket.

  3. DbR2V2W1U2CKKqEU
    DbR2V2W1U2CKKqEU
    YPHwAUn4ZtvCjyMs
    aKySFkwiOCvwEifP
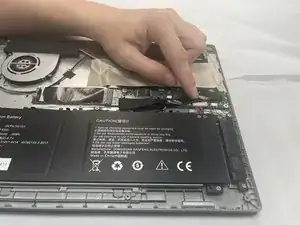
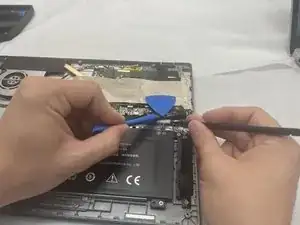
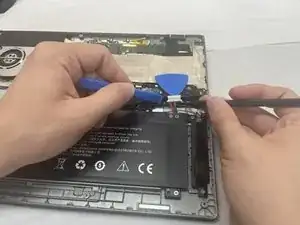
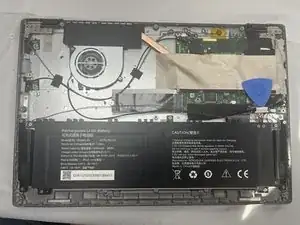
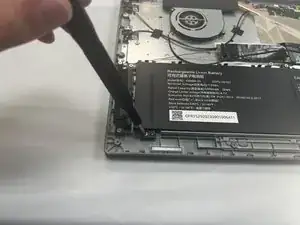
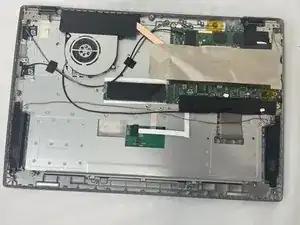
    • Unseat the speaker wires and antenna wire from their retaining hooks on the battery with a halberd spudger.

  4. cXY4JBnnnngnoYWD
    • Use a Phillips #1 screwdriver to remove the five 4.3 mm screws that secure the battery.

  5. h6TByXHAOyScrrcx
    h6TByXHAOyScrrcx
    Dv1QURHyiYV31yLo
    AQmNFngpOgLPMObQ
    • Lift the battery up and out of the chassis.

  6. PiPTJ52YVQEN1cLr
    PiPTJ52YVQEN1cLr
    rMaKGFmCUX4UtLmF
    • Use tweezers or your fingernails to gently disconnect the speaker connector.

  7. 62gry1WUpmKVHrcp
    62gry1WUpmKVHrcp
    MxNCNjoQ2ItLlvos
    DpvPSaGksLOPEWTs
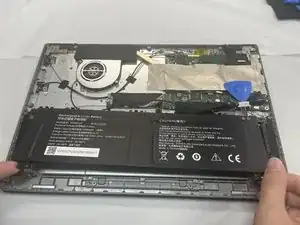
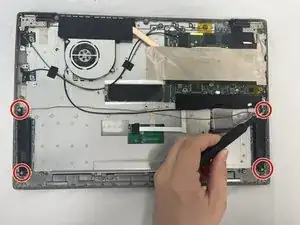
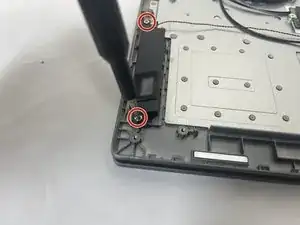
    • Use a Phillips #1 screwdriver to remove the four 4.2 mm screws that secure the speakers (two screws on each speaker).

  8. B3RQgD2xRVaJcedL
    B3RQgD2xRVaJcedL
    E1MeBBSxOXSJYCZq
    • Gently pick up and remove both speakers. Be careful not to strain the wire connecting them.

Conclusion

To reassemble your device, follow these instructions in reverse order.

JakeV

Member since: 28/08/24

407 Reputation

0 comments