Introduction
Whether you're a beginner or an experienced at sewing it's essential to know how to properly install a needle to ensure smooth and accurate stitching. Here's a step-by-step guide on how to fix a needle on a sewing machine.
Tools
-
-
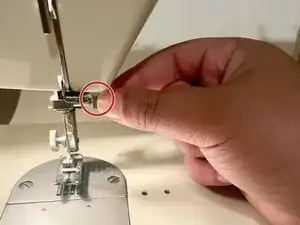
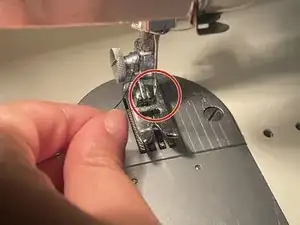
Locate the screw and turn the screw counterclockwise (left).
-
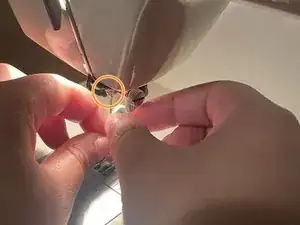
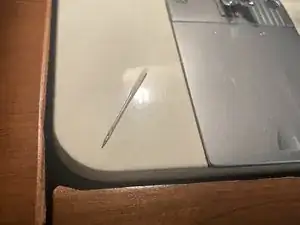
Loosen the screw gently and carefully remove the needle.
-
-
-
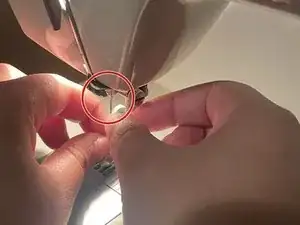
Take the new needle, place the needle carefully at the base of the opening.
-
Secure the new needle, locate the screw and turn it clockwise (right) until tightened.
-
-
-
Secure the needle once again. We will start to re-thread the sewing machine.
-
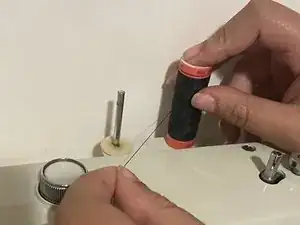
Place the thread on the lever with the loose piece of thread on the outside.
-
-
-
Take the loose piece of thread and place it through the hood that is present at the top of the sewing machine.
-
-
-
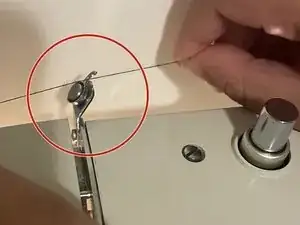
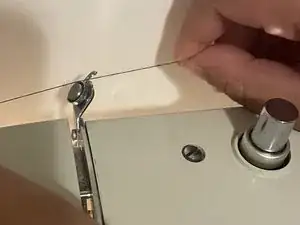
Pull the thread down towards you in the open on the front of your machine.
-
Hook the thread at the end of the opening.
-
-
-
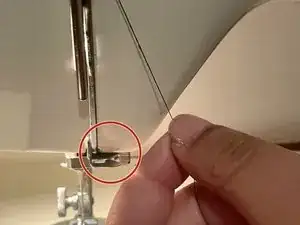
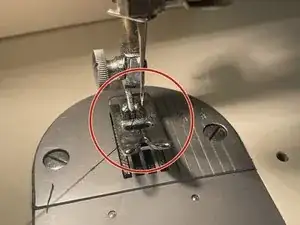
Make sure that the thread is through the needle. Pull the thread down underneath the presser foot.
-
You have now finished replacing the needle and rethreading the sewing machine.
-
In conclusion, fixing a needle on a sewing machine is a fundamental skill for any person using a sewing machine. By following a few simple steps, you can ensure that the needle is securely and correctly positioned, leading to smooth and accurate stitching.