Introduction

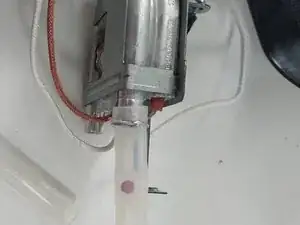
The water pipes may become clogged, dirtied, or damaged to the point where they have to be removed and cleaned, or replaced entirely. This guide will show the steps to the disassembly process.

  1. GB3erTBmGT4sPeWR
    GB3erTBmGT4sPeWR
    GbEuRpbJxaeOeRJA
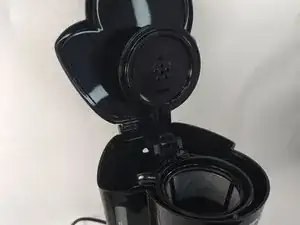
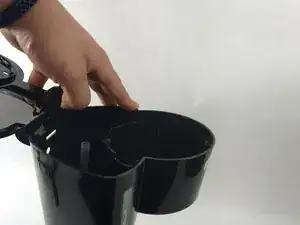
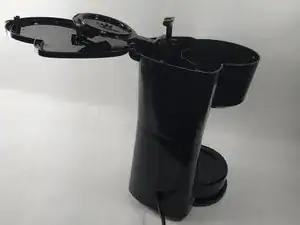
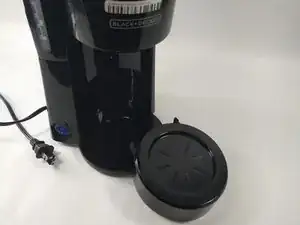
    • Open the lid of the coffee maker.

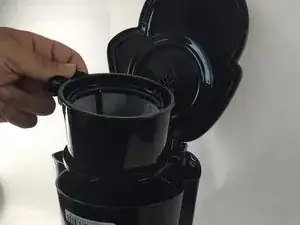
    • Remove the brew cup.

  2. ZcBv2uCGiBYWRJxl
    ZcBv2uCGiBYWRJxl
    FqZSWOGBq5n5uspu
    sscg6PVAvWWIS3Yx
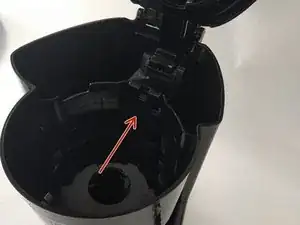
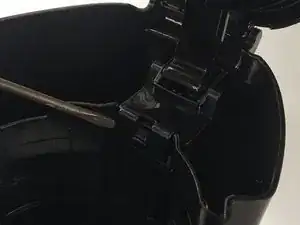
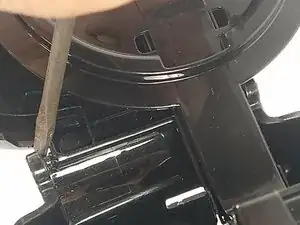
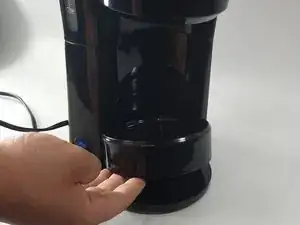
    • Place your finger, screwdriver, or spudger behind the corner of the tab.

    • Pull up on the tab until it disconnects from the coffee maker.

  3. EVtWILJ1BTGnfP3u
    EVtWILJ1BTGnfP3u
    66LNYptDXCvs4AXR
    LuKUgIF3ESxBnL2C
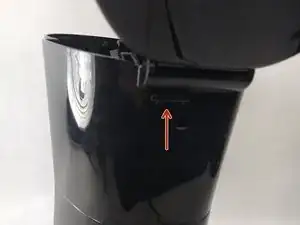
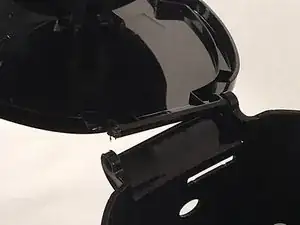
    • Hold the tab while pushing back on the lid.

    • The lid should open fully with the top of the lid facing down.

  4. JPXQDIWO1SGmg4yS
    JPXQDIWO1SGmg4yS
    3LQovJhmwUd1cFs2
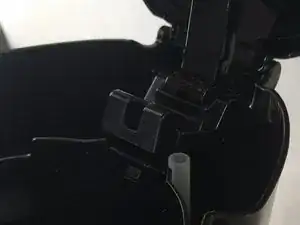
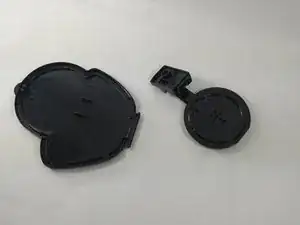
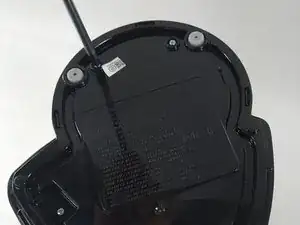
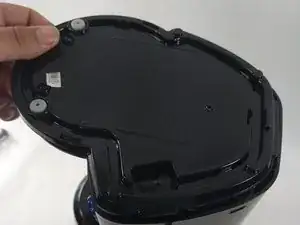
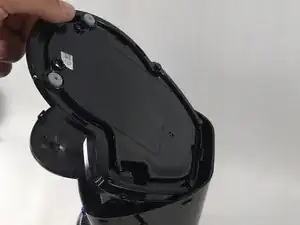
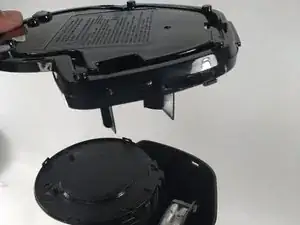
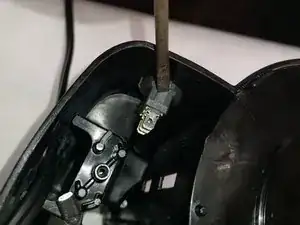
    • Insert the flathead screwdriver or spudger into one of the inserts holding the lid.

    • Pry facing away from the lid to force the peg out.

    • You should hear a pop when it disconnects.

    • Hold the lid and pull it away from the other insert.

  5. D6ATgY61BuDJaFjr
    • To also remove the shower head, use the Shower Head guide.

  6. 3VMAUMLQHGXwRSpu
    3VMAUMLQHGXwRSpu
    3SCNRC12b2bbv1RE
    • Remove the carafe holder from the bottom of the coffee machine.

  7. vyTsoRmYFcvr42Fi
    vyTsoRmYFcvr42Fi
    UZZHV4LYdmrXGIWA
    BJcdfjZtEgBLEiFl
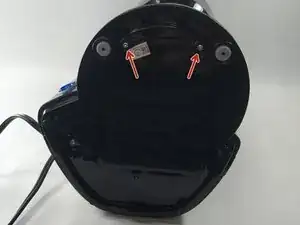
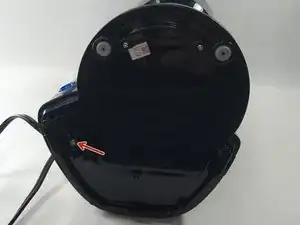
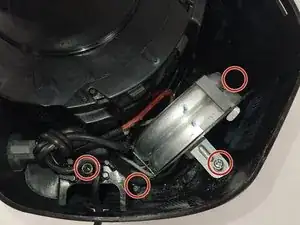
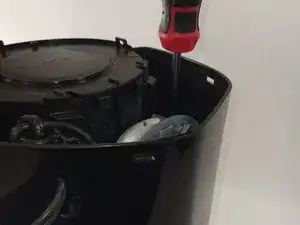
    • Place coffee maker on its side, with the bottom facing you.

    • Remove two 10mm Phillips #1 screws and one 10mm Tri-Point Y1 screws with their designated tips.

  8. ejofCLqts1YCEBQp
    ejofCLqts1YCEBQp
    L3UNDUu1NWOdvqHM
    1eIaSOoxyxFGqYRH
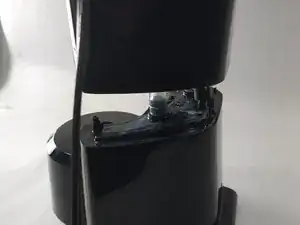
    • Slowly pry bottom lid from the front.

    • You should hear a pop.

    • Pull up and remove the bottom lid and set aside.

  9. OVHALDVMXkZOKqca
    • Follow Step #4 of the Power Button guide, but leave the button in the machine.

  10. 1BKF2wylIX5vojer
    1BKF2wylIX5vojer
    qQdTSqtuBkavALvy
    V4wndRoJcASNQnxb
    • Remove the four 10mm Phillips #1 screws.

    • Slowly pull the water tank up to expose the water pipes.

  11. B3vSDRKS4sWXZKNo
    B3vSDRKS4sWXZKNo
    HDAjHb2nWOH2C2hM
    LBmbrwpYpnno1xER
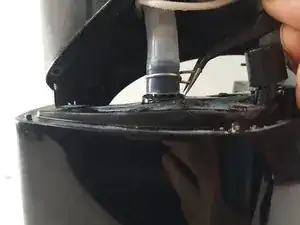
    • Squeeze on the prongs with tweezers and hold.

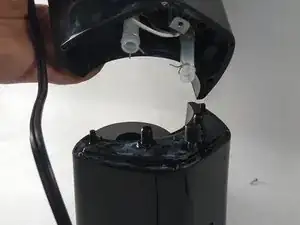
    • Pull the water tank while squeezing the tighteners to loosen the water pipes off of the water tank.

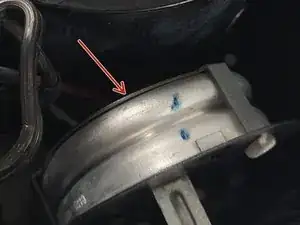
    • The heating element should now be loose. Remove the heating element from the machine.

  12. REws3EaOXntf2DfA
    REws3EaOXntf2DfA
    12M2sGLUxGyuFXwH
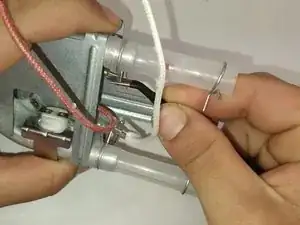
    • Squeeze and hold with tweezers again.

    • Pull the water tubes off the heating element while squeezing with tweezers.

Conclusion

To reassemble your device, follow these instructions in reverse order.

Shawn Robichaud

Member since: 26/10/22

729 Reputation

One comment

Thanks! Just cleaning out the shower head helped it with the pluged tube. (That and vinegar+ and a splash of a strong liquid cleaner... ) cough — For some reason I decided (stupidity) to pour brewed coffee back into the tank and it had grounds on the bottom. Talk about a blondie moment! 😅 I'm just glad it's working, am never doing that again!

Jess -