Introduction

This guide shows how to disconnect the battery in the Microsoft Surface Laptop 7 (13.8‑inch).

  1. pLaoFHetRFEVh2sU
    pLaoFHetRFEVh2sU
    DgSxy3daBSoXIZNA
    L2adWoXTRTli32DM
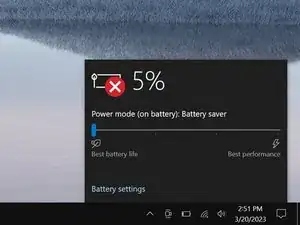
    • Before starting this repair, allow your laptop's battery to drain below 25%. A charged battery may catch fire if damaged.

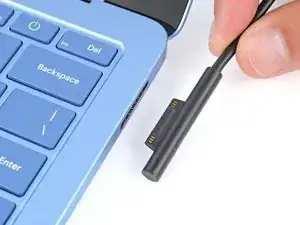
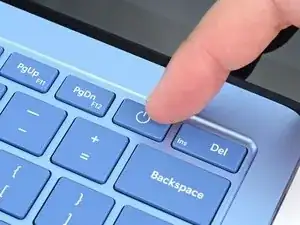
    • Unplug all cables and fully shut down your laptop.

  2. 1OLhjNJLTLJMcARr
    1OLhjNJLTLJMcARr
    hlS6l4Hts6TMZLW6
    jRZjDS4oJSaQwrwL
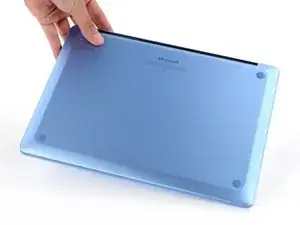
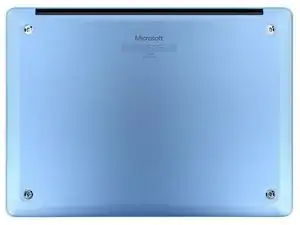
    • Close your laptop and lay it down so the rubber feet are facing up.

  3. s3FLbRNojPmjUY2b
    s3FLbRNojPmjUY2b
    NWxYixQhNN4mWDcV
    YJsxktBQKPUGk1Dt
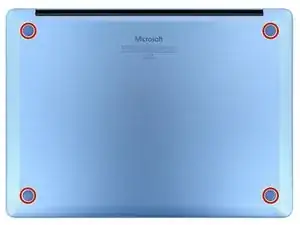
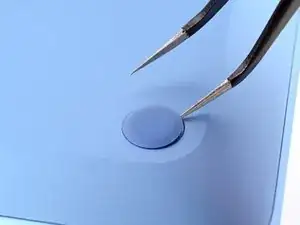
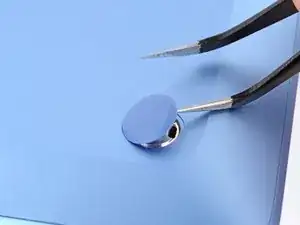
    • Gently slide one arm of your angled tweezers into the recess near the upper right edge of one of the feet.

    • You can also use the point of a spudger. However, you're more likely to damage the foot, if you're reusing it.

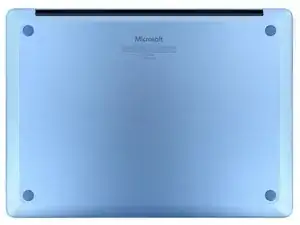
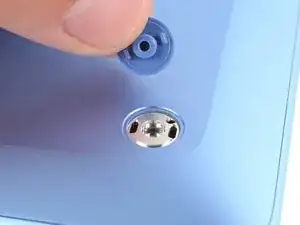
    • Use your tweezers to pry up and remove the foot.

    • The feet may eject very quickly—be careful not to lose them.

    • Repeat the process to remove the remaining feet.

    • To install a foot, align the pegs on the bottom with their cutouts in the frame and press the foot into place.

  4. 4FRVeiqJuxvBwVUm
    4FRVeiqJuxvBwVUm
    KjXi2r4q3vI1hdQ5
    • Throughout this repair, keep track of each screw and make sure it goes back exactly where it came from.

    • While the Surface Laptop 7 uses Torx Plus screws, standard Torx bits work. Make sure to apply constant, downward force to prevent stripping.

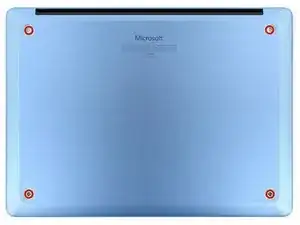
    • Use a Torx Plus 5IP screwdriver to remove the four 4.5 mm‑long screws (with washers) securing the lower case.

  5. XQ4GNyTIlnlOSHPB
    XQ4GNyTIlnlOSHPB
    ExteNkfEv6lAfa2d
    AbvbbSICZkhxIc2E
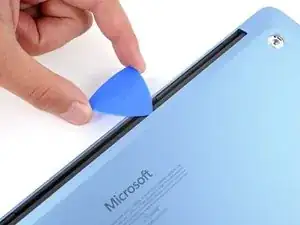
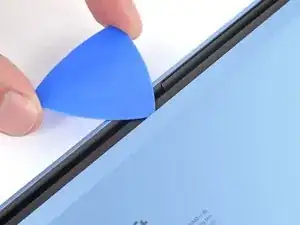
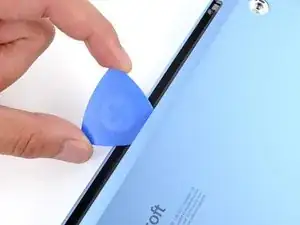
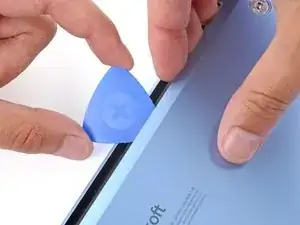
    • Insert the tip of an opening pick under the top edge of the lower case, about an inch (2.5 cm) to the left or right of the Microsoft logo.

    • Don't insert the pick near the outer edges or you'll damage the antenna bar.

  6. mSPYSPoSwErGrPXn
    mSPYSPoSwErGrPXn
    WbchX4FijRPxW1WQ
    Ir1axlIHCHJR616s
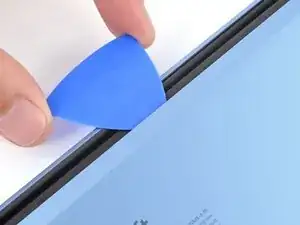
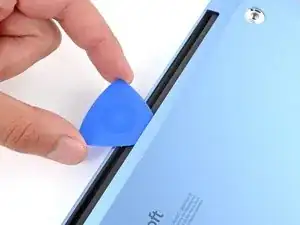
    • Twist the pick to lift the lower case enough that you can grip it with your hand.

  7. KopKb1IkGwVL5JoJ
    KopKb1IkGwVL5JoJ
    Lf4lfn4HIoWSJkpR
    WLZRNwAGjgpftyVG
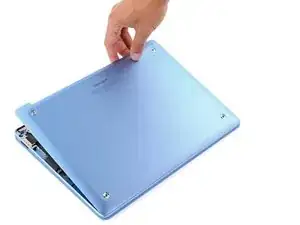
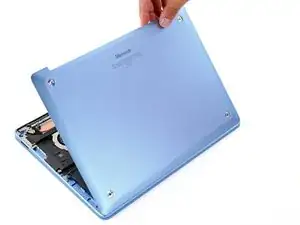
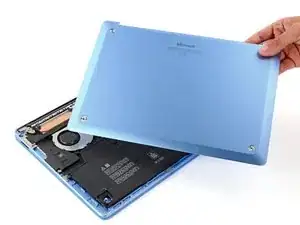
    • Lift the lower case and remove it.

  8. OjCKNNVR2xXenJSl
    OjCKNNVR2xXenJSl
    jWiZnTFmd5U5JJmr
    mVNDMTVF3IdyyGmt
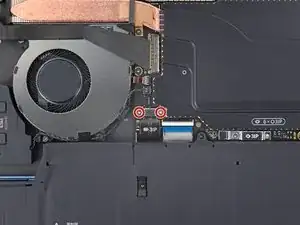
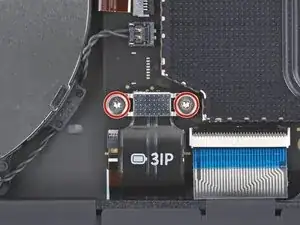
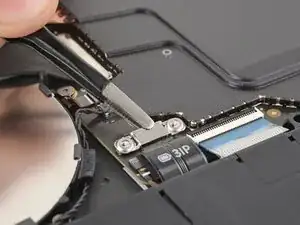
    • Use a Torx Plus 3IP screwdriver to remove the two 2.3 mm‑long screws securing the battery connector cover.

  9. BLF3YGwZV1bMPsMw
    BLF3YGwZV1bMPsMw
    T64XNCKZAPFo2L5K
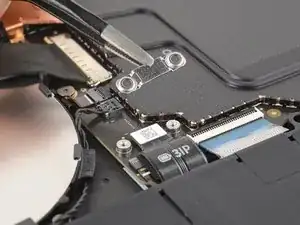
    • Use tweezers or your fingers to remove the battery connector cover.

  10. pJkcq32giDBXdOky
    pJkcq32giDBXdOky
    PaVbSWLlu6dokZaS
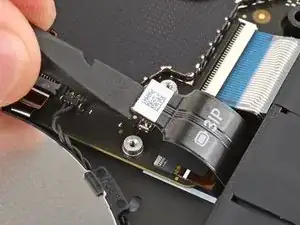
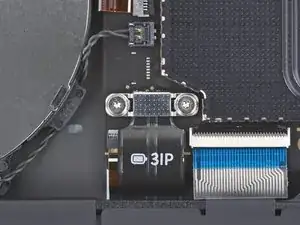
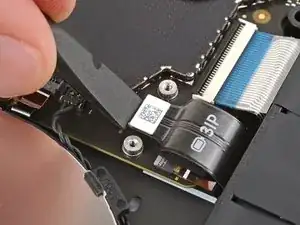
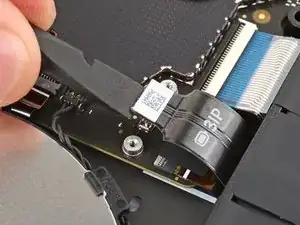
    • Insert the flat end of a spudger under the top edge of the battery press connector and pry up to disconnect it.

    • To reconnect a press connector, align it over the socket and gently press down on one side until it clicks into place, then press down on the other side. It may take a few tries to align the connector—don't try to force it into place.

Spencer Day

Member since: 14/09/22

88286 Reputation

0 comments