Introduction
Overview
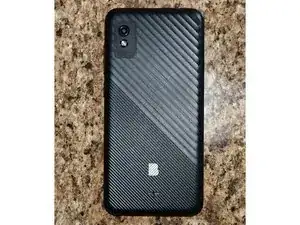
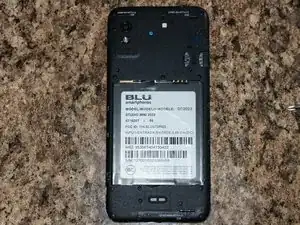
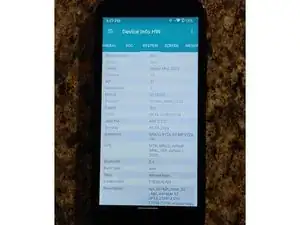
The BLU Studio Mini 2023 (model ST1020T) is a very budget device distributed by Assurance Wireless, through the Lifeline Assistance program.
The device has the following core specs:
- Mediatek Helio A22 CPU
- PowerVR GE6300 GPU
- 2 GB LPDDR3 RAM
- 32 GB eMMC
- 960x480 60 Hz TN display
- Wi-Fi 4 (802.11n 5 GHz) and Bluetooth 5.0
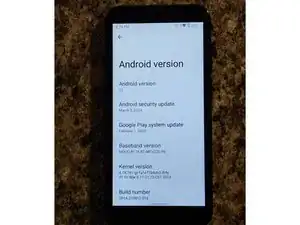
The specs are nothing to write home about, but it does deliver Android 12 Go Edition with up-to-date security patches (it has March's Android security update at the time of writing) and no bloatware to speak of, only including core Android apps and a fairly complete suite of Google apps (Play Store, Photos, Files, Messages, News, etc.)
-
-
All screws used in the BLU Studio Mini 2023 have a PH0 head
-
Screw length and thread seems to be the same for all exterior screws (Black color)
-
-
-
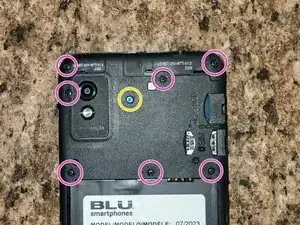
Remove the 8 total screws securing the top plastics
-
There are 7 screws, marked in pink
-
A single screw is hidden by a blue sticker, marked in yellow. It's the same type as the ones that were marked in pink
-
Gently pry off the top plastic, it has no adhesive and should pop off with minimal force
-
-
-
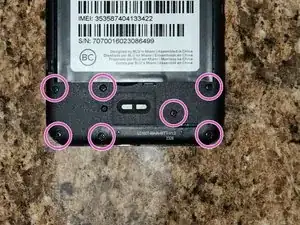
Remove the screws securing the bottom plastics
-
There are 7 screws total, marked in pink
-
Gently pry off the bottom plastic, it has no adhesive and should pop off with minimal force
-
-
-
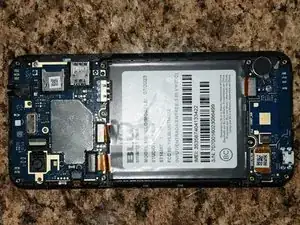
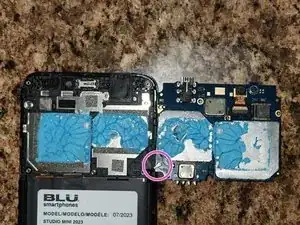
The phone has two boards inside
-
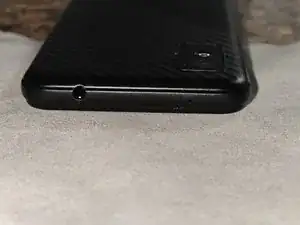
The top board contains the phone's components, cameras, 3.5mm headphone combo jack, SIM card slot, MicroSD card slot and battery connector. It also connects to the button flex cable, display flex cable and board interconnect flex cable.
-
The bottom board contains the phone's MicroUSB 2.0 port and vibrator. It also connects to the board interconnect flex cable, the display digitizer flex cable and the internal speaker.
-
-
-
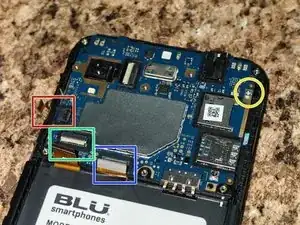
Disconnect the flex cables on the board
-
Disconnect the button flex cable, it's a ZIF connector
-
Disconnect the display flex cable, it's a ZIF connector
-
Disconnect the board interconnect flex cable, it's a press connector
-
Unscrew the single silver screw holding in the motherboard and store it separately from the black exterior screws
-
Gently pry at the motherboard while minding the clip at the top of the board
-
-
-
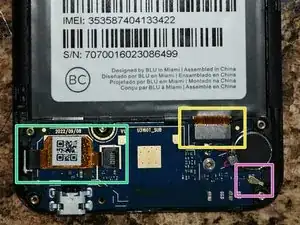
Disconnect the flex cables on the board
-
Disconnect the board interconnect flex cable, it's a press connector
-
Disconnect the digitizer flex cable, it's a ZIF connector
-
-
-
That covers the scope of this teardown
-
From this point, the phone can actually be reassembled by following the instructions in reverse order and it should be fully functional as well
-