Introduction

Replacing the SSD of an Asus G16 (GU603VV) Laptop. SSDs can be exposed to excessive heat and become corrupted when laptop vents are obstructed, or the device is stored improperly.

  1. Om1a5DUBLOKxbbrI
    • This step can be used as reference for screw locations that secure the bottom panel:

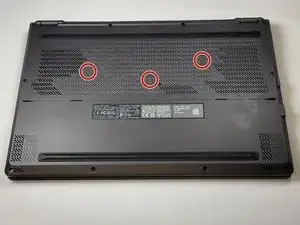
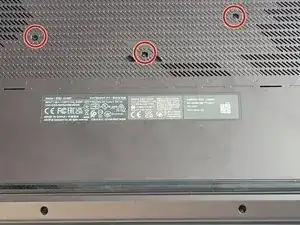
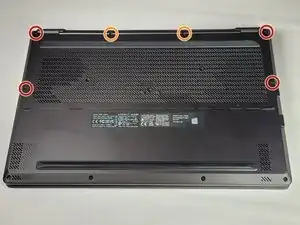
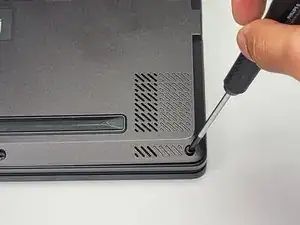
    • Three M2 8 mm screws

    • Two M2 11.5 mm screws

    • Four M2 11 mm screws

    • Three M2 5.5 mm screws

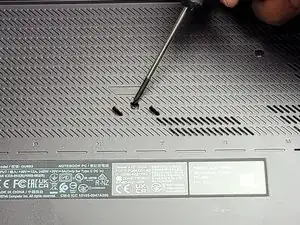
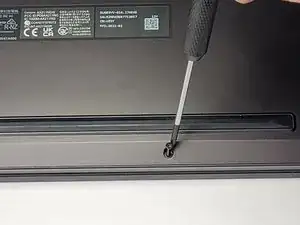
    • One M2 8 mm captive screw

  2. aPlLBtTdWkIXEJU3
    aPlLBtTdWkIXEJU3
    MscfSBHpVWn3CbcF
    LcnP1onPAPt1FgcZ
    • Remove the three rubber covers for the middle screws.

    • These rubber covers have a tendency to fly off when being removed.

  3. DVPylF63wfKJXTV5
    DVPylF63wfKJXTV5
    dPIcRedwRWiwgAjn
    4xBoHnrRLJtaDejW
    • Remove the three 8 mm Phillips screws.

  4. i2LP1KXqvR6gawNV
    i2LP1KXqvR6gawNV
    oiOUEInDlCYPXXBB
    QAFRewbnljCX5YCK
    • Remove the four 11 mm Phillips screws.

    • Remove the center two 11.5 mm Phillips screws.

  5. QZVtTXXnOJkxoJua
    QZVtTXXnOJkxoJua
    BiyQhKGMAfYVSbQa
    d1GdtpHmMItlkQOf
    • Remove the bottom three 5.5 mm Phillips screws.

    • The bottom right screw is not removed during this step.

  6. wEBPmD2G5IZ4r11R
    wEBPmD2G5IZ4r11R
    CNValYCDiqk53rIc
    TEIg3yjTOM46crkR
    • Loosen the 8 mm Phillips captive screw in the bottom right corner.

    • The screw will not be removed entirely; it is a captive screw.

  7. 4OtOGoigalRiKtlT
    4OtOGoigalRiKtlT
    CbTgTNhdAltYoXvK
    JDyUvxbRcFHI1mgC
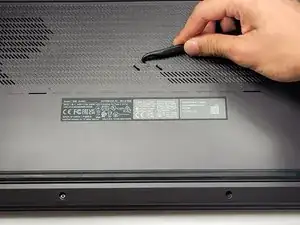
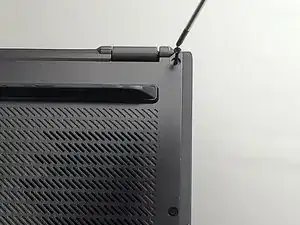
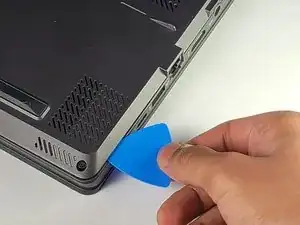
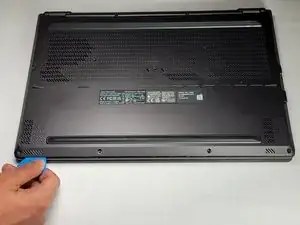
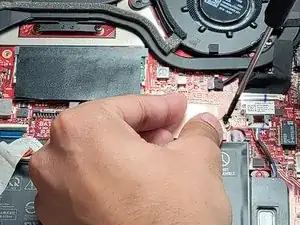
    • Shimmy your pick into the seam opened up by loosening the retaining screw.

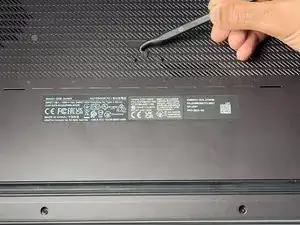
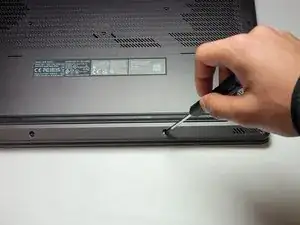
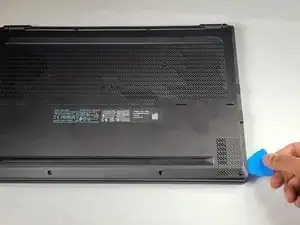
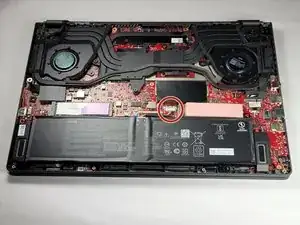
    • Gently move your pick clockwise around the edge of the device in the seam between the cover and the laptop to loosen the cover plate.

  8. 6CDLwc3Ti2TaxLAQ
    6CDLwc3Ti2TaxLAQ
    JwwGIlHSV2TdwFQS
    DUKJ2SXGQnH2G3lE
    • Gently remove the lower case.

  9. KjNINjcUDK1F6Kko
    KjNINjcUDK1F6Kko
    ZAFLIDEVfOvMjo3q
    jhj6avekUCvWtZdM
    • Slide the battery connector latch upwards to free the battery cable for removal.

  10. WBQpOiPTMiliIgSt
    WBQpOiPTMiliIgSt
    uOGdYagVhLHn2cAi
    • Remove the battery connector by lifting it up and away from the board.

  11. EsF1ETkjlPZ1PWHQ
    EsF1ETkjlPZ1PWHQ
    uZYsUWuvqCooWq2m
    EGsIdO3ylLrHvDTJ
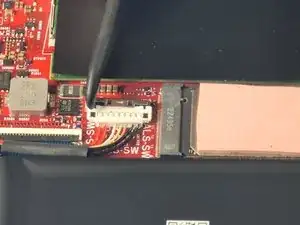
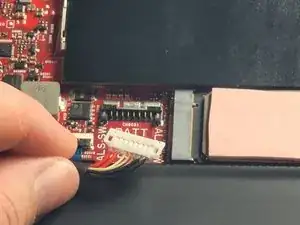
    • Lift the right edge of the protective thermal pad on top of the old SSD and remove the screw underneath.

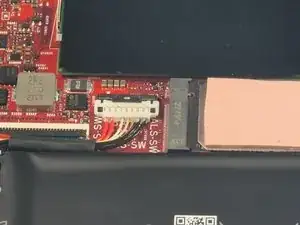
    • Disconnect the SSD by gently pushing it to the right.

    • Remove the SSD.

  12. S2GUamitSHJb3gjl
    S2GUamitSHJb3gjl
    E2iygk3EKbIeYVSu
    • Insert the replacement SSD and screw it into place.

Conclusion

To reassemble your device, follow these instructions in reverse order. Take your e-waste to an R2 or e-Stewards certified recycler.

Anusheel

Member since: 22/01/24

217 Reputation

0 comments