
Introduction
This guide will show you how to replace a daughterboard of an ASUS Q525U PC laptop computer. The daughterboard helps expand the functionality of the motherboard so if your laptop is not functioning correctly due to network issues or lagging, you may need to replace your daughterboard.
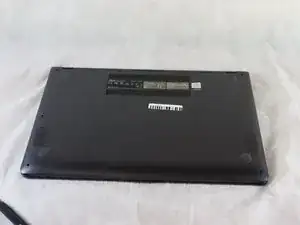
Before you begin the repair on your Asus Q525U (model BI7T9) CMOS battery, make sure the laptop is turned off and disconnected from the charger. Wear cut-resistant ESD gloves or ground yourself to avoid damaging the internal components.
-
-
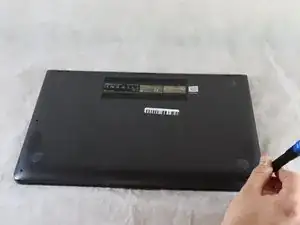
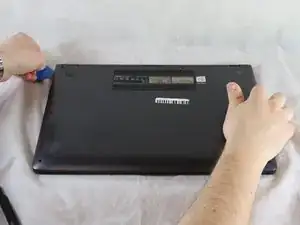
Carefully remove the two longer 9.5 mm screws on the corners with a Phillips #1 screwdriver.
-
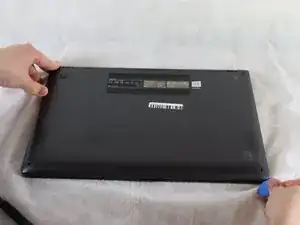
Remove the eight 7.5 mm Phillips #1 screws on the back of the device.
-
-
-
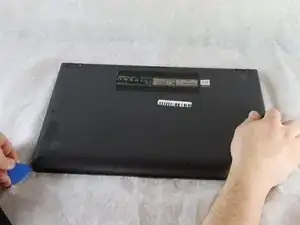
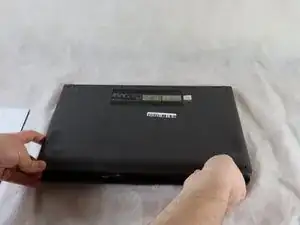
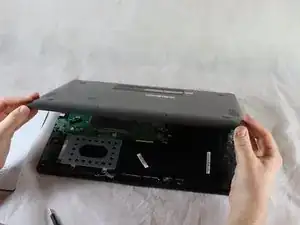
Once the cover has been separated from the device, carefully lift the back cover off the device (begin by lifting from the front of the cover first).
-
-
-
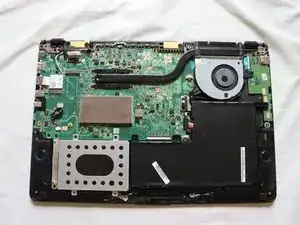
Use a Phillips #1 screwdriver remove the two 5.7 mm screws.
-
Remove the two PH1 4.6 mm screws.
-
-
-
Use a Phillips #1 screwdriver to remove the single 3.4 mm.
-
Remove the single 5.7 mm PH1 screw.
-
-
-
Use a spudger or a clean fingernail to flip up the locking flap on the daughterboard ZIF connector—this is the unlocked position.
-
Once the flap is in the unlocked position, use tweezers or your fingers to gently pull the cable out of its socket by the blue tab.
-
Remove the daughterboard from the laptop.
-


To reassemble your device, follow these instructions in reverse order.
