Introduction
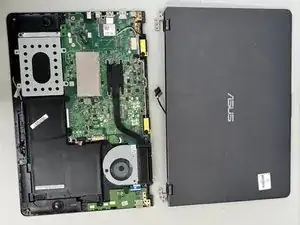
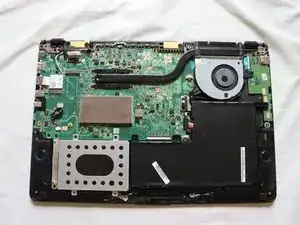
The display assembly of an ASUS Q525U (Model BI7T9) is attached to the lower half of the laptop using a collection of screws, and it receives data via two cables connected on both sides of the laptop itself in order to display pictures. A damaged display assembly may have the screen appear black or display a damaged picture, such as long white or rainbow lines. This guide will show you how to replace the display assembly.
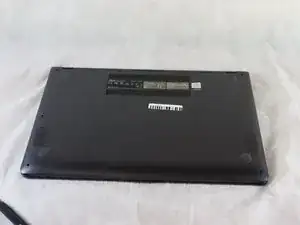
Before you begin the repair on your Asus Q525U (model BI7T9) CMOS battery, make sure the laptop is turned off and disconnected from the charger. Wear cut-resistant ESD gloves or ground yourself to avoid damaging the internal components.
-
-
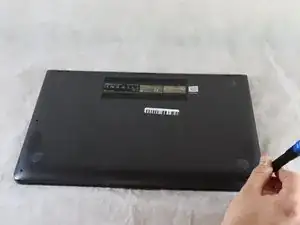
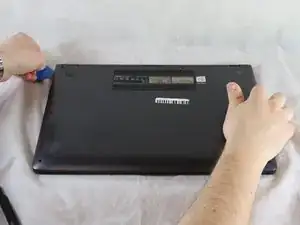
Carefully remove the two longer 9.5 mm screws on the corners with a Phillips #1 screwdriver.
-
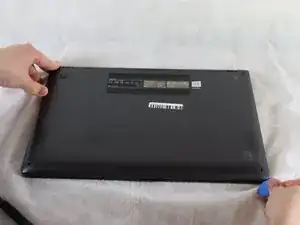
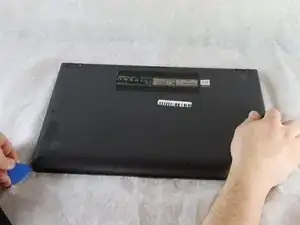
Remove the eight 7.5 mm Phillips #1 screws on the back of the device.
-
-
-
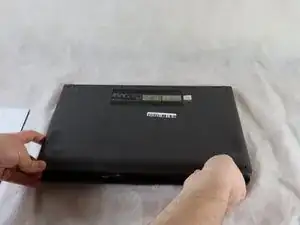
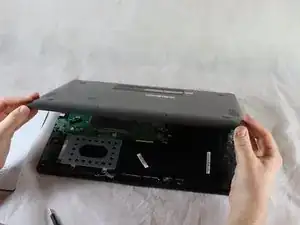
Once the cover has been separated from the device, carefully lift the back cover off the device (begin by lifting from the front of the cover first).
-
-
-
Use a Phillips #1 screwdriver to remove the two 5.7 mm screws securing the hinge.
-
Remove the two 4.6 mm screws using a Phillips #1 screwdriver.
-
-
-
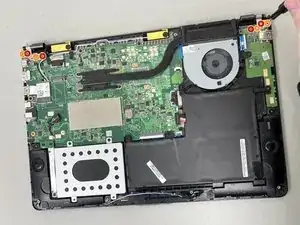
Use a Phillips #1 screwdriver to remove the 5.7 mm screw securing near the corner of the battery and fan.
-
-
-
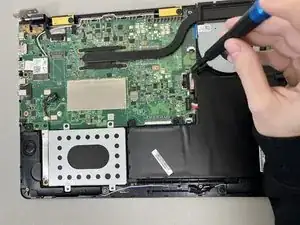
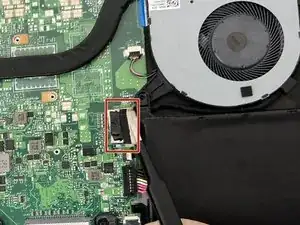
Gently push the tip of a spudger under the metal buckle to unclip the display connector lock, then swing it over the socket.
-
Next, hold the buckle and cable together and gently pull the connector straight out of its socket.
-
Grip the cable and buckle together and insert the connector fully into its socket.
-
Flip the buckle over the socket and use a spudger to press the buckle down until it clicks into place.
-


To reassemble your device, follow these instructions in reverse order. Take your e-waste to an R2 or e-Stewards certified recycler.
