Introduction

  1. uowbCUcFloFPq2BP
    uowbCUcFloFPq2BP
    PFHtFuslUPHdhihm
    XLuxOIWCmvCYZFCZ
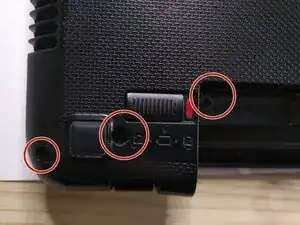
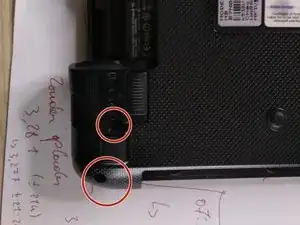
    • remove battery by sliding the two release buttons to the right position.

    • slide the battery away from the laptop

  2. 2aANHhtuRwBZyEKR
    2aANHhtuRwBZyEKR
    LQ6DWvqvSJDZXIXI
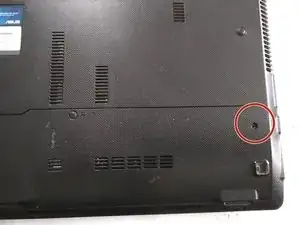
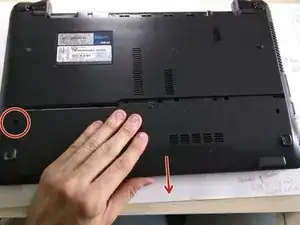
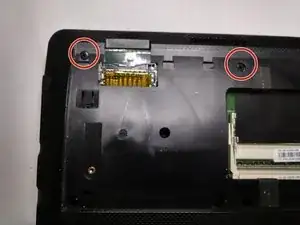
    • remove the 2 screws holding the plastic plate , underneath is the RAM/ WiFi and HDD

    • the 2 screws are marked in red. afterwarts slide it away from the laptop

    • keep track of all the screws and parts. make a map or a plan.

  3. N1IEc5vGCjBbMuQc
    N1IEc5vGCjBbMuQc
    ihKffWDnikdI23af
    U1t1HvJtcwxERpmB
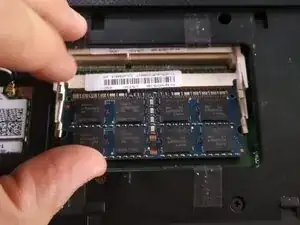
    • click the ram module out of there sockets.

    • push the metal clips away from the module.

  4. qEvG1IWBoLXyspXP
    qEvG1IWBoLXyspXP
    ZXMVHVWNuiwKBX5t
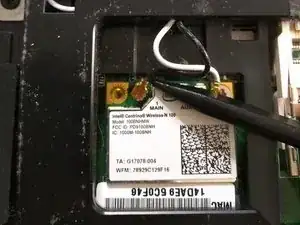
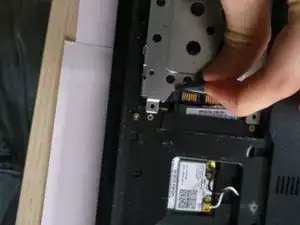
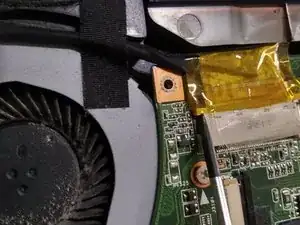
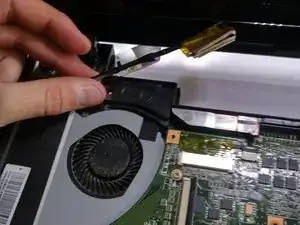
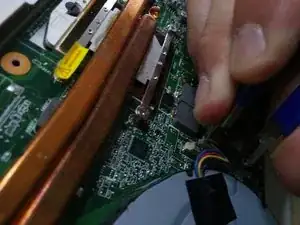
    • remove the black and white wire.

    • remove the screw.

  5. M2BvbLXCrSDgmCSn
    M2BvbLXCrSDgmCSn
    AG4OeomIJbvUWful
    bXZQoRuGNY4pV2Y3
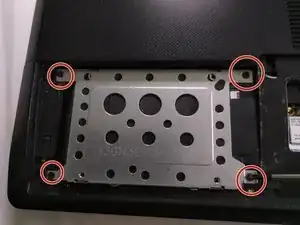
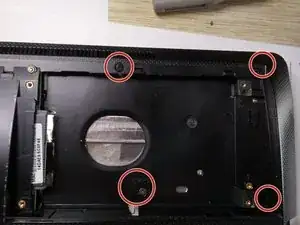
    • remove the 4 screws holding the metal frame , holding the hdd to it's place.

    • slide the frame and hard disk away from the case.

  6. JgHhXP3qsY6ROCZs
    JgHhXP3qsY6ROCZs
    JhHXZkM1UZgXE53T
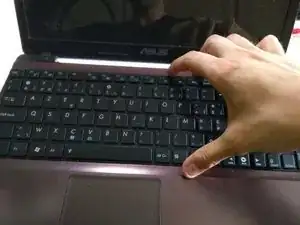
    • click the keyboard loose . There are 5 clips to remove

  7. YYRGSgD6mStivOd5
    YYRGSgD6mStivOd5
    QUbNwHW1ykahEOLD
    MO3LIiWfB55dUPA4
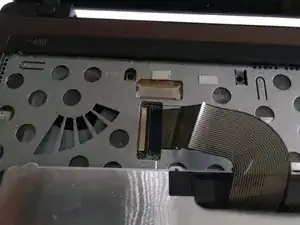
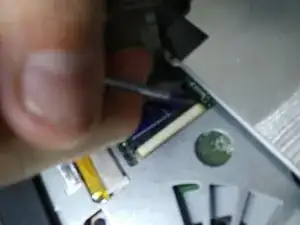
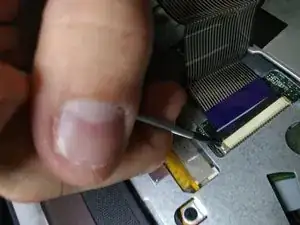
    • be carefull with the flat cable from the keyboard.

    • use a spudger to click the connector lid loose.

    • i used the tip of a screwdriver.. but i know what i am doing.. if you are use to work on laptops you can use a screwdriver, if not use a plastic spudger.

  8. FnoTfXiIc1clybTE
    FnoTfXiIc1clybTE
    VFNN1pCJXKvBAoJA
    JlhNXwC5ZYIVYqHB
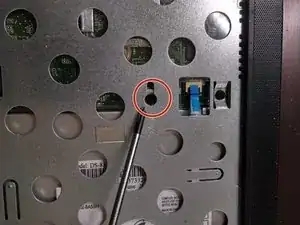
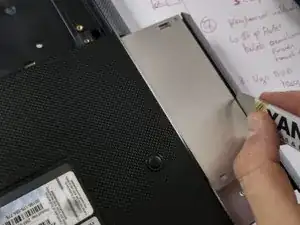
    • remove the screw hidden under the keyboard.

    • slide the dvd bay out.

  9. D4EP5NssIWUgWd6V
    D4EP5NssIWUgWd6V
    3qjV3tNMZxOFThMv
    26BwJ1J2XnZKLkJ3
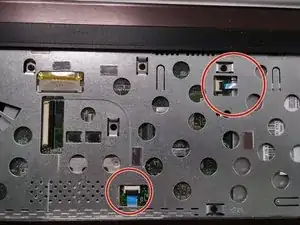
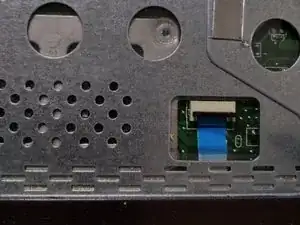
    • remove the flat thin cables from there sockets.

    • use a spudger , click the lid upwards and slide the flat cable out.

  10. GqhWxpZ6AWqu6otT
    GqhWxpZ6AWqu6otT
    l1t1YKlxLnafI6yN
    36gTrXiMxKBZLUIl
    • remove the 6 screws ( m2x6) holding the metal plate to the case.

  11. UFsT3LsfJGl4BuyZ
    UFsT3LsfJGl4BuyZ
    FBSBAqU2VcUew4vm
    MdfIM4xrkcPBDSaL
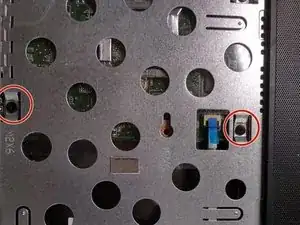
    • remove screws as shown in pictures.

    7 screw to remove in last picture

    smiled s -

  12. 5feDoLcHLx2vLvSl
    5feDoLcHLx2vLvSl
    BB3HTXWJQrtqhXmt
    AXDR43OLiXUI5HOn
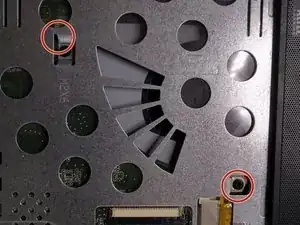
    • remove screws as shown in pictures

    you unscrew the same screw at step 11 last picture. but you forget to unscrew the screw near wifi modul

    smiled s -

  13. bsoaqKpcOIwhdUP6
    bsoaqKpcOIwhdUP6
    UTM6LmI4JC4sMLDR
    FciSwPWMr5Hu1Qh2
    • slide an isesamo opening tool between the two plates. you will here clicks

  14. niYVBRJ6HQ1VxmQk
    niYVBRJ6HQ1VxmQk
    RKiid6aicPDiAEJn
    XQm51u5gXPSLJLVS
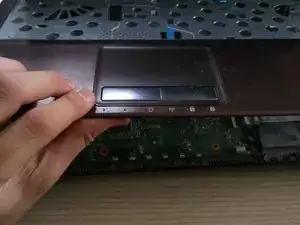
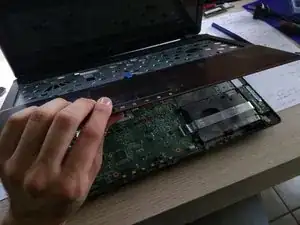
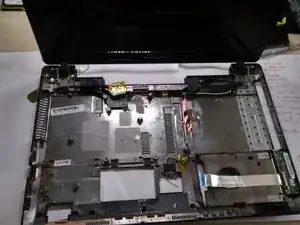
    • remove upper plate , revealing the main PCB.

  15. GLQx5OKYRmvbIZ1b
    GLQx5OKYRmvbIZ1b
    U41vIKdQ2gU2RdFX
    CQPBy4h5Yjxv3M3H
    • remove the flat cable of the USB module , use a spudger to lift up the lid of the connector.

    • gently slide out the flat cable

    • when removing the cable, be carefull they used a lot of adhessive to paste the cable to the plastic case.

  16. ax5Q22OCYSyprHve
    ax5Q22OCYSyprHve
    SWIygrxqcaqG5KWl
    BIWE2eTFwjFMFMvD
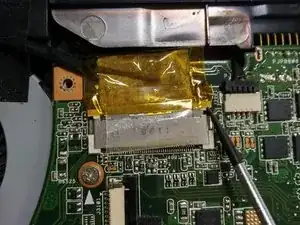
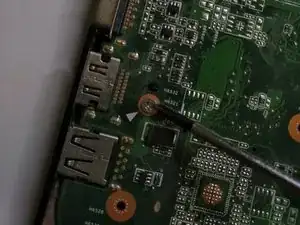
    • use the tip of a spudger or a tiny flathead screwdriver to push out the LCD cable from connector.

    • be very very very carefull , if you tear tis cable or damage it , you will have to buy a new one.

    • first lift the cable metal connector upwards ( push it out) , very gently, then the other side untill you can remove the cable.

  17. 6l6i61YegJAL5vkH
    6l6i61YegJAL5vkH
    VYHTORcJnZBbOD1Y
    • use IC extractor pliers to remove the cable away from is socket.

  18. MU1RfCW43g2ICDqi
    MU1RfCW43g2ICDqi
    PvoWCBtiTQVhlITp
    uhjLAaKBLef5SLPt
    • remove the 4 screws holding the main pcb ..

  19. CPLndg2n6cFxIPnp
    • remove screw holding the fan tot the laptop.

  20. RnYgEQUVRpKqT5OK
    RnYgEQUVRpKqT5OK
    ZOHJ4GMNRlUvuApk
    aDyJZNleDpbMTl4P
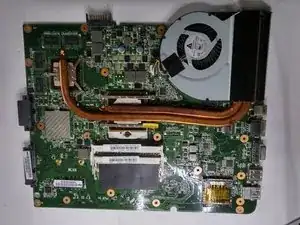
    • lift the main board or motherboard up on the right side and slide it out.

  21. EEOO6ENZgadXdRIj
    EEOO6ENZgadXdRIj
    2nZd2CvXsMBOWs1N
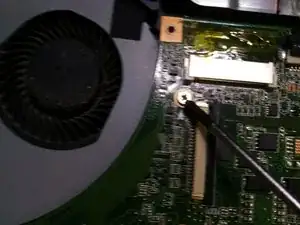
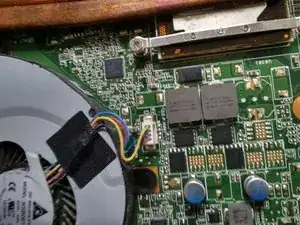
    • release the fan from the main board by removing the connector with an IC extractor pliers.

  22. x1oZSttKQ6oFTMri
    x1oZSttKQ6oFTMri
    fCY6TxNpOoHUGYrf
    MGavyQreWmPEYBIM
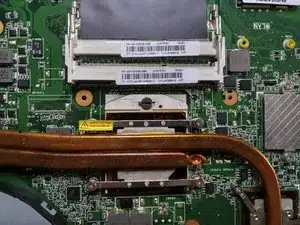
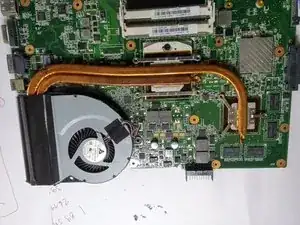
    • loosen up the screws from the cooling pads on the CPU and GPU.

    • You will have to tear the warranty sticker. it is a sticker in 3 parts.

  23. yyVkjI4IlxmDlXBI
    yyVkjI4IlxmDlXBI
    rhDUW11TVMTksWpa
    B6UdTVa4BwvZ4VfN
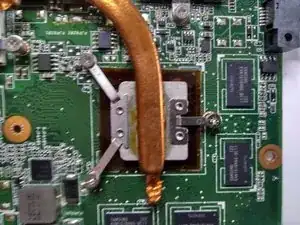
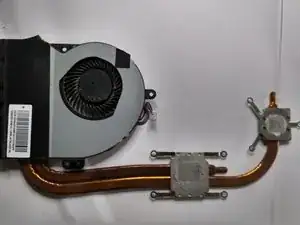
    • remove the fan and cooling pads.

    • you will see the old thermal paste.

  24. rDbAoSKW2hKucfRg
    rDbAoSKW2hKucfRg
    4JPtE3LXSPyZ5dKM
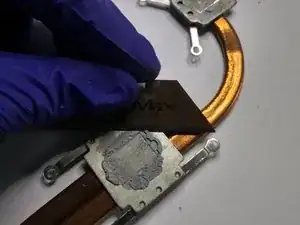
    • clean the cooling pads with an very sharp knife. or spudger..

    • wear gloves, cause the thermal paste is very toxic.

    • also this is a good time to blow out the fan with compressed air.

  25. cLKhHm6bDfQRL5wE
    cLKhHm6bDfQRL5wE
    MWZMFTXiMPCb3rXG
    sN4tTb1GecgA3MIc
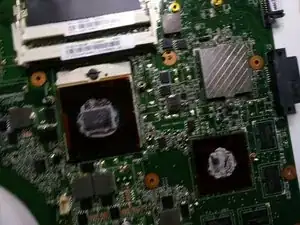
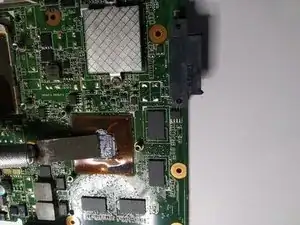
    • remove the old thermal paste from the processors , be very carefull. and use some artic silver liquid to clean them. and easely remove the thermal paste.

    • you can remove the CPU by using a flathead screwdriver , the socket will move and you can pull the CPU out , maybe a good time to upgrade the CPU.

  26. MfPMdqobgVUUvGZG
    • unfortunately i don't have a picture when i added some new thermal paste. But if you do: one drop on each processor is enough.

    • Check out the thermal paste guide for more information on how to apply thermal paste.

Conclusion

To reassemble your device, follow these instructions in reverse order.

Kevin D

Member since: 02/05/14

7370 Reputation

5 comments

You dont have to disassembly whole computer, just remove back cover, 4 screws from cpu, 2 screws from gpu and 2 screws from fan..

Aleksi Kinnunen -

Hi Aleksi,

Yes we know, but we took the hole laptop apart to show how to replace, renew other parts as well.

Kevin D -

Ciao, io ho fatto tutto perfettamente in modo identico alla spiegazione (anche perché non è complicato). può essere la cpu?
Irene Montanari -

Which themal paste good . Please give amazon purchase link

Vinayak Patil -

Thank you. Pretty useful guide not to break connectors. went from 97ºC to 45ºC. I'm pretty happy.
The fan was blocked with dust and the thermal paste was like cement.

Marco Fidalgo -