Introduction

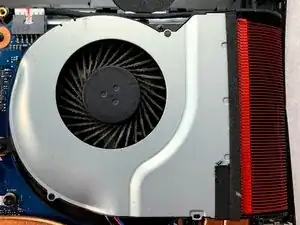
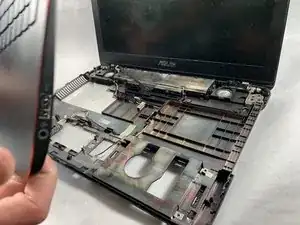
This guide outlines how to replace the fan in the Asus GL551JW-AH71.

  1. OvSM2LE3qTtMyKow
    • Close the device and lay it upside down.

    • Unplug the device and make sure the device is powered off before removing the battery.

  2. SDSsQLoJ1sEuiWUH
    SDSsQLoJ1sEuiWUH
    BWUxnmGqLYMRYDXW
    • Move the battery eject button to the right. The battery will be ejected.

  3. LS1RJGadbtsdfVVP
    LS1RJGadbtsdfVVP
    FT2aibGdBChy11Ym
    • Grab the battery and remove it from the device.

  4. AVBXa5UJyburWKlZ
    AVBXa5UJyburWKlZ
    KMCkitwtu2ENeaTS
    • Use a Phillips #000 screwdriver to remove the single 10mm optical drive screw.

  5. OJiRnJwHmHT6Csjk
    OJiRnJwHmHT6Csjk
    PXXGD2D4M1QbyjHO
    f2JBImCjPaxhAklX
    • Insert a probe or paperclip gently into the eject pin hole to eject the optical drive tray.

  6. MifJEEmZopg62WIx
    MifJEEmZopg62WIx
    KjXeubhPnATSOkPP
    • Gently grasp the optical drive assembly and slide it out of the laptop body.

    remove the two tiny screws exposed.

    PIERCE, KEITH -

  7. ocIswNQLBNLAkR2n
    ocIswNQLBNLAkR2n
    q4JYDeCEF3NGEula
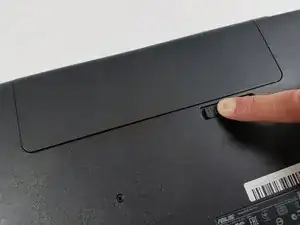
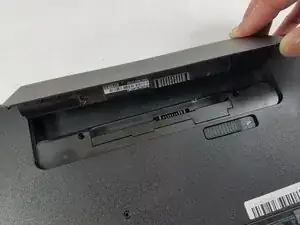
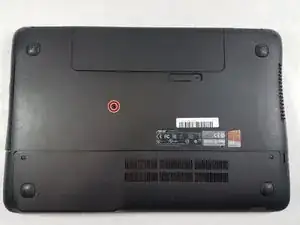
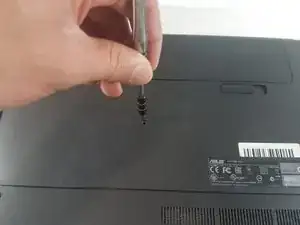
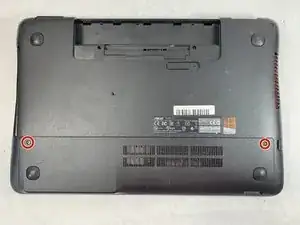
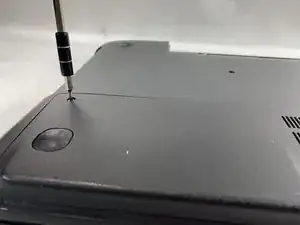
    • Using a Phillips #000 screwdriver, remove the two 11mm screws that hold the access panel in place.

  8. KwkaEDaZFoTdmOND
    KwkaEDaZFoTdmOND
    jAEVPhMRsM2EOmbS
    • Carefully remove the access panel.

  9. y5aP2JRfAoHCHqLm
    y5aP2JRfAoHCHqLm
    OVdZMpAgBpPdDEIP
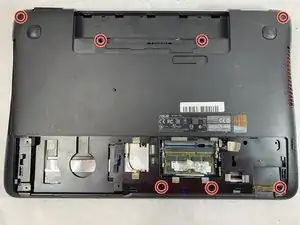
    • Using a Phillips #000 screwdriver, remove the seven 11mm screws holding lower case to the laptop.

  10. PxcHufwVEO6rnMYp
    • Turn the laptop over and open the screen.

  11. 1trQFbA2LVljFDuf
    1trQFbA2LVljFDuf
    RKDTLCvoUUcUTkk1
    VtRPaZYIHogla4eb
    • Gently pry open the case with an iFixit opening tool.

    • The upper and lower assembly are connected with a display cable that will be removed in the next step. Do not pull the parts apart more than a few inches.

  12. uDXoeltYmRX1BAeD
    uDXoeltYmRX1BAeD
    xJTGqXU1xYFNuSye
    CJsVcNaQULgUmWNi
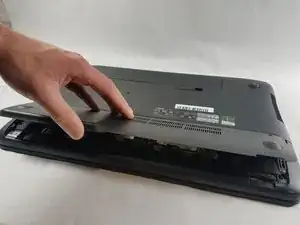
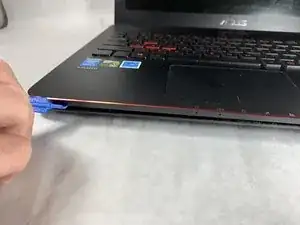
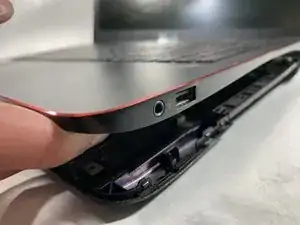
    • Flip the laptop on the right side while still holding the upper and lower assemblies close together.

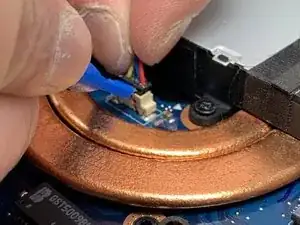
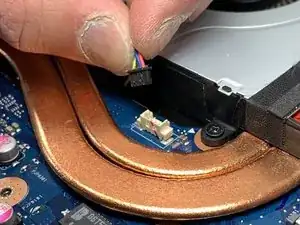
    • Unplug the display connector from the motherboard.

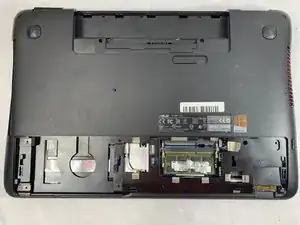
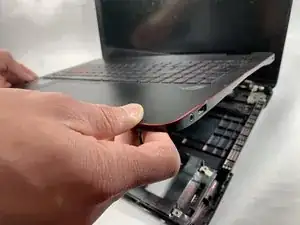
    • Remove the upper assembly.

  13. yq2k5yRmYIlngHFL
    • Place the separated motherboard keyboard side down.

  14. Ssp5jPpoBv5pYZPV
    Ssp5jPpoBv5pYZPV
    hOfiCxK3ZfODVQWt
    CtvYa14AaSSPFYXh
    • Unplug the fan connector cable from the motherboard with an iFixit opening tool.

  15. fN623Q4KVHWB2bJP
    fN623Q4KVHWB2bJP
    RKwfbuyvdLmPRiMX
    • With a Phillips #00 screwdriver, remove the three 5mm screws that hold the fan in place.

  16. flAFJ3CqRMnZrAkN
    flAFJ3CqRMnZrAkN
    LtWFhWMqPpHFFeJA
    • Gently remove the fan from the motherboard.

    "Gently remove fan from motherboard" conveniently ignores the adhesive tape holding fan to fins and sealing the duct from below. Before this can work, remove the entire cooling assembly, remove the tape without tearing it, put everything back. so this set of instructions is actually bogus: it won't work and you'll regret removing the fan this way!

    PIERCE, KEITH -

    fortunately there's another video that does it right, removing the entire cooling system, clean the fan (or r & r) replace the thermo paste.

    PIERCE, KEITH -

Conclusion

To reassemble your device, follow these instructions in reverse order.

William Kelley

Member since: 20/03/19

1035 Reputation

0 comments