Introduction
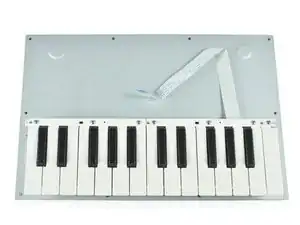
This guide shows you how to open up the Arturia Microbrute and remove the bottom plate including the keyboard.
Tools
-
-
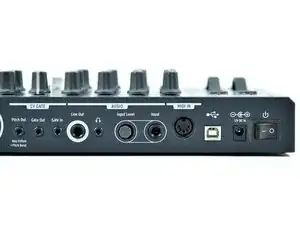
Switch off the Microbrute and make sure to disconnect any cables.
-
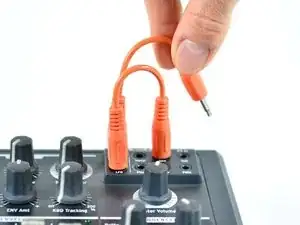
Don’t forget the mini patch bay on the top right.
-
-
-
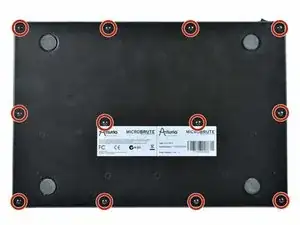
Flip the Microbrute over and put it on a soft surface to not damage the knobs and faders.
-
Use a screwdriver to remove the twelve Philips screws on the bottom plate.
-
-
-
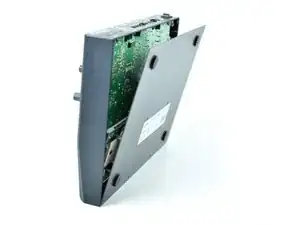
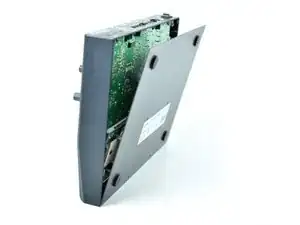
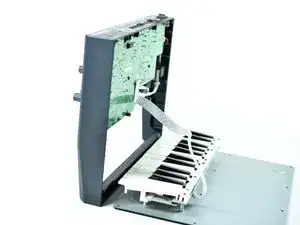
Put the Microbrute on its front edge and carefully tilt open the bottom plate including the keyboard.
-
-
-
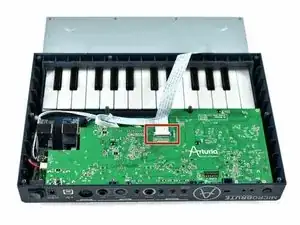
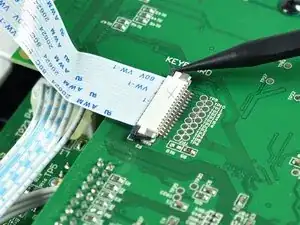
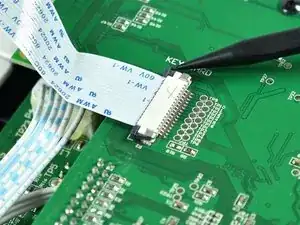
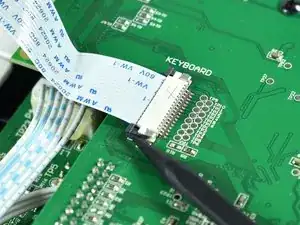
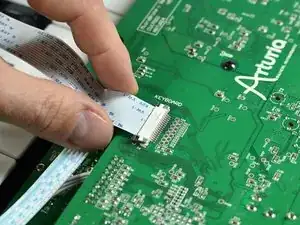
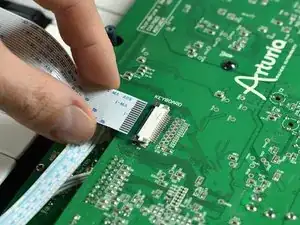
Use a spudger to unlock the connector by pushing both left and right locking tabs tabs towards the cable.
-
-
-
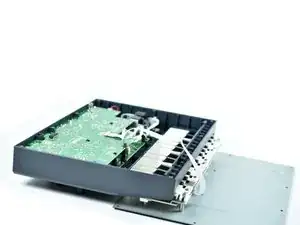
Now the Microbrute is open and the bottom plate with the keyboard is separated from the rest of the device.
-
To reassemble your device, follow these instructions in reverse order.
