Introduction

Use this guide to replace the earpiece speaker in your bq Aquaris M5.

  1. LsHVvIBOiXVxk2VO
    LsHVvIBOiXVxk2VO
    HFZTYPriHy5ElNIr
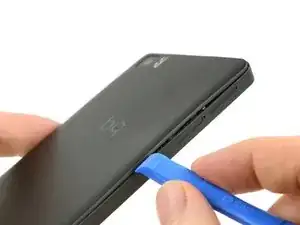
    • Insert the tip of an iFixit opening tool between the back cover and the mid frame of the phone.

    • Between the 2 SIM card slots is a good place to start.

    • Slide the opening tool to the bottom of the phone, to snap out the plastic clips, connecting the back cover and mid frame.

  2. RMWNfVxVYLHeCfTC
    RMWNfVxVYLHeCfTC
    FkIki5E2VmYnRiFv
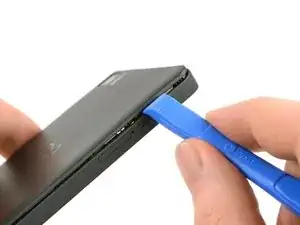
    • Slide the opening tool back to the top of the phone, to disconnect all the clips on the edge.

    • Slide around the corner and along the top edge, to also disconnect these clips.

  3. PZuBgqQmeVgZ1deH
    PZuBgqQmeVgZ1deH
    JB3qHqDNyC5KEsTI
    vvWMoNjiVVthshIA
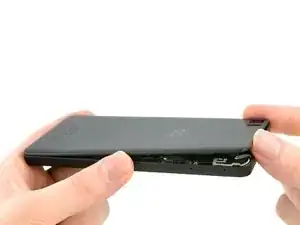
    • Be careful not to bend the back cover too hard to prevent some of the clips breaking.

    • Grab the back cover by the loosened edge.

    • Gently bend and twist the flexible back cover a bit to disconnect the remaining clips.

    • Take off the back cover.

  4. ug2dUyPZEWDHCxtI
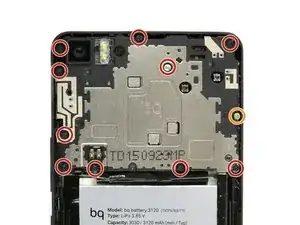
    • Damaging the liquid indicator sticker, on the middle most screw, will void the warranty of the phone.

    • Unscrew the ten black 4mm Phillips #00 Screws from the mainboard shield.

    • Unscrew the golden 3.4mm Phillips #00 screw on the middle-right side of the mainboard shield.

  5. SULEunuOxpxGjsW3
    SULEunuOxpxGjsW3
    fVSeRp4aYpmGBQMx
    Clc1kcPTw3FZQFwl
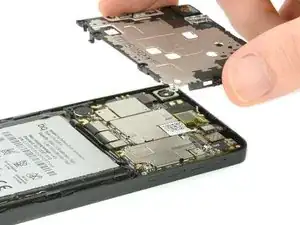
    • Insert the flat side of a spudger between the mainboard shield and the frame of the phone.

    • Twist the spudger to lift up the mainboard shield.

    • Remove the mainboard shield from the phone.

  6. MTm3xYj3qaFudyHV
    MTm3xYj3qaFudyHV
    YHZTTvVoV4nOcSJI
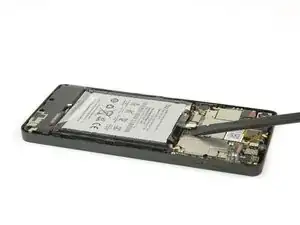
    • Use a spudger to disconnect the battery's flex cable from the mainboard.

    • Pull of the sticker on the bottom side of the battery.

    • Grab the sticker and lift it up to take the battery out of the phone.

    Turi del autoadhesivo pero la batería está como pegada

    Jesús Espín López -

  7. 6XXvjl12deWQOh5j
    6XXvjl12deWQOh5j
    uUlUCOEktcumu61W
    BptfL6xlTXvGJEQ4
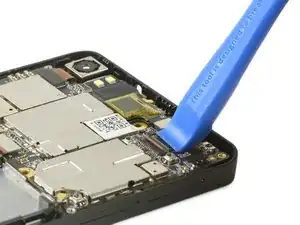
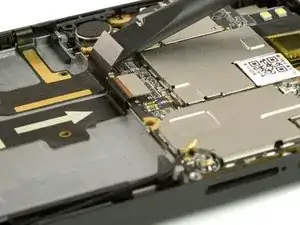
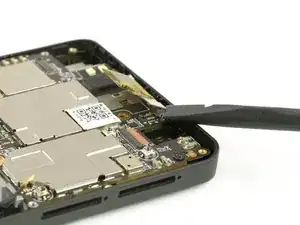
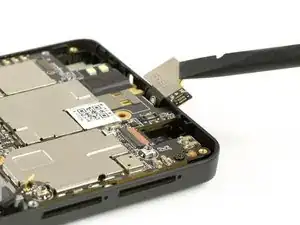
    • FPC Connectors can break easily, be very careful.

    • Use an opening tool or your finger nail to open the FPC connector.

    • Disconnect the FPC connector cable.

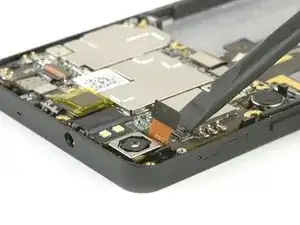
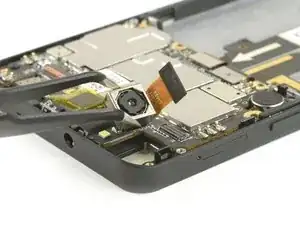
    • Use the tip of a spudger to leverage the camera out of its housing.

    • Remove the front camera.

  8. gWE4aRKFhl4E6JRD
    gWE4aRKFhl4E6JRD
    Y2LJgDKK6LUfClbu
    • Use the flat side of a spudger to disconnect the camera's flex cable.

    • Use Tweezers to grab the camera and lift it out of the phone.

  9. UkEp6S5PaIheCaSA
    UkEp6S5PaIheCaSA
    ITsoCJiTJIyAqoSG
    fKwXti6yXFHLOUOQ
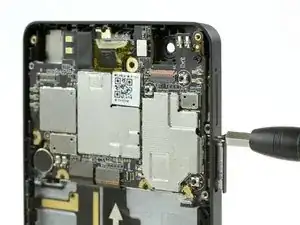
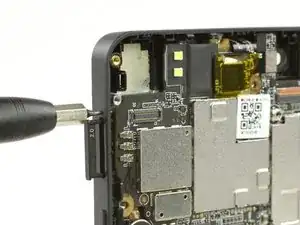
    • Use a SIM card eject tool, to eject the two SIM card slots on one side.

    • Use a SIM card eject tool, to eject the micro SD card slot on the other side.

  10. QC3eMOuUwASuImYP
    QC3eMOuUwASuImYP
    R3nXoJrEeI246BKN
    MmFKUoqFcXQDKmf3
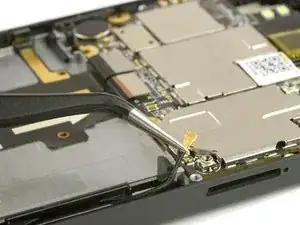
    • Use tweezers to unplug the antenna cable in the bottom right of the mainboard.

    • Use a spudger to disconnect the two flex cables at the bottom of the mainboard.

  11. XnlkUKJtFja6xYD4
    XnlkUKJtFja6xYD4
    Hl1PBIiUxLGCipuN
    • Use the flat end of a spudger to disconnect the flex cable at the top of your the mainboard.

    • Bend the cable a bit over the edge, so it won't block the mainboard later, when you are taking it out.

  12. IM5BJOlYke2RSPyQ
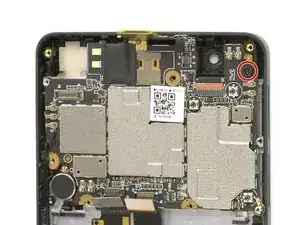
    • Take out the 4mm Phillips #00 screw, holding the mainboard to the frame.

  13. qiUNhQjdGFYSrTKv
    qiUNhQjdGFYSrTKv
    XDZKqKkNVw4mmOgN
    wtdKOI2DflyCdqrp
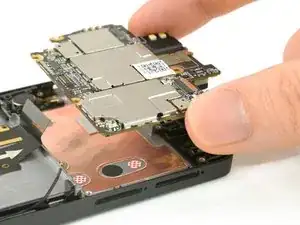
    • Insert the flat end of a spudger between the mainboard and the mid frame.

    • The best spot is on the right side next to the two SIM card slots.

    • Use the spudger to lever the mainboard.

    • Take the mainboard out of the phone.

  14. vBbTWffaA46JUOQt
    vBbTWffaA46JUOQt
    GJeQyhLi2P51lSTS
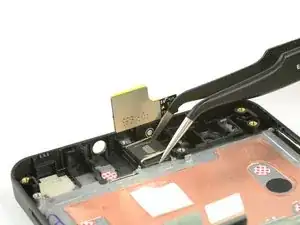
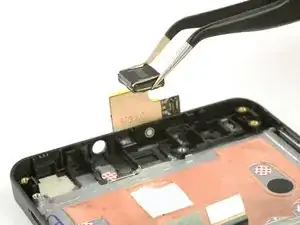
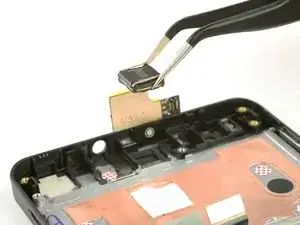
    • Use tweezers to grab the earpiece speaker, located at the top of the phone.

    • Pull it up, to take it out of the phone.

    • The earpiece is held in place with mild adhesive.

Conclusion

To reassemble your device, follow these instructions in reverse order.
Theo Mat

Member since: 13/11/17

12866 Reputation

0 comments