Introduction

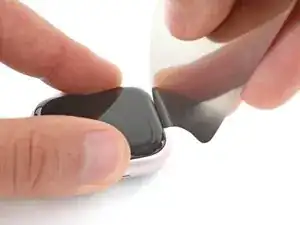
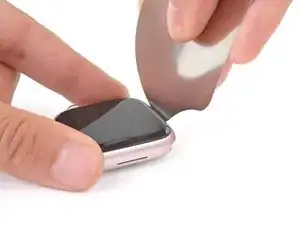
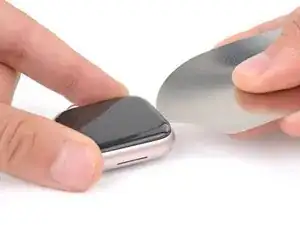
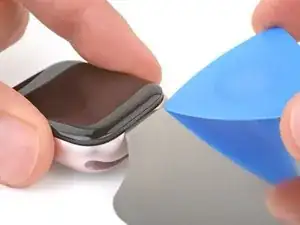
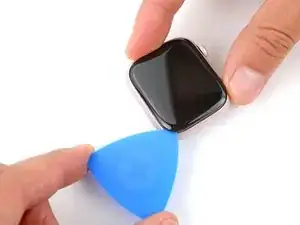
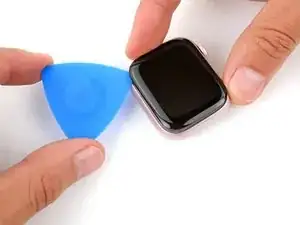
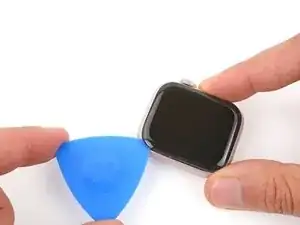
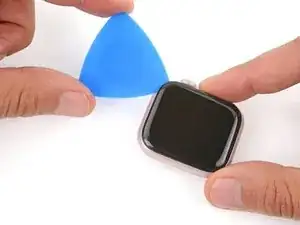
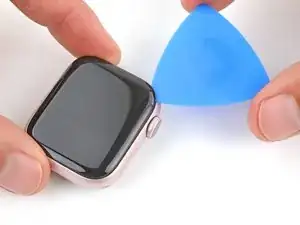
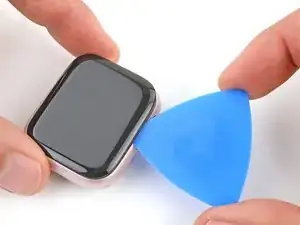
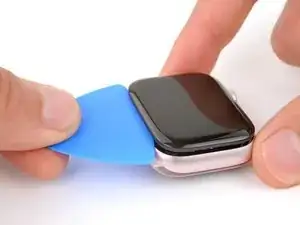
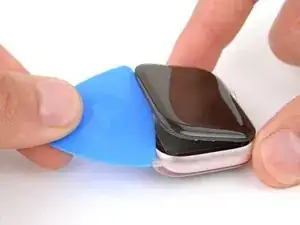
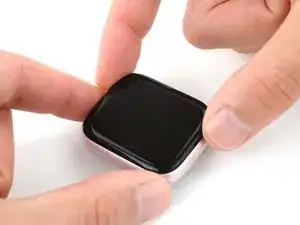
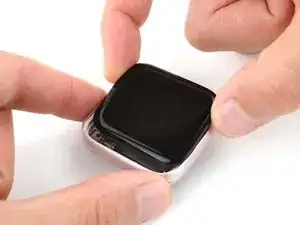
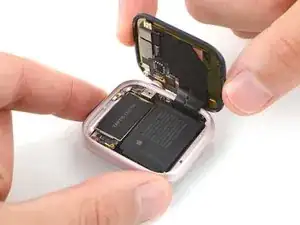
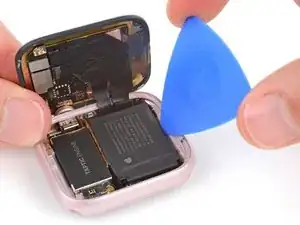
Use this guide to replace a dead or worn-out battery in your Apple Watch Series 9 (45mm) smartwatch. Look on the bottom of your watch to see what size you have.

Lithium-ion batteries have a limited lifespan. If your watch doesn't hold a charge or dies unexpectedly, it might be time to replace the battery.

If your battery is swollen, take appropriate precautions.

You'll need replacement screen and battery adhesive to complete this repair.

  1. vCdrIDIQlv1XIlmC
    vCdrIDIQlv1XIlmC
    C3pxxX6BdcMGRnEG
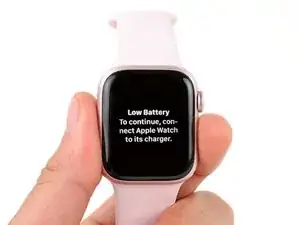
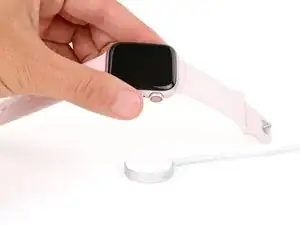
    • Before starting this repair, remove your watch from the charger and let its battery drain completely—the watch should shut down from low battery. A charged lithium‑ion battery may catch fire if damaged.

    • Letting the battery drain completely also prevents accidentally turning your watch back on when gripping it during repair.

  2. 6xLdS3IZ1ODrGa2r
    6xLdS3IZ1ODrGa2r
    GrXeZaQSoySJ2TPa
    BJa2cVReAhQDKhiv
    • Throughout the rest of your repair:

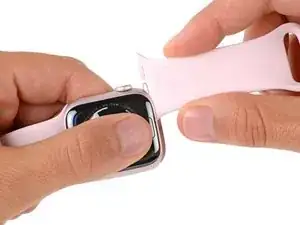
    • Attach and remove the watch bands as needed to get a better grip or stabilize your watch.

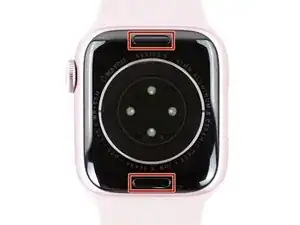
    • To remove a band, firmly press in the small, oval button on the underside of the watch and slide the band out of its groove.

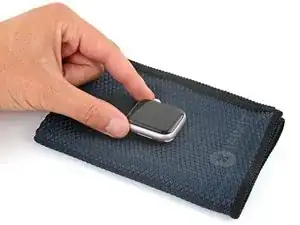
    • Consider placing your watch on something soft like a clean cloth to help stabilize it and prevent damage.

  3. FoTVJE6HLFQJuoIh
    FoTVJE6HLFQJuoIh
    ZwPfvNUXtfdYUXPG
    W5XLQyXXVZZDlIRo
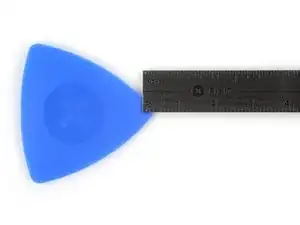
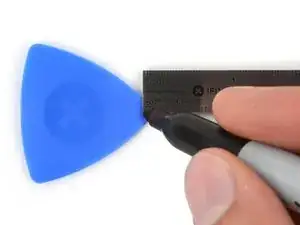
    • If inserted too far, an opening pick can damage your watch. Follow this step to mark your pick and prevent damage.

    • Measure 3 mm from the tip and mark the opening pick with a permanent marker.

    • Alternatively, tape a coin to a pick 3 mm from the tip.

  4. Wp6sv2hOnrnsFiX2
    • Strong adhesive secures the perimeter of the screen to the frame. Heating the screen softens the adhesive, making it easier to separate.

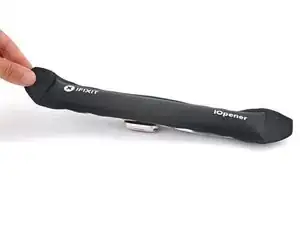
    • Heat an iOpener and lay it on the screen for two minutes to soften its adhesive.

    • Alternatively, you can use a hair dryer or heat gun—but be careful as extreme heat can damage the screen and/or battery.

  5. HxlMWqZhifgrHrGY
    HxlMWqZhifgrHrGY
    JgGMlIBiyDlR2uR2
    TXE1frBBR6AOmM5c
    • The gap between the screen and frame is extremely small. You'll need a thin tool such as an iFlex to create an initial gap.

    • Don't grip the iFlex or similar metal tools by the edges—they're very sharp. Consider wearing gloves to protect your hands.

    • Insert the iFlex at a downward angle between the bottom edge of the screen and frame.

  6. B5ua1ZkJZN6YbCCi
    B5ua1ZkJZN6YbCCi
    SCiTjpBLUJSLpclX
    • Prying up the screen may take multiple attempts. If you're having trouble, apply more heat and try again.

    • With one hand, push down firmly on the watch's frame to secure it in place.

    • With your free hand, hold the iFlex and push the edges up to make it more rigid.

    • The iFlex should be slightly "U" shaped.

    • Pry up the screen enough for the iFlex to lay flat on its own.

    • The iFlex doesn't need to be inserted far, as it can easily damage the screen cables near the bottom right corner of the watch.

    • Leave the iFlex inserted under the screen.

  7. ELSDtUnOKfljB1wi
    ELSDtUnOKfljB1wi
    SoAKYpCrbyF3FYny
    CxH4SoOEsZmYqMEl
    • Do not insert your opening pick more than 3 mm under the screen when separating the adhesive, as you risk damaging your watches internals.

    • Keep the iFlex flat to maintain a gap between the screen and frame while inserting an opening pick.

    • Insert an opening pick between the screen and iFlex.

    • Remove the iFlex.

  8. CBWYKZT51JbZwq4A
    CBWYKZT51JbZwq4A
    aXZAOVu1AVTvTLYr
    • Slide the opening pick along the bottom edge to separate the adhesive securing it.

  9. dsSEU1kUCsLJFIZN
    dsSEU1kUCsLJFIZN
    U5ffmaSXrsJUa5Tq
    • Slide the opening pick around the bottom left corner and up the left edge to separate the adhesive.

  10. 65nRjtNQRi6biYOX
    65nRjtNQRi6biYOX
    FUWEAHjxqxUubK5I
    • Slide the opening pick around the top left corner and along the top edge to separate the adhesive.

  11. eOCy3BwOBoImNhPT
    eOCy3BwOBoImNhPT
    v2jLFv5QJXKTpSCF
    • Slide the opening pick around the top right corner and stop at the top of the side button.

    • Don't slide your pick past the side button—you risk damage to the screen cables.

  12. DDG1dcBDZQbVX5Cp
    DDG1dcBDZQbVX5Cp
    i3qCOsRmJNcKZKvo
    • Insert the long edge of an opening pick between the left edge of the screen and frame.

    • Twist the pick to lift the screen and separate any remaining adhesive.

  13. mKJDktxAMXlRHVPG
    mKJDktxAMXlRHVPG
    PdTE5koMelJMALi2
    G2KURMIEDFHXJOnx
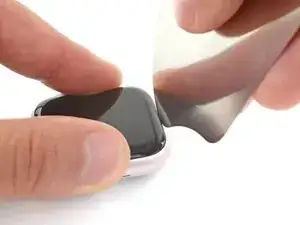
    • Pull the right edge of the screen over the digital crown.

    • If the screen feels stuck, go back around it with an opening pick to separate any adhesive.

    • Swing up the left edge of the screen so it's upright. The screen should be to the right of the digital crown.

    • During reassembly:

    • This is a good point to plug in your watch and test all functions before sealing it up. Be sure to power it back down completely before you continue working.

    • Follow this guide to apply new screen adhesive and reseal your watch.

  14. LtRYFI5LTYVVnnDn
    • Heating the battery will soften the strong adhesive securing it, making the battery easier to remove.

    • Heat an iOpener and lay it on the battery for two minutes to soften the adhesive.

    • Alternatively, you can use a hair dryer or heat gun—but be careful as extreme heat can damage the battery.

  15. TyEHaHcJJjetWPlg
    TyEHaHcJJjetWPlg
    RPurm1mpo2LAo5XH
    BUxkfRSudVMQ5Aqf
    • Be careful not to puncture or bend the battery—it can leak dangerous chemicals and catch fire.

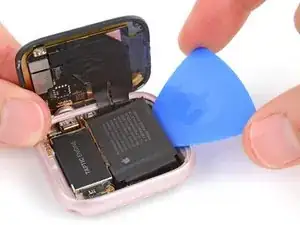
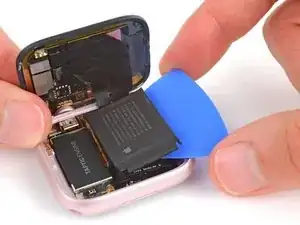
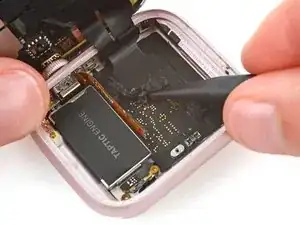
    • Insert an opening pick between the bottom edge of the battery and frame.

    • Pry up the battery with the opening pick until it starts to separate from the frame.

    • This requires time and constant pressure. If you're having trouble, apply more heat and try again.

    • Slide the pick farther under the battery and lift until all the adhesive is separated.

  16. LOm6aeSWaBFBstwy
    LOm6aeSWaBFBstwy
    QZVsUtutd1DH6Tao
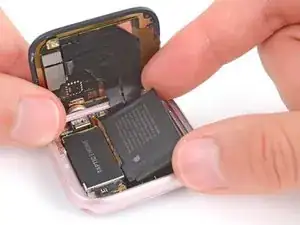
    • Be careful not to strain or tear the battery cable during the rest of your repair.

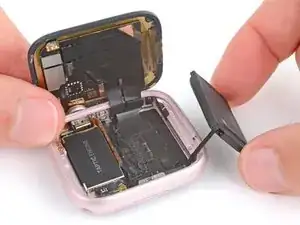
    • Gently lift the battery out of its recess and set it next to your watch so you can access the battery cable.

  17. ewdsHFLsMZIoCfsY
    ewdsHFLsMZIoCfsY
    SWPeRScwYYEJxB3E
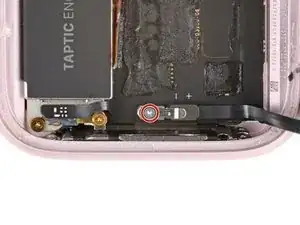
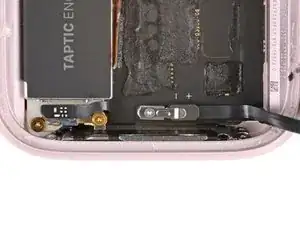
    • Use a tri‑point Y000 screwdriver to remove the 1.1 mm‑long screw securing the battery connector bracket.

  18. fAnlHFTREPIF2mUc
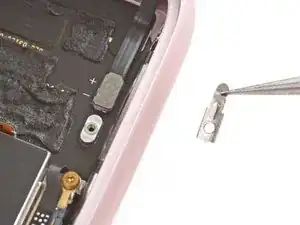
    • Use a pair of tweezers to remove the battery connector bracket.

  19. 2HYM6MWfWLGnWAJu
    2HYM6MWfWLGnWAJu
    Z1hlKP5HRaxCAF5c
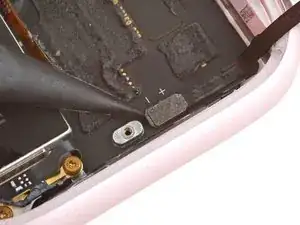
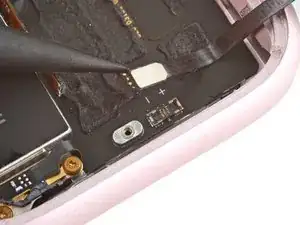
    • Insert the point of a spudger under the short end of the battery connector (opposite the cable) and pry it up.

  20. vQbNrJMo1WNLVbxZ
    vQbNrJMo1WNLVbxZ
    PaXVXLAv6qXuCMJV
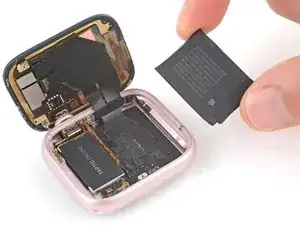
    • Remove the battery.

    • To install a new battery:

    • Use a spudger and tweezers to remove all the old adhesive from the battery recess.

    • If your replacement battery doesn't have adhesive pre-installed, put strips of thin, double-sided tape on the logic board (not directly on the battery) where the old adhesive was. Do not remove any liners yet.

    • Reconnect the battery cable press connector to its socket on the motherboard.

    • Put the battery connector bracket into place and install its screw. Make sure the metal arm goes over the battery press connector.

    • Remove any liners from the battery adhesive or double-sided tape.

    • Firmly press the battery into place to secure it with the adhesive.

Conclusion

To reassemble your device, follow these instructions in reverse order.

For optimal performance, calibrate your newly installed battery after completing your repair.

Take your e-waste to an R2 or e-Stewards certified recycler.

Repair didn’t go as planned? Try some basic troubleshooting, or ask our Answers community for help.
Spencer Day

Member since: 14/09/22

88286 Reputation

0 comments