
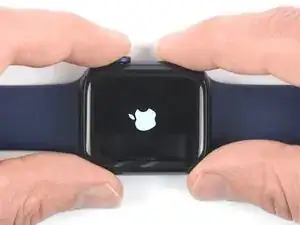
Introduction
Use this guide to replace a broken, cracked, or defective display on your Apple Watch Series 6.
Replacing the display can cause issues with Apple Pay. If possible, to reduce the likelihood of problems, delete all your Apple Pay account info before the replacement, and then re-enter it with the new display installed.
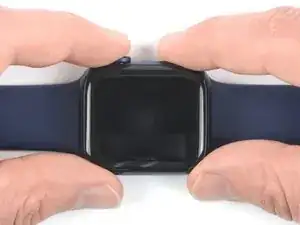
This guide shows the procedure on the cellular/LTE version of the watch, but the standard GPS-only version is similar.
You’ll need replacement adhesive to reattach components when reassembling the device.
-
-
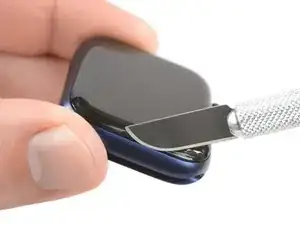
Because the gap between the screen and watch body is so thin, a sharp blade is needed to separate the two. Read the following warnings carefully before proceeding.
-
-
-
Prepare an iOpener (or use a hair dryer or heat gun) and heat the face of the watch to loosen the display adhesive.
-
Leave the iOpener on the watch for at least two minutes to fully heat the screen and soften the adhesive holding it to the case.
-
-
-
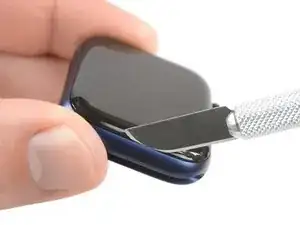
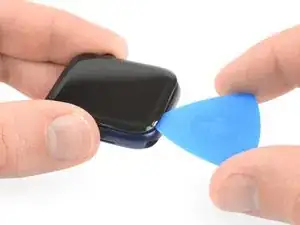
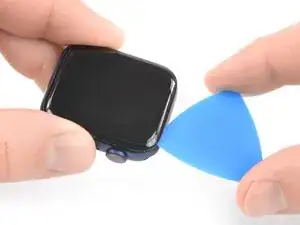
Place the edge of a curved blade into the thin gap between the display and the outer case. Start at the short side of the display, most distant to the digital crown.
-
Press firmly straight down into the gap.
-
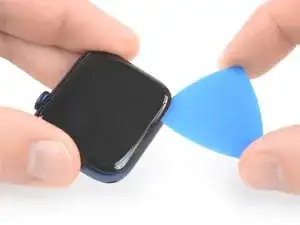
Once inserted, tilt the blade to pry the display open slightly.
-
-
-
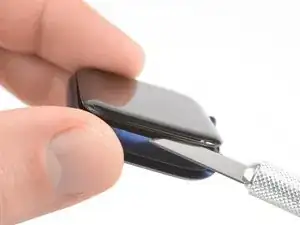
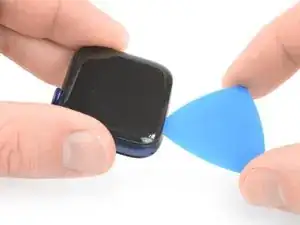
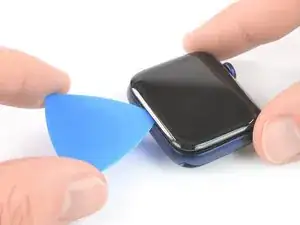
Insert an opening pick in the gap your created.
-
Slide the opening pick along the short edge of the watch to cut the adhesive.
-
-
-
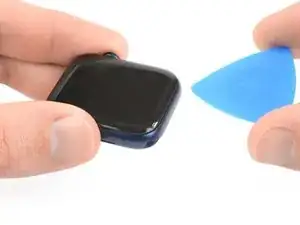
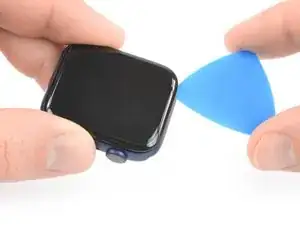
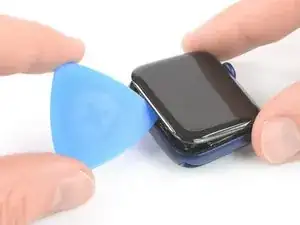
Slide the opening pick around the corner and along the long edge on the opposite side of the watch crown to cut the display adhesive.
-
-
-
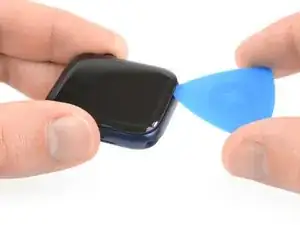
Slide the opening pick around the corner to cut the remaining adhesive on the short edge of the watch next to the watch crown.
-
-
-
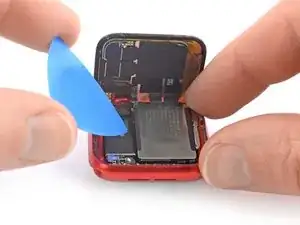
Place the watch on a flat surface and use an opening pick to slice through any remaining adhesive.
-
Slide an opening pick under the opposite display edge of the watch crown.
-
Twist the opening pick to loosen the display off the watch case.
-
-
-
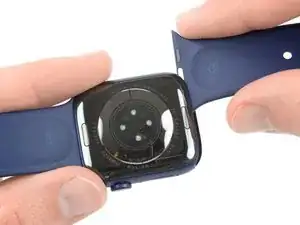
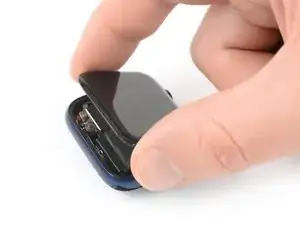
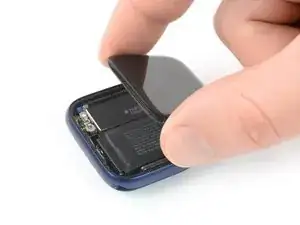
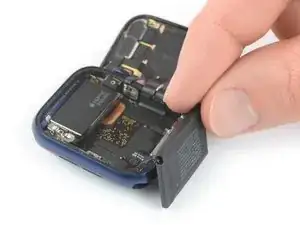
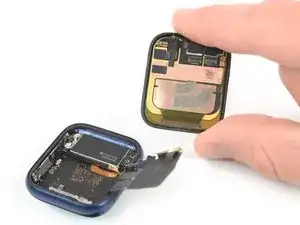
Lift the display and carefully pull it towards the watch crown.
-
Swing the display open to an upward position.
-
-
-
Prepare an iOpener (or use a hair dryer or heat gun) and heat the rear side of the watch to loosen the battery adhesive. Leave the iOpener on the watch for at least two minutes.
-
-
-
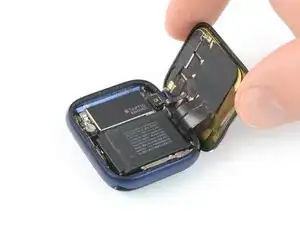
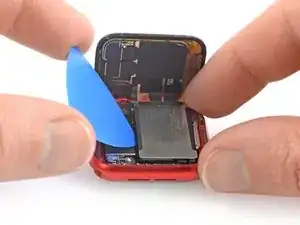
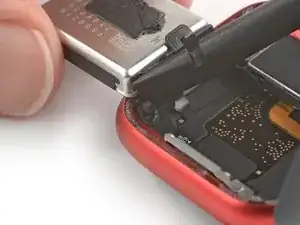
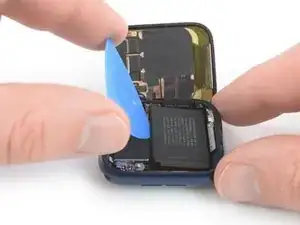
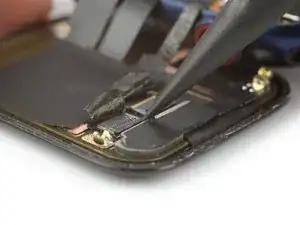
Insert an opening pick between the battery and the Taptic Engine.
-
Use constant, steady pressure to slowly pry the battery up, separating it from the adhesive securing it to the mainboard.
-
-
-
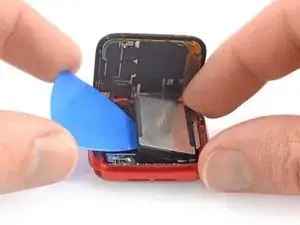
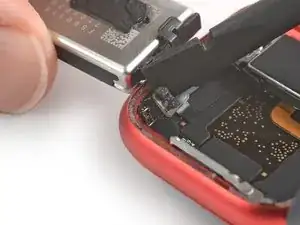
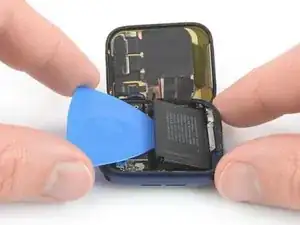
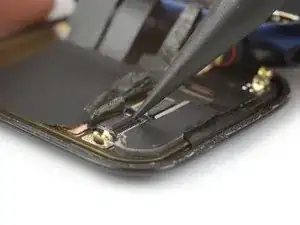
Insert an opening pick between the battery and the Taptic Engine.
-
Use constant, steady pressure to slowly pry the battery up, separating it from the adhesive securing it to the mainboard.
-
-
-
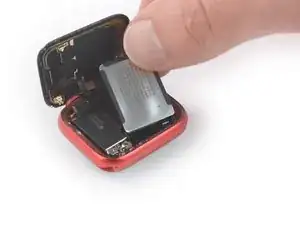
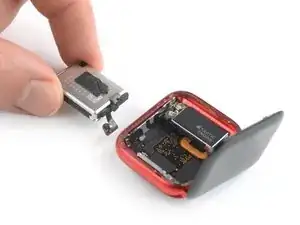
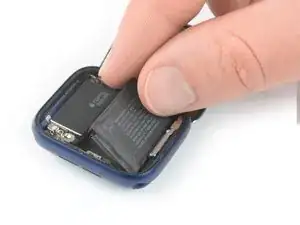
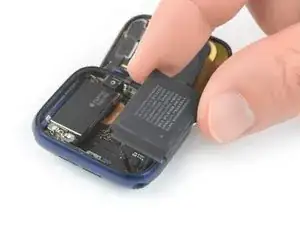
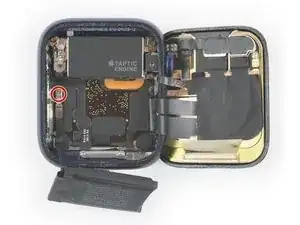
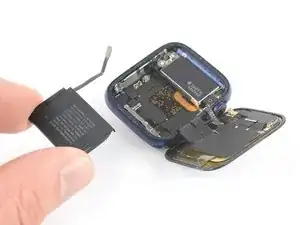
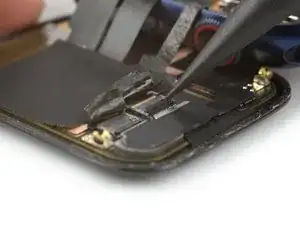
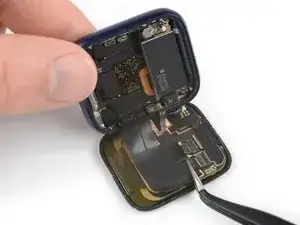
Carefully lift the battery out of its recess and place it outside the watch case opposite to the Taptic Engine.
-
-
-
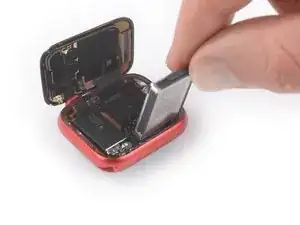
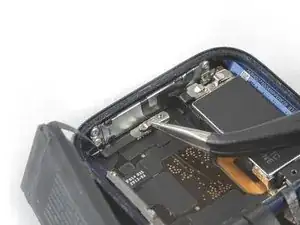
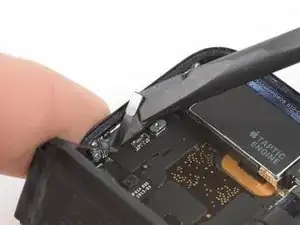
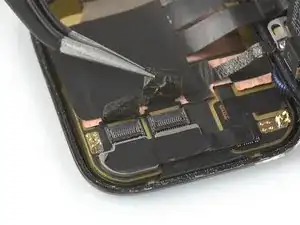
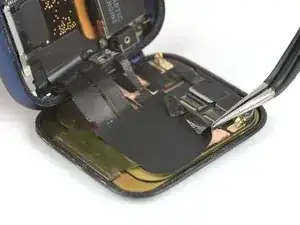
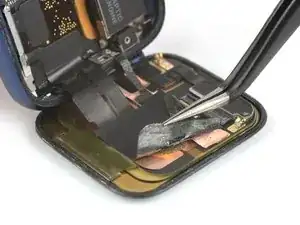
Use the pointed end of a spudger to pry up the lock bars on both ZIF connectors securing the display cables.
-
-
-
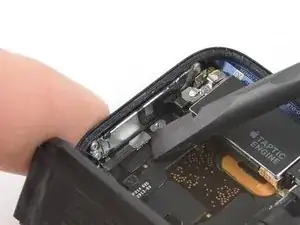
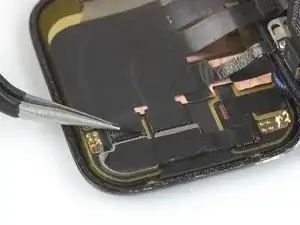
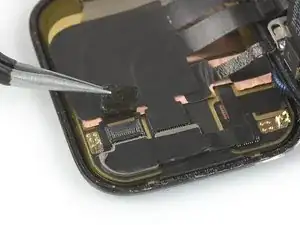
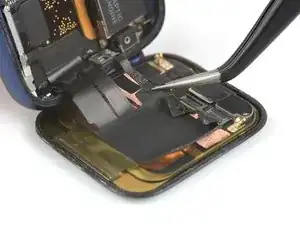
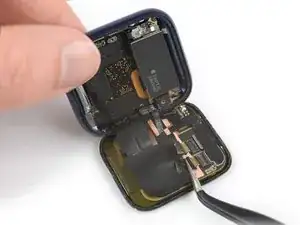
Use a pair of tweezers to carefully peel off the edges of the sticker which adheres the display and the grounding cable to the rear side of the screen.
-


To reassemble your Apple Watch Series 6 follow these instructions in reverse order to reattach the screen and the battery.
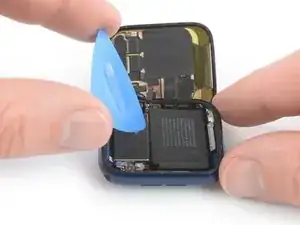
Apply a little bit of high isopropyl alcohol (>90%) to a Q-tip or use a cleaning pad to gently remove the leftover adhesive on the edges of the watch case and the screen before installing new adhesive.
Take your e-waste to an R2 or e-Stewards certified recycler.
Repair didn’t go as planned? Check out our Answers community for troubleshooting help.

20 comments
Can anyone tell me what that 3rd cable is (circled red in the pic linked below)? It’s linked to the metal back in the phone?
I think it is just a grounding wire.
Did you ever find out what that third wire is?
I want to know too, I break it while pulling the battery yesterday, but the watch seems working fine
Coco -
It’s a shield (grounding) line to control EMI noise
Dan -
Siete magnifici
Dommage qu’il n’y ai pas de lien d’une batterie à acheter ainsi qu’un lien pour trouver le joint d’étanchéité.