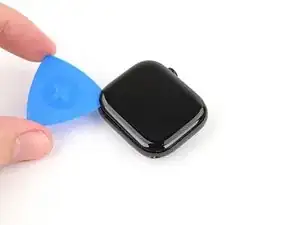
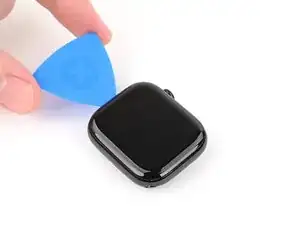
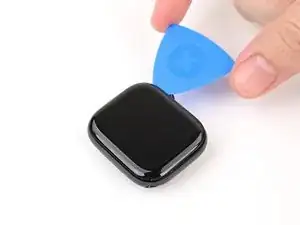
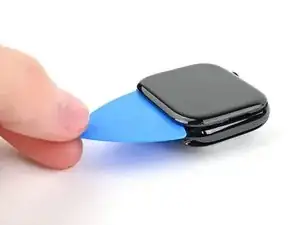
Introduction
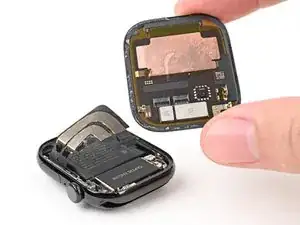
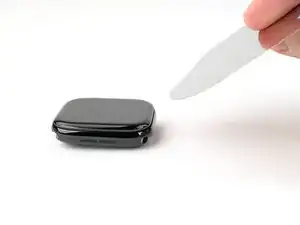
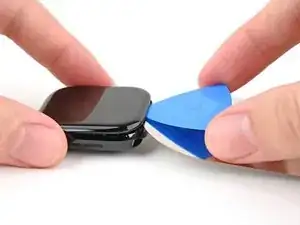
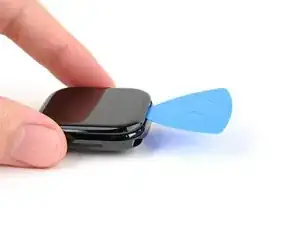
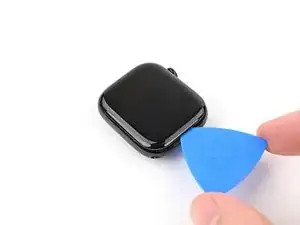
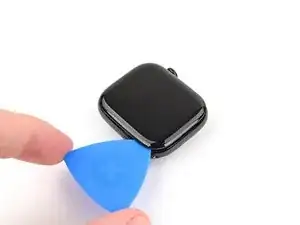
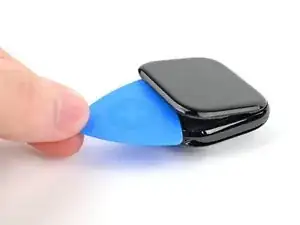
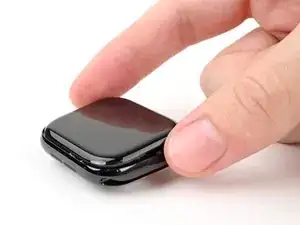
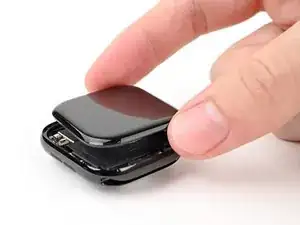
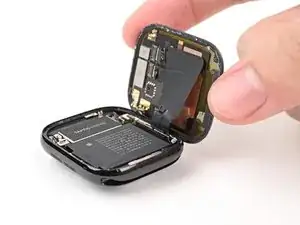
Use this guide to replace a cracked, broken, or non-responsive screen on your Apple Watch Series 10 (46mm) smartwatch. Look on the bottom of your watch to see what size you have.
Replacing the screen can cause issues with Apple Pay. To reduce the possibility of problems, delete all your Apple Pay account info before the replacement, and re-enter it with the new display installed.
You'll need replacement screen adhesive to complete this repair.
Tools
-
-
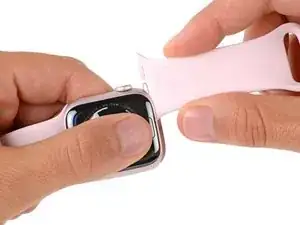
Attach and remove the watch bands as needed to get a better grip or stabilize your watch.
-
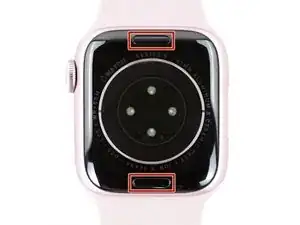
To remove a band, firmly press in the small, oval button on the underside of the watch and slide the band out of its groove.
-
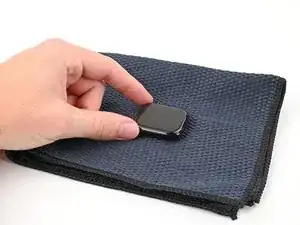
Consider placing your watch on something soft like a clean cloth to help stabilize it and prevent damage.
-
-
-
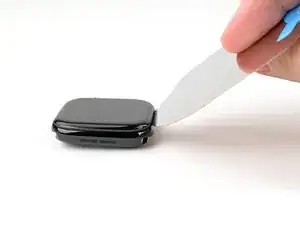
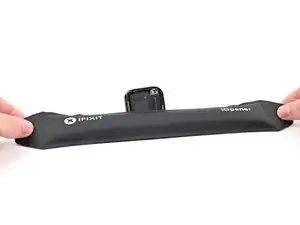
With one hand, push down firmly on the watch's frame to secure it in place.
-
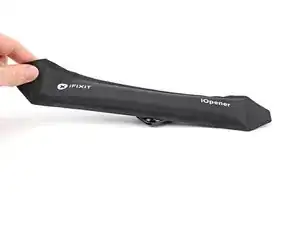
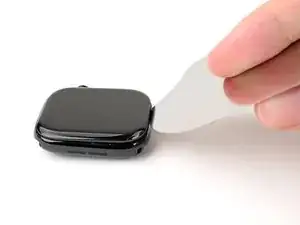
With your free hand, hold the iFlex and push the edges up to make it more rigid.
-
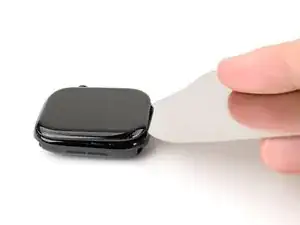
Pry up the screen enough for the iFlex to lay flat on its own.
-
Leave the iFlex inserted under the screen.
-
-
-
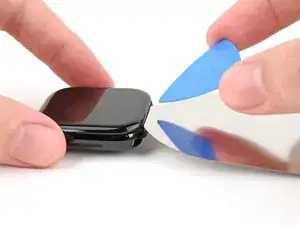
Keep the iFlex flat to maintain a gap between the screen and frame while inserting an opening pick.
-
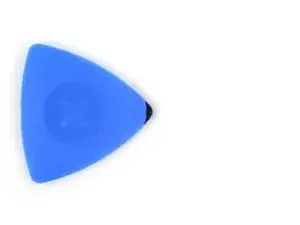
Insert an opening pick between the screen and iFlex.
-
Remove the iFlex.
-
-
-
Continue sliding your pick along the top edge and around the top right corner, stopping just after the digital crown.
-
-
-
Insert the long edge of an opening pick between the left edge of the screen and frame.
-
Twist the pick to lift the screen and separate any remaining adhesive.
-
-
-
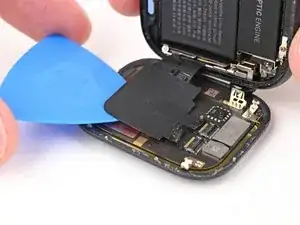
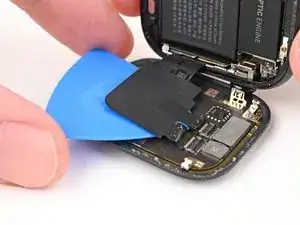
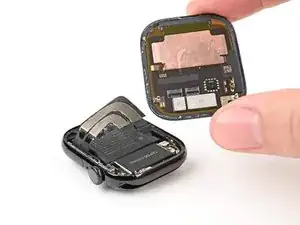
Pull the right edge of the screen over the digital crown.
-
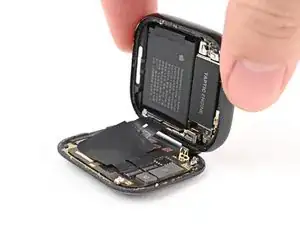
Swing up the left edge of the screen so it's upright. The screen should be to the right of the digital crown.
-
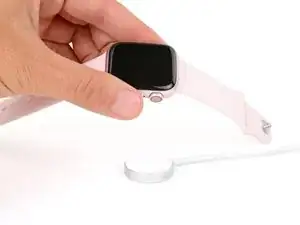
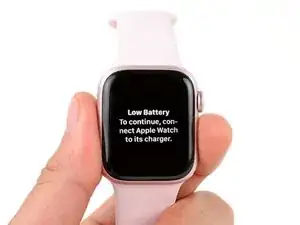
This is a good point to plug in your watch and test all functions before sealing it up. Be sure to power it back down completely before you continue working.
-
Follow this guide to apply new screen adhesive and reseal your watch.
-
-
-
Flip your watch so the screen is on your workspace and the frame is upright.
-
Keep the screen secured and the frame supported upright for the remaining steps.
-
-
-
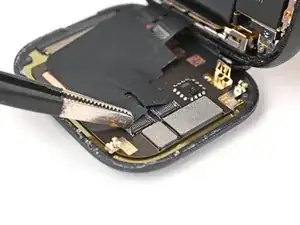
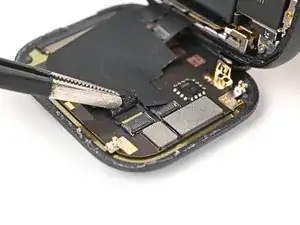
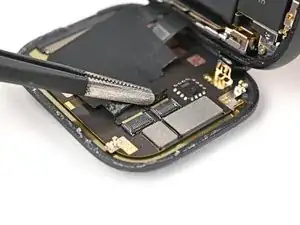
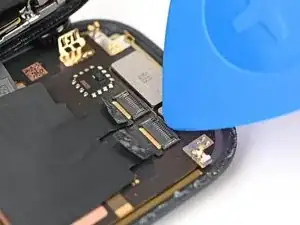
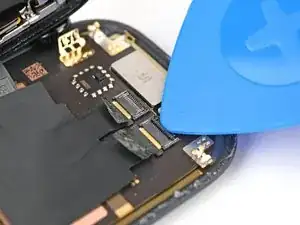
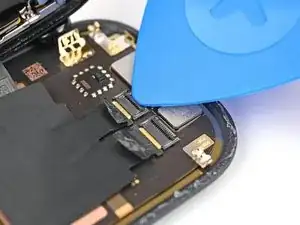
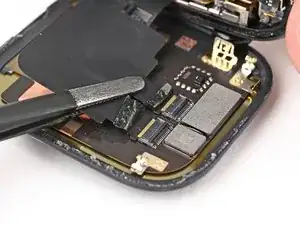
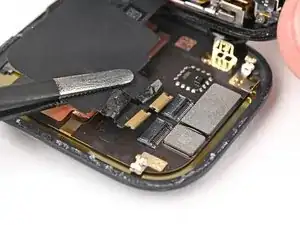
Use the tip of an opening pick to pry up the small, hinged locking flaps on both screen cable ZIF connectors.
-
To reassemble your device, follow these instructions in reverse order.
Take your e-waste to an R2 or e-Stewards certified recycler.
Repair didn’t go as planned? Try some basic troubleshooting, or ask our Answers community for help.
