Introduction
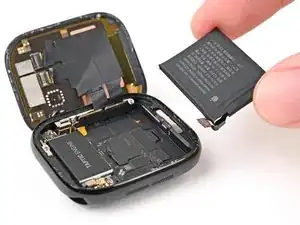
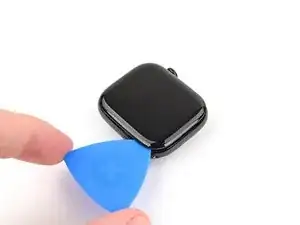
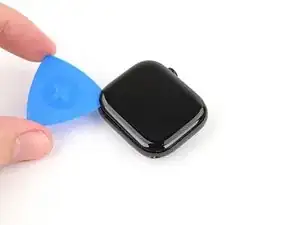
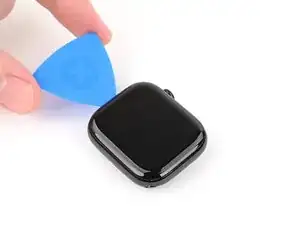
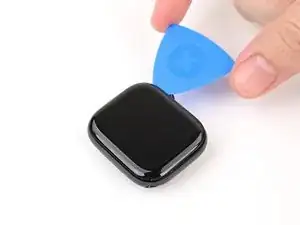
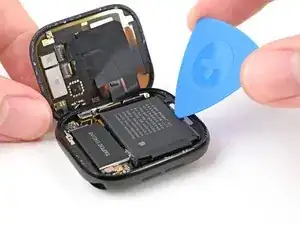
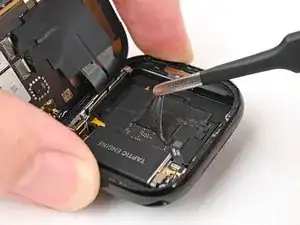
Use this guide to replace the battery in your Apple Watch Series 10.
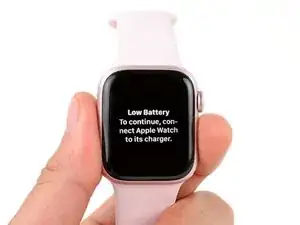
Lithium-ion batteries have a limited lifespan. If your watch doesn't hold a charge or dies unexpectedly, it might be time to replace the battery.
If your battery is swollen, take appropriate precautions.
You'll need replacement screen and battery adhesive to complete this repair.
Tools
Parts
-
-
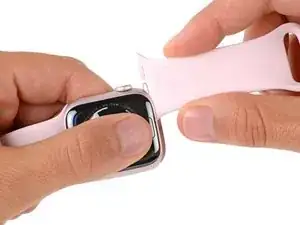
Attach and remove the watch bands as needed to get a better grip or stabilize your watch.
-
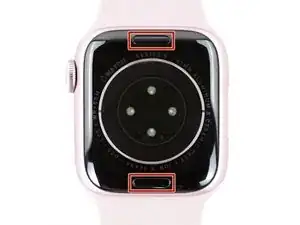
To remove a band, firmly press in the small, oval button on the underside of the watch and slide the band out of its groove.
-
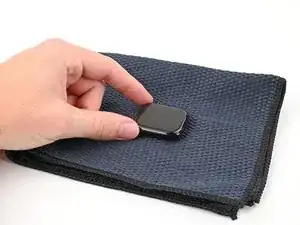
Consider placing your watch on something soft like a clean cloth to help stabilize it and prevent damage.
-
-
-
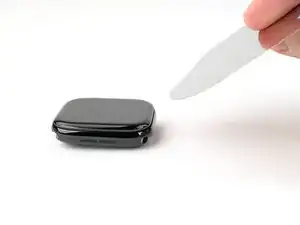
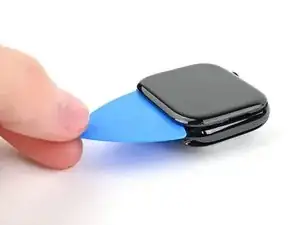
With one hand, push down firmly on the watch's frame to secure it in place.
-
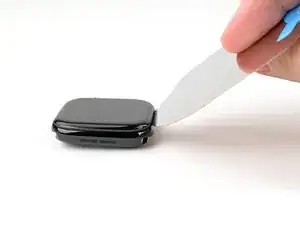
With your free hand, hold the iFlex and push the edges up to make it more rigid.
-
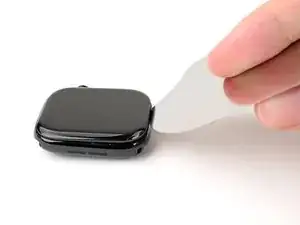
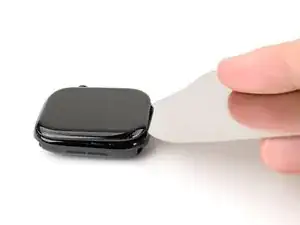
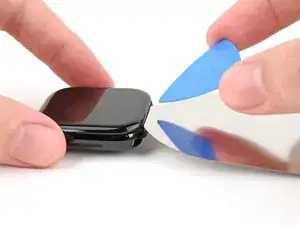
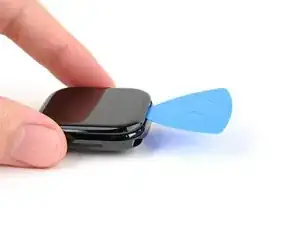
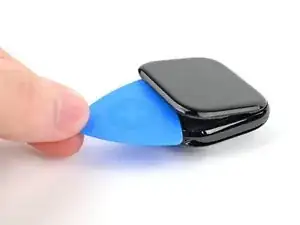
Pry up the screen enough for the iFlex to lay flat on its own.
-
Leave the iFlex inserted under the screen.
-
-
-
Keep the iFlex flat to maintain a gap between the screen and frame while inserting an opening pick.
-
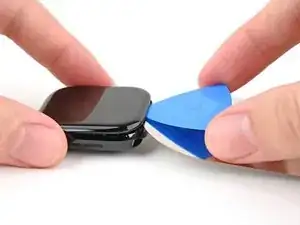
Insert an opening pick between the screen and iFlex.
-
Remove the iFlex.
-
-
-
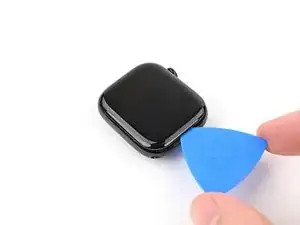
Continue sliding your pick along the top edge and around the top right corner, stopping just after the digital crown.
-
-
-
Insert the long edge of an opening pick between the left edge of the screen and frame.
-
Twist the pick to lift the screen and separate any remaining adhesive.
-
-
-
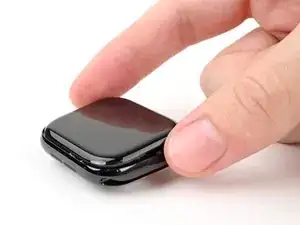
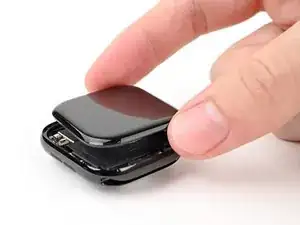
Pull the right edge of the screen over the digital crown.
-
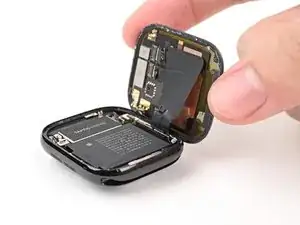
Swing up the left edge of the screen so it's upright. The screen should be to the right of the digital crown.
-
This is a good point to plug in your watch and test all functions before sealing it up. Be sure to power it back down completely before you continue working.
-
Follow this guide to apply new screen adhesive and reseal your watch.
-
-
-
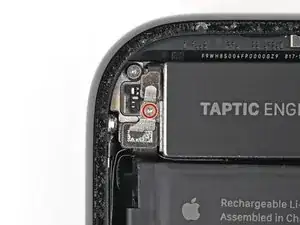
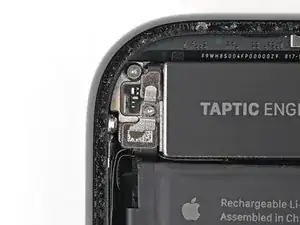
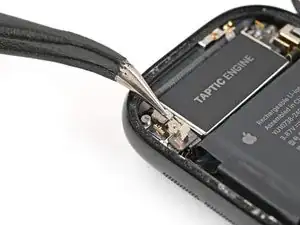
Use a tri‑point Y000 screwdriver to remove the 1.1 mm‑long screw securing the battery connector bracket.
-
-
-
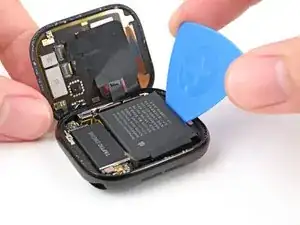
Insert an opening pick between the bottom edge of the battery and frame.
-
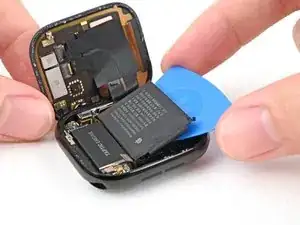
Pry up the battery with the opening pick until it starts to separate from the frame.
-
Slide the pick farther under the battery and lift until all the adhesive is separated.
-
-
-
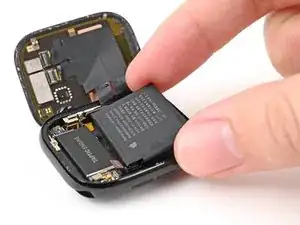
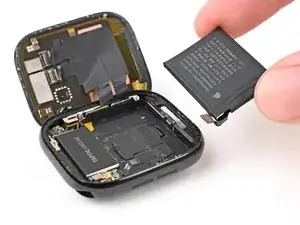
Remove the battery from the frame.
-
Use a spudger and tweezers to remove all the old adhesive from the battery recess.
-
If your replacement battery doesn't have adhesive pre-installed, put strips of thin, double-sided tape on the logic board (not directly on the battery) where the old adhesive was.
-
Reconnect the battery cable press connector to its socket on the motherboard.
-
Remove any liners from the battery adhesive or double-sided tape.
-
Firmly press the battery into place to secure it with the adhesive.
-
To reassemble your device, follow these instructions in reverse order.
For optimal performance, calibrate your newly installed battery after completing your repair.
Take your e-waste to an R2 or e-Stewards certified recycler.
Repair didn’t go as planned? Try some basic troubleshooting, or ask our Answers community for help.
