
Introduction
Use this guide to replace the back cover of the Amazon Echo Show 8 2nd gen or to aid in the other guides where the back cover needs to be removed. The back cover is the outer shell of the device, that needs to be removed to access the inner workings of the device. This guide will walk you through the four-step process of removing the back cover. This guide is the pre-requisite guide for all of the replacement guides and will be the first four steps to all the replacement guides.
Tools
-
-
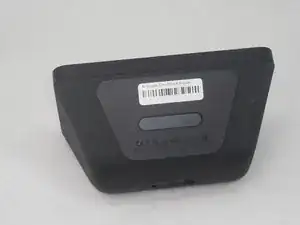
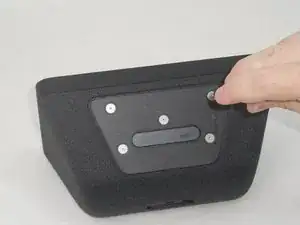
Flip the device so that the rubber foot is facing up.
-
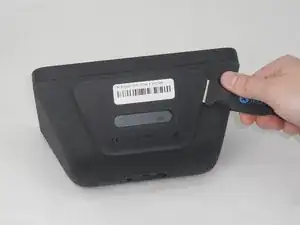
Insert a Jimmy between the rubber foot and chassis, then slide it around the perimeter until the rubber foot releases.
-
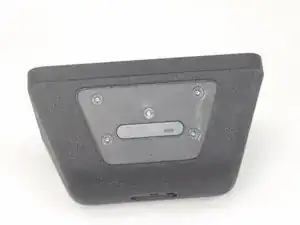
Remove the rubber foot.
-
-
-
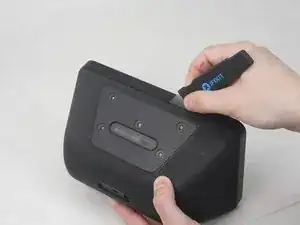
Insert a Jimmy in the gap between the front and rear case.
-
Work the Jimmy around the perimeter to gently detach the rear case from the front case.
-
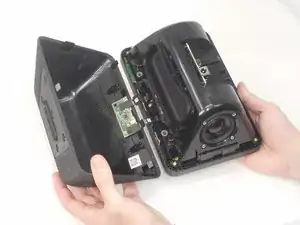
Separate the rear case from the front case.
-
-
-
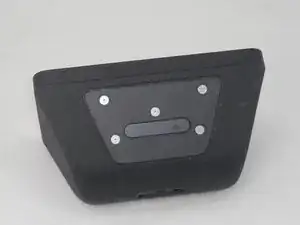
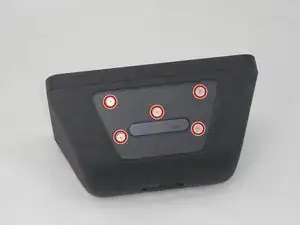
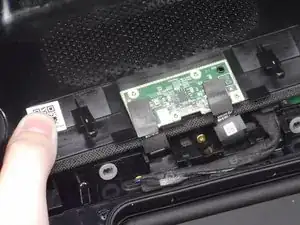
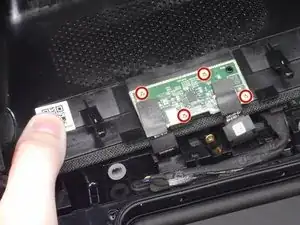
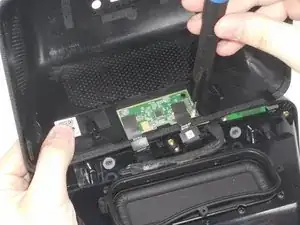
Use a T6 Torx screwdriver to remove the four 5.2 mm screws that secure the microphone board to the rear case.
-

To reassemble your device, follow these instructions in reverse order.