Introduction
Use this replacement guide if the microphone of the Amazon Echo Show 8 is not functioning. The microphone is important when it comes to being able to use the “Alexa” commands as well as video calling. Before continuing with this replacement guide, go to the troubleshooting guide and ensure you have completed the trouble shooting steps. This guide will walk you through replacing the microphone. Make sure the device is disconnected from the power before proceeding with the guide.
Tools
-
-
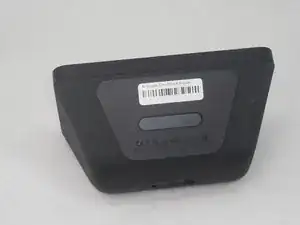
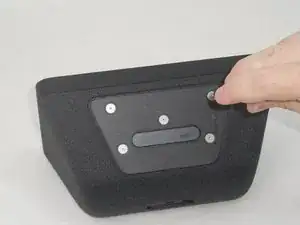
Flip the device so that the rubber foot is facing up.
-
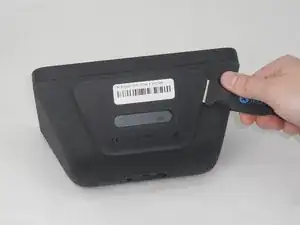
Insert a Jimmy between the rubber foot and chassis, then slide it around the perimeter until the rubber foot releases.
-
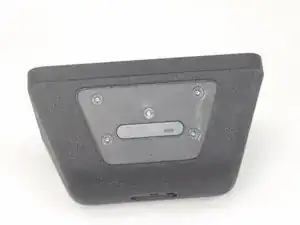
Remove the rubber foot.
-
-
-
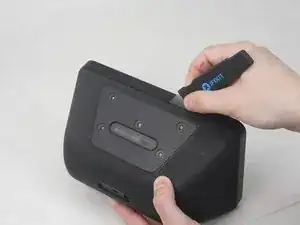
Insert a Jimmy in the gap between the front and rear case.
-
Work the Jimmy around the perimeter to gently detach the rear case from the front case.
-
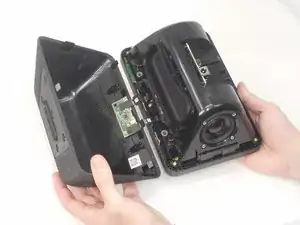
Separate the rear case from the front case.
-
-
-
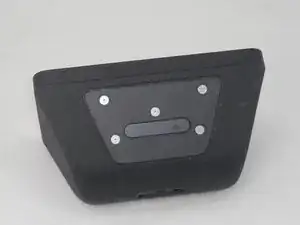
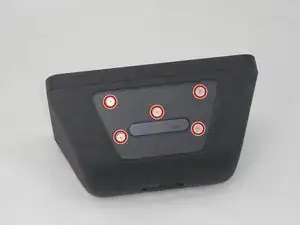
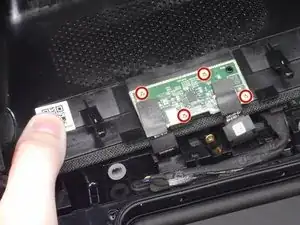
Use a T6 Torx screwdriver to remove the four 5.2 mm screws that secure the microphone board to the rear case.
-
-
-
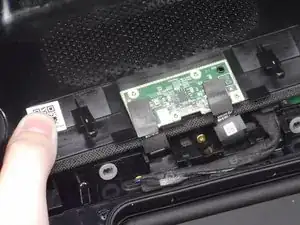
Orient the Echo with the microphone board facing upwards.
-
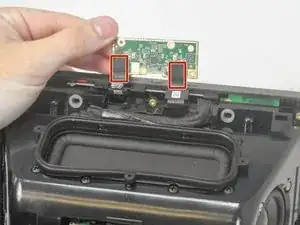
Use a spudger to gently remove the 2 pieces of foam covering the ribbon cables.
-
-
-
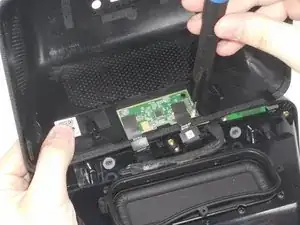
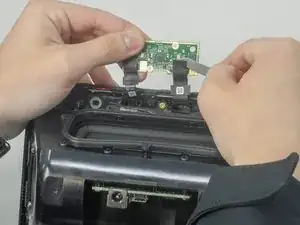
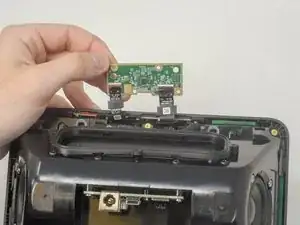
Use the pointed end of a spudger to flip up both of the ZIF locking flaps.
-
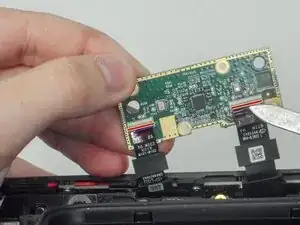
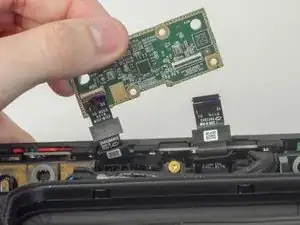
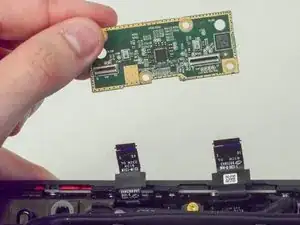
Gently remove both of the ribbon cables from their respective sockets.
-
Lift the micro
-

To reassemble your device, follow these instructions in reverse order.