Introduction
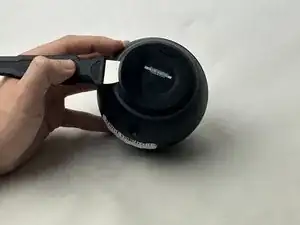
If your speaker needs to be replaced, you can access it with this guide. If needed, you can also replace the case, ribbon cable, CPU PCB, and switch PCB since this device is relatively small and the parts are relatively close together. For this replacement, you'll need a spudger, safe pry tool, T6 Torx screwdriver head, and a T8 Torx screwdriver head.
-
-
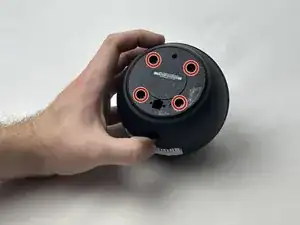
Using a spudger, remove the rubber footing around the base of the Echo Dot. This will reveal the four T8 1.25 cm Torx screws.
-
-
-
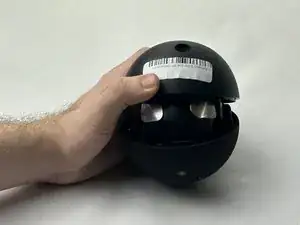
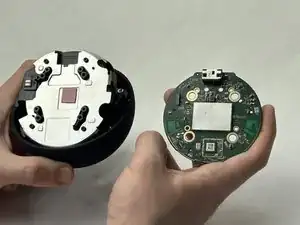
Remove the CPU PCB by removing the 4 T6 0.75cm Torx screws.
-
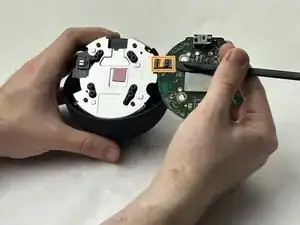
Once removed, unclip the plastic retainer on the CPU PCB and slide the ribbon cable out. This will reveal the speaker’s metal housing.
-
-
-
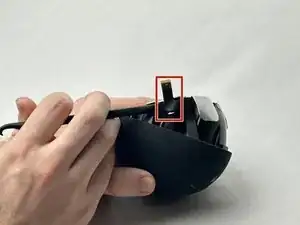
To access the speaker, take a plastic spudger and slowly lift the ribbon off of the housing.
-
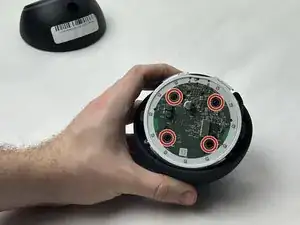
Remove the four T8 1cm Torx screws around the edges of the metal housing.
-
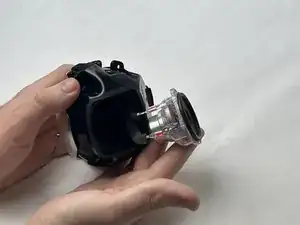
Lift the top case off of the housing to reveal the speaker.
-
-
-
Using a Torx T5 bit, remove the four 1cm screws around the speaker and slide it out of the housing.
-
Pull 2 speaker cables off of the speaker and detach it.
-
To reassemble your device, follow these instructions in reverse order.