Introduction
If your device is having trouble picking up your voice or doesn't recognize it at all, you may have a faulty microphone ribbon cable. This guide requires a plastic and metal spudger, and T4, T6, and T8 Torx screwdriver bits. The ribbon cable is relatively fragile, so be careful while removing it.
-
-
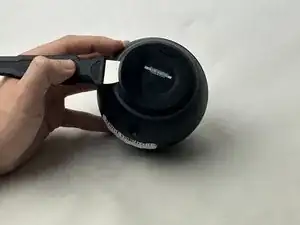
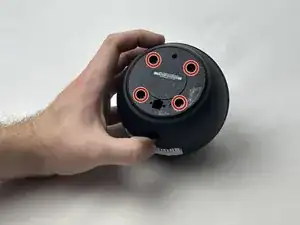
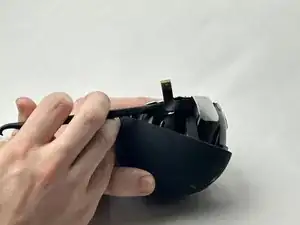
Using a spudger, remove the rubber footing around the base of the Echo Dot. This will reveal the four T8 1.25 cm Torx screws.
-
-
-
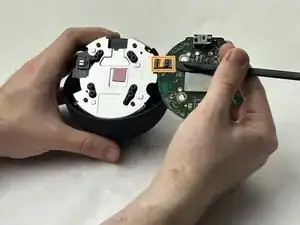
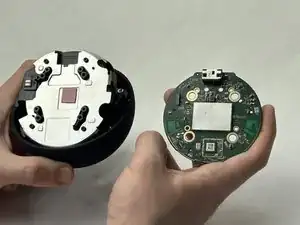
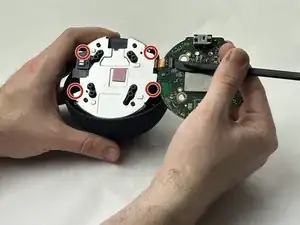
Remove the CPU PCB by removing the 4 T6 0.75cm Torx screws.
-
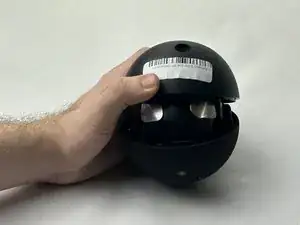
Once removed, unclip the plastic retainer on the CPU PCB and slide the ribbon cable out. This will reveal the speaker’s metal housing.
-
-
-
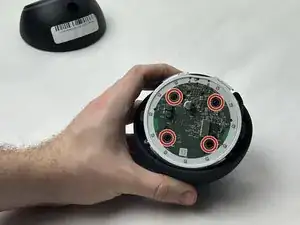
Using the Torx T8 bit, remove the four 1.25 cm screws around the edges of the speaker housing, and lift the housing off of the top case, revealing the switch PCB.
-
-
-
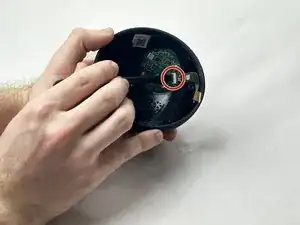
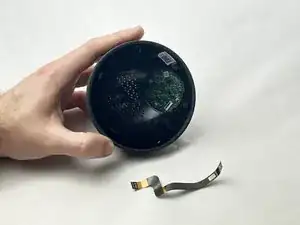
Use a plastic spudger to undo the adhesive attaching the ribbon cable to the top case. Then, flip the tab on the switch PCB, and slide out the ribbon cable.
-

To reassemble your device, follow these instructions in reverse order.