Introduction
When your PC begins to shut off or freeze randomly, you may need to replace your Alienware X51 heat sink. (refer to the Troubleshooting Guide for more details).
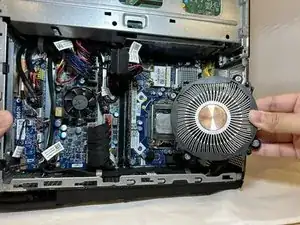
A heat sink is a cooling component that dissipates heat away from a source via conduction or convection, which increases performance and longevity of a computer. Replacing the heatsink on your PC is a critical maintenance task that ensures optimal performance and prevents overheating. If your PC is freezing or overheating, or if you're looking for an upgrade then you might need to replace the heat sink. This guide will help you walk through the necessary steps to replacing the heat sink on your PC.
Before following this guide make sure the CPU ventilation and fan is clear of dust and debris.
Before installing the heat sink make sure everything is turn off. and unplug from power sources. There could be shock hazard if the motherboard isn't grounded properly.
Tools
-
-
Place the PC so the name "Alienware" is on top and facing you.
-
Slide the front panel towards you and lift up.
-
-
-
Fully disconnect the panel by unplugging the lighting cord going into the PC's internal system.
-
Remove the front panel from the rest of the device.
-
-
-
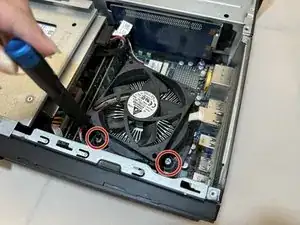
Remove the two 2.0 mm screws holding the fan protector in place using a Phillips #1 screwdriver.
-
Remove the protector holding the fan in.
-
-
-
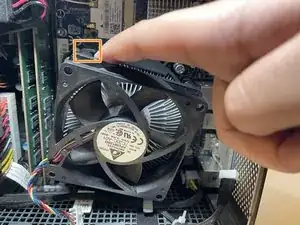
Use a Phillips #1 screwdriver to loosen the four spring screws around the fan until you hear a click.
-
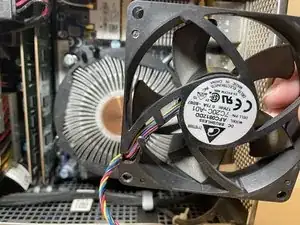
Gently pull back the clips and remove the fan by pulling it out.
-
-
-
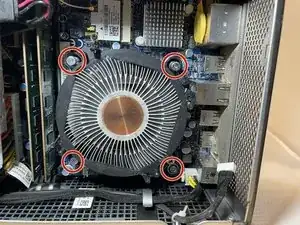
Loosen the four 10.0 mm screws around the heatsink with a Phillips #1 screwdriver until you hear a click.
-
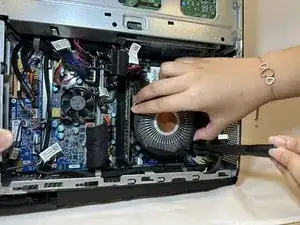
Remove the heatsink by gently prying and lifting it up.
-


To reassemble your device, follow these instructions in reverse order.
