
Introduction
I will teach you how to dismantle the AirPods charging case as much as possible without damaging it. This dissasembly is a case that has spent a lot of time in the water and has significant corrosion. You can use this method where possible to remove or replace the battery or internal circuitry.
-
-
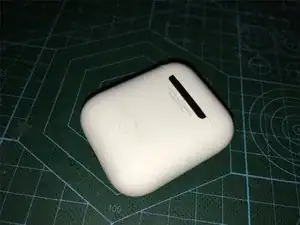
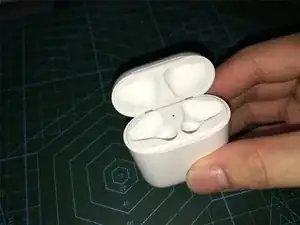
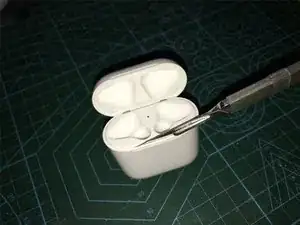
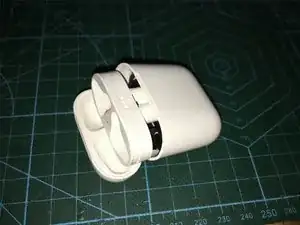
This is a charging case for AirPods, which is currently waterlogged. I will try to take it apart and test the internals for water damage.
-
-
-
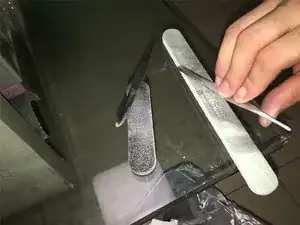
Find a pair of tweezer, and then divide it into two halves to create a spudger. Then grind it with a grinder to the size required to be reasonably long and thick, ready for the next step of disassembly! Or buy one from ifixit
-
-
-
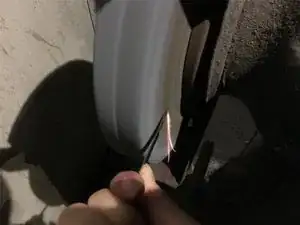
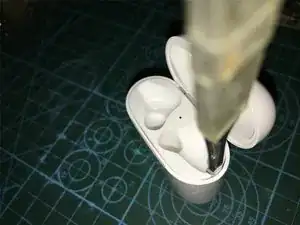
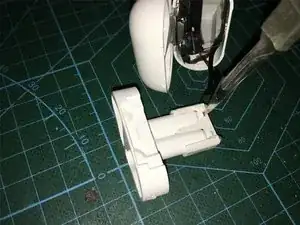
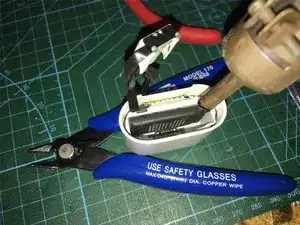
Using a scalpel, insert the inside and outside to slide left and right so that the connection parts of the charging case are completely loose, and then lift a space and insert a tool as a lever.
-
-
-
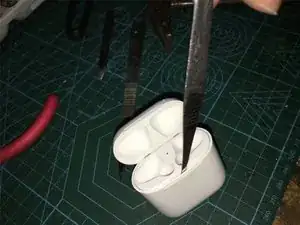
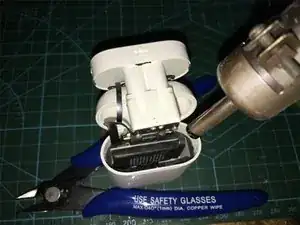
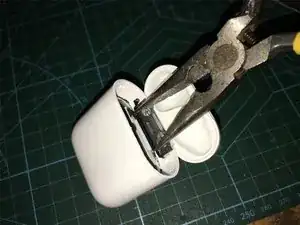
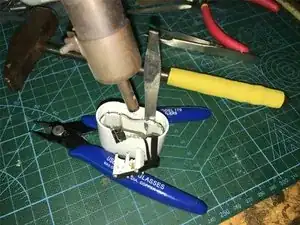
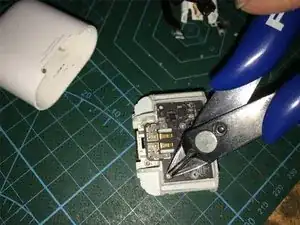
Use a polished metal lever to loosen it further, then fix it with a vise grip, tighten it slowly to deform the load and outer shell, and then loosen with the tool. (Remember to secure the AirPods on both sides of the shell before attaching it. Prevent the press from leaving traces on the outer casing.)
-
-
-
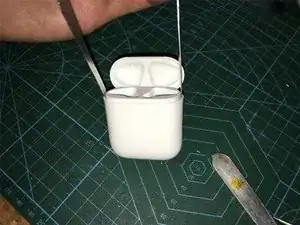
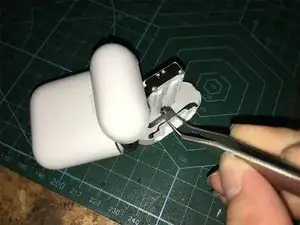
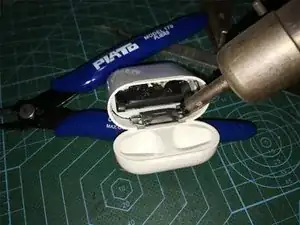
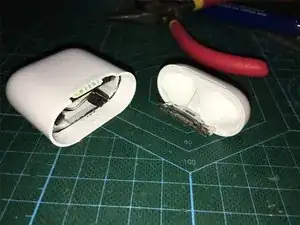
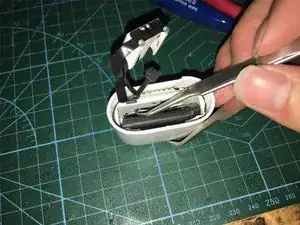
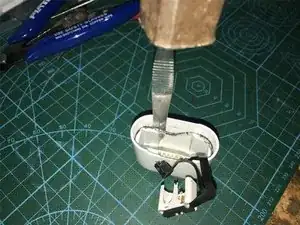
After loosening, use a metal lever, pull both sides at the same time, then pay attention to the cable to pull out the internal base and finally heat with a hot air gun to remove the stainless steel internal fixed iron ring.
-
-
-
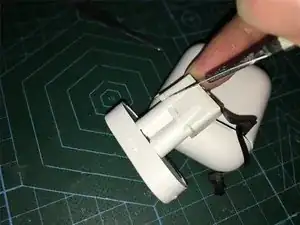
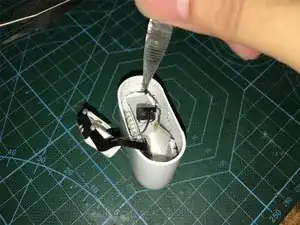
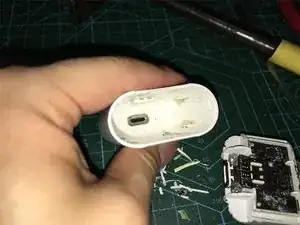
After removing the stainless steel fixed iron ring, then use a heat gun to heat, the indicator light and the charging contact base of the AirPods.
-
-
-
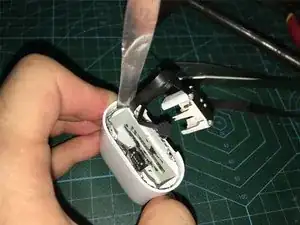
After heating the base of the contact, use a scalpel to open it. The adhering parts become loosened further so you can finally remove them from the bottom.
-
-
-
Heat with a hot air gun, cover the metal connection parts, the temperature here is slightly higher, about 90 to more than 100 degrees, after heating for 20 seconds.
-
-
-
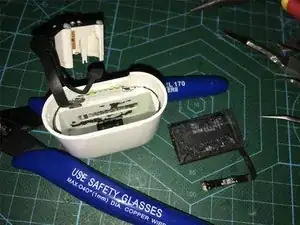
After continuing to heat with a heat gun, loosen the battery with a lever, loosen the push button on the base of the fixed connection cable and remove the battery.
-
-
-
Use the scalpel to slide the inner frame and fixed frame to the left and right to loosen the attachment parts. You can use the heating method to slide while heating, and then use the special metal lever polished before the hammer to force down.
-
-
-
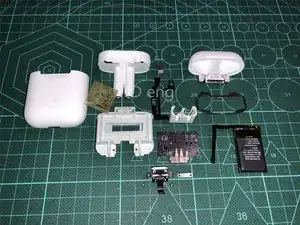
Continue repeating the previous operation until it is completely loose, and finally remove the internal support.
-
-
-
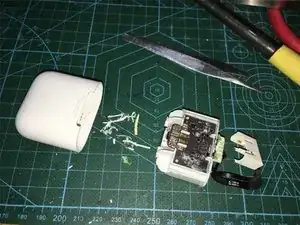
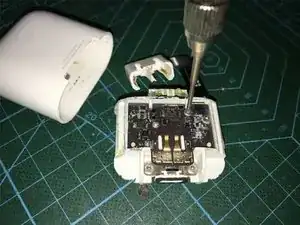
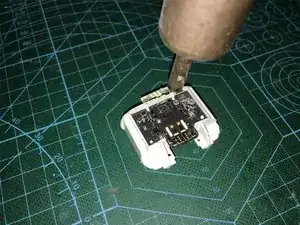
After complete removal, remove it with a screwdriver and connect the cable at the base of the headset to the cable that is loaded with the lightning interface below.
-
-
-
After complete removal, a screwdriver is included and the cable is connected to the base of the headset to the cable that is loaded with the lightning interface below.
-
-
-
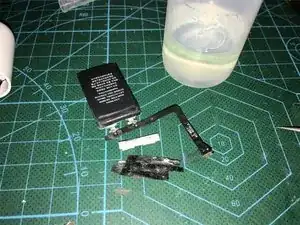
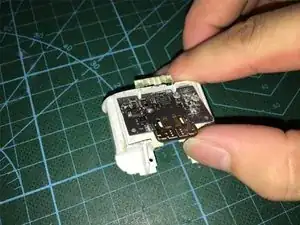
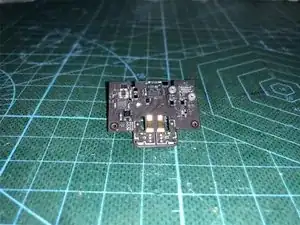
After pulling away the circuit board, you can see that some of its components are very corroded. After all, the case was in the water for a long time.
-
-
-
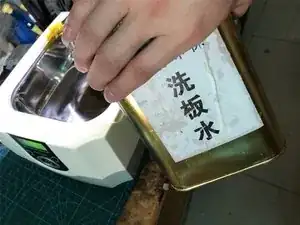
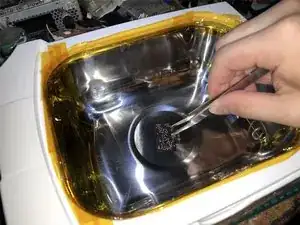
First I use the ultrasonic cleaner with PCB cleaning liquid to try and save the circuit board.
-
-
-
After the cleaning, don't worry about the lithium battery just yet. Connect the charger to the circuit board and see if the charging indicator turns on.
-
Looks like this circuit board still needs work. The light isn't turning on. Check that the current is 6 mA. The PMIC is often the problem, as it is one of the more fragile components of the board.
-
Remove any damaged components, find their identical replacements and replace them on the board. Only attempt this step if you have experience with microsoldering. If not, you can consult my recommendations at the end of the disassembly.
-
-
-
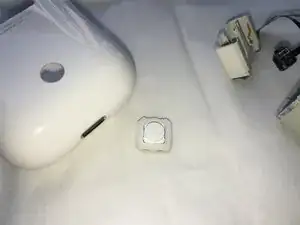
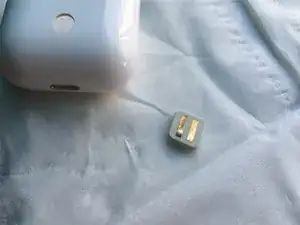
I almost forgot the button that iFixit didn't disassemble completely!
-
What is the secret of this button? To be sure, I take a peek. On the inside, it looks similar to the iPhone 5 and iPhone SE home buttons.
-
-
-
In summary, this disassembly of an AirPods case is directed primarily to normal users who have waterlogged AirPods cases. You can attempt to dismantle them with this method, as best you can.
-
After the cleaning, you can use a hair dryer to heat and dry the circuit board. If functionality is restored, you can use B7000 glue to put the case back together. Hopefully this helps everyone!
-
Finally, I'd like to ask the teardown team at iFixit: Can you change the repairability score of the AirPods from a 0 now? (^_^)
-


13 comments
So, just buy new AirPods then?
Haha thats exactly what this article tought me too :D
Sounds about right… ;-)
Way to much work.