Introduction

This is a guide on how to perform a touchpad replacement on an Acer Spin 5 SP515-51GN-807G laptop. The touchpad is a very important part of the device since it is the main peripheral the user uses to interact with when it is in laptop mode. If the touchpad doesn’t work properly, it is still possible to use the device since it can also be used as a tablet, but for users who prefer a traditional laptop interface, then it is best to make sure the touchpad works perfectly.

  1. 2NhMUJrFdT5D4S1n
    • Remove the eleven 6.5 mm screws that secure the back case using a Phillips #1 screwdriver.

  2. TTcLhgUNyp2OrmLf
    TTcLhgUNyp2OrmLf
    UtREdKtO2NsLOFLN
    BRWSnRTNhw24rcCe
    • Use a plastic opening tool to gently pry open the back cover.

  3. IiVeqVpZAapugxvH
    • Gently remove the back cover from the device.

  4. oLFuuGujkFDetbpD
    oLFuuGujkFDetbpD
    Jp2cgIxlVrU4OUhZ
    lGLDCUFw2dHyII51
    • Using tweezers, remove the piece of black tape over the battery cable connector.

  5. K3TS3BUWDwoednur
    K3TS3BUWDwoednur
    4xJ1TwerPG3CI2sB
    ipEPC2nmZFe5ZK1Q
    • Remove the piece of black tape that covers the battery.

  6. fxyWTUsMOH4TQ4p4
    fxyWTUsMOH4TQ4p4
    AwXZurd5hqjSjQSu
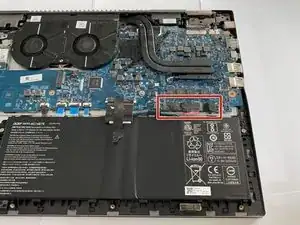
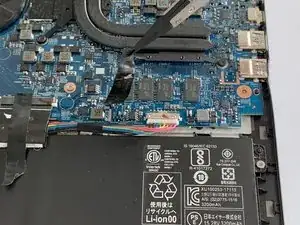
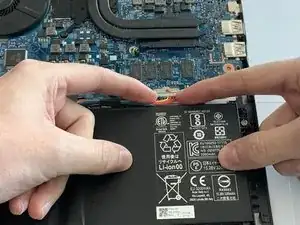
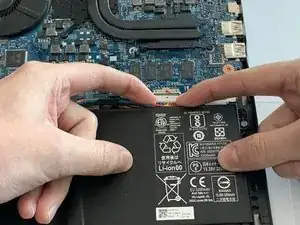
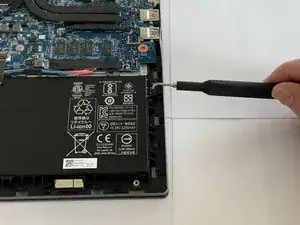
    • Grip the battery cable on both sides with your fingertips and gently pull it away from the port.

    • If needed, use the plastic opening tool to remove the cord from its port.

    Great work with clear, specific directions here and a nice flipbook shot. This step would be easy to follow.

    Alex Watkins -

  7. 3c3AEhCpPvXUcLe5
    3c3AEhCpPvXUcLe5
    IxD6AAyhogWIRgiS
    QXXrsq3EBhjDGTRv
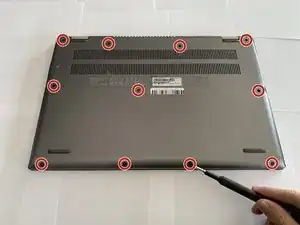
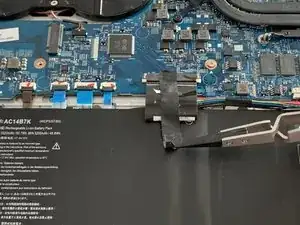
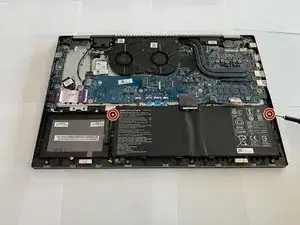
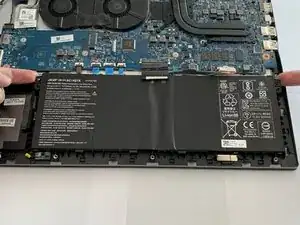
    • Remove the two 3.5 mm screws that secure the battery using a Phillips #00 screwdriver (PH00 bit).

  8. 3WlLVqNdexXkqXpV
    3WlLVqNdexXkqXpV
    OxWpPL4v1WRuCsnq
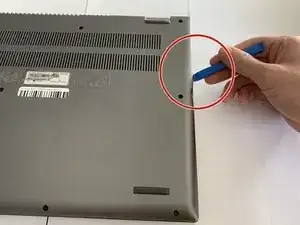
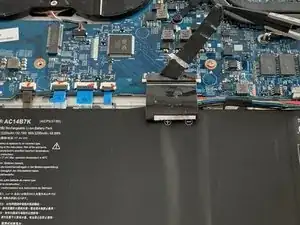
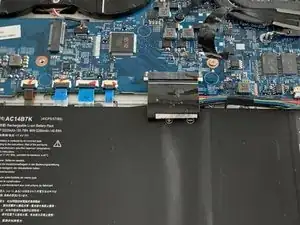
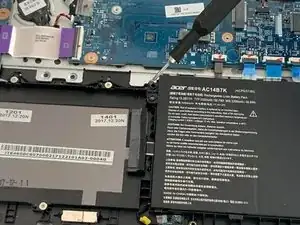
    • Carefully place your fingers under the plastic lip where the screws were removed.

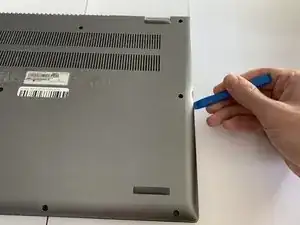
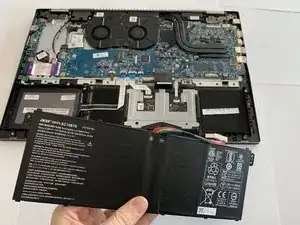
    • Lift upwards to remove the battery.

    • Do not bend or puncture the lithium ion battery as it poses a fire hazard.

  9. KLeFDqSgtcWcFMRv
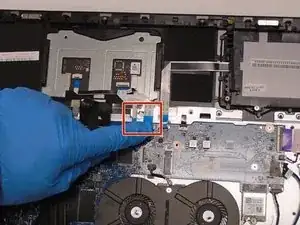
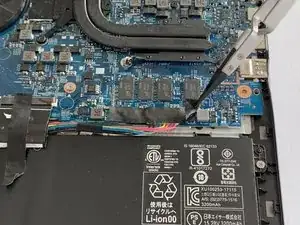
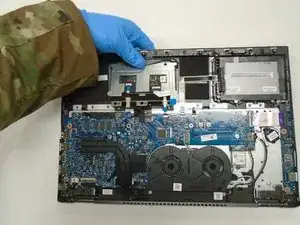
    • Unplug the 2 ribbon cables connecting the trackpad to the motherboard by flipping up the locking tabs of the ZIF connectors and pulling out the cables.

  10. yI3tw5B11ttQloGZ
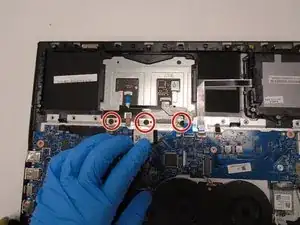
    • Remove the three 2.2 mm screws holding the trackpad in place with a Phillips #00 screwdriver.

  11. nrKyw3Pfe3WSM2l4
    • Lift the lid of the laptop and push the trackpad out from the inside.

Conclusion

To reassemble your device, follow these instructions in reverse order.

Hikeem E Elmore

Member since: 17/09/20

265 Reputation

0 comments