
Introduction
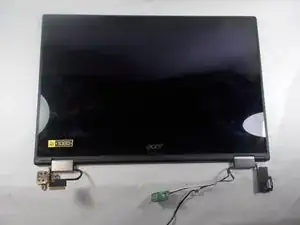
This guide will help you successfully remove the microphone out of your Acer Chromebook Spin 15 CP315-1H-P1K8. If the microphone component for this laptop is not functioning, use this guide to properly remove the faulty microphone for replacing.
-
-
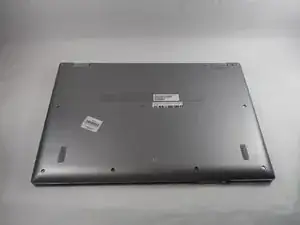
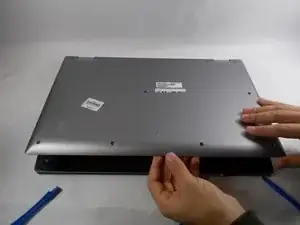
Flip the computer over so that the back is facing up.
-
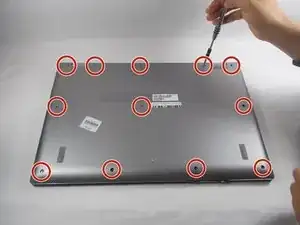
Remove the twelve 6mm Phillips #1 screws from the bottom of the laptop.
-
-
-
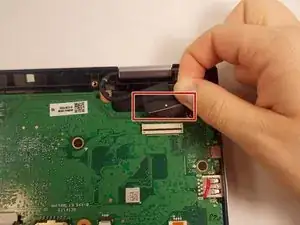
Unplug the camera/microphone ribbon cable from the circuit board.
-
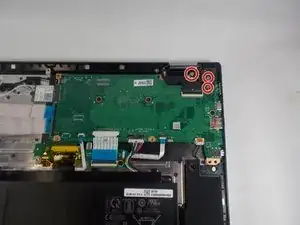
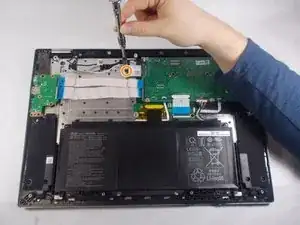
Remove the single 3mm Phillips #1 screw from the Intel core.
-
Unplug the cable from the circuit board.
-
-
-
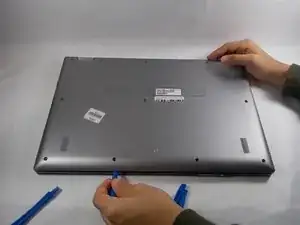
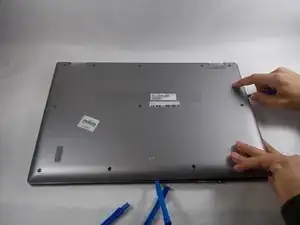
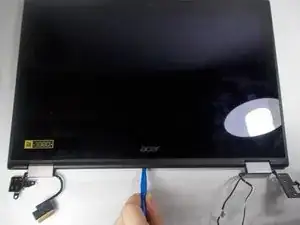
Use the plastic opening tool, create a gap between the back and front of the display.
-
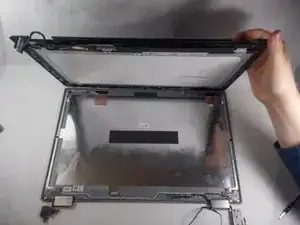
Lift the front out with your hands.
-
-
-
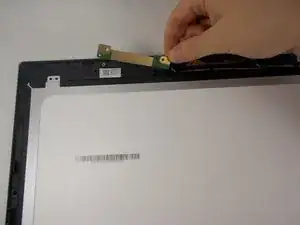
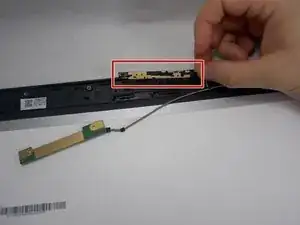
Remove the two 3 mm Phillips #1 black screws from the microphone at the top of the display cover.
-
-
-
Remove the microphone component from the rest of the computer by detaching the connected wire.
-
The camera component of the laptop is connected to the same wire, so remove this as well.
-
-
-
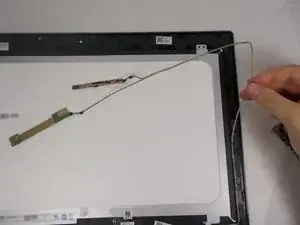
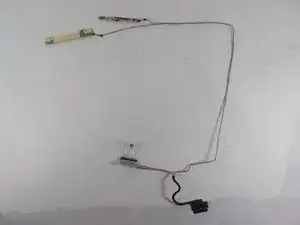
Remove the microphone and camera wire out from around the display screen.
-
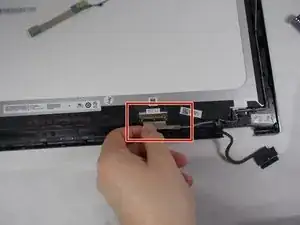
Remove the ribbon cable at the bottom of the display screen to completely free the wire.
-
Carefully remove the adhesive tape and take out the ribbon cable.
-


To reassemble your device, follow these instructions in reverse order.

Some of the screws are long and some are short - make sure you not which came out of which hold.
Thomas Krauska -
As always, I would recommend that you remember exactly where you remove the screws from, on this particular model, we did not see that the screws were different lengths. I would recommend sorting them in a pattern that is familiar, such as clockwise or counterclockwise. This way when replacing the screws you know exactly the order to put them back in.
Evan Costa -