Introduction
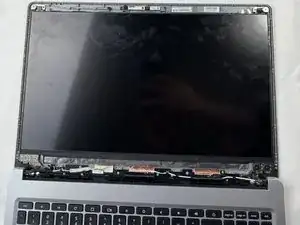
This guide can be used to replace your Acer Chromebook's LCD screen if there are any signs of physical damage. Physical damage can come in the form of cracks, holes, and/or black splotches.
Parts
-
-
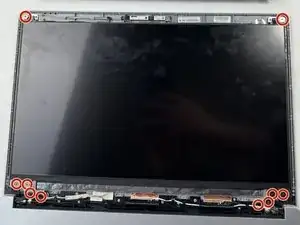
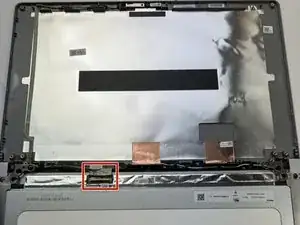
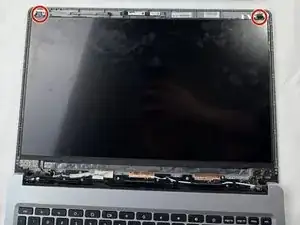
Use a Phillips #1 screwdriver to remove ten screws that are holding the LCD screen to the top-half of the Acer Chromebook.
-
-
-
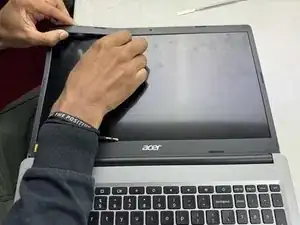
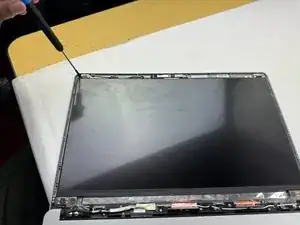
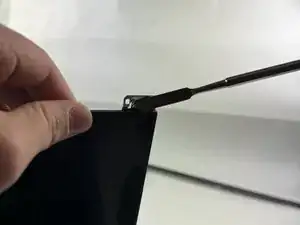
Pull out the double-sided tape that is attaching the LCD screen to the frame of the Acer Chromebook by grabbing the tip of the tape (it should be poking out above the LCD screen) and pulling away from the frame.
-
-
-
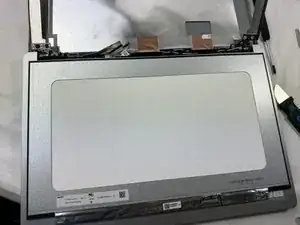
After pulling out the double-sided tape, remove the LCD screen by simply popping it out of the frame.
-
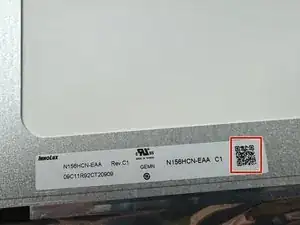
At the bottom of the LCD screen, there will be a QR code that can be scanned on your phone. The QR code will take you to different websites that sell the designated LCD screen for the Acer Chromebook 315.
-

To reassemble your device, follow these instructions in reverse order.