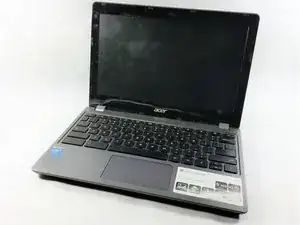
Introduction
When an Acer Chromebook C740-C4PE screen does not function as it should (including black circles, colored lines, black screen, etc) the best solution is to replace the screen with a new one. This guide helps you to remove the old screen with all of the components that hold it, and install the new screen and secure it.
Parts
-
-
Turn off the Acer Chromebook, remove it from the charger, and disconnect the battery adapter.
-
-
-
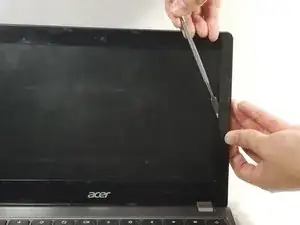
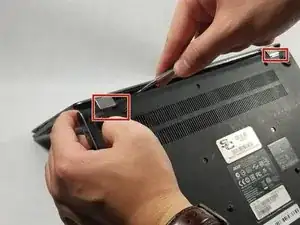
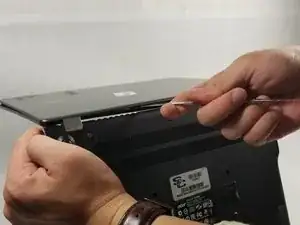
Use the spudger to open the two hinges that connect the screen frame to the bottom of the Chromebook.
-
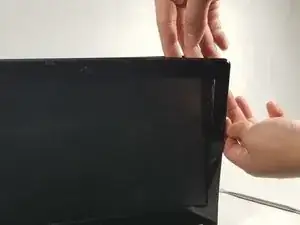
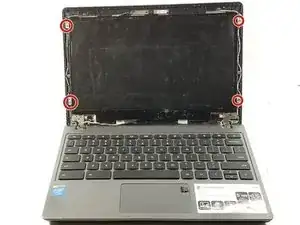
Move the spudger along the bottom of the screen frame until you can pull the frame out entirely.
-
-
-
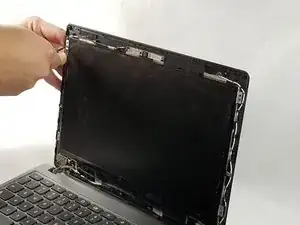
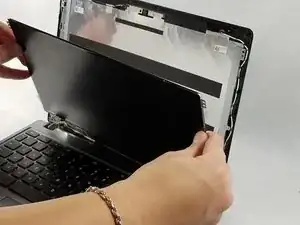
Place the LCD screen on top of the keyboard.
-
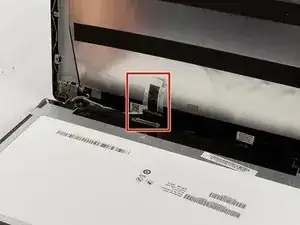
Lift the tape that holds the back of the LCD screen to the connector, and unplug the connector.
-
Remove the LCD screen and replace it with the new one.
-

To reassemble your device, follow these instructions in reverse order.