Introduction

If the speakers in your Acer Chromebook (model C731-C8VE) are sounding muddy, damaged, or just need an upgrade, this guide will help you replace the speaker assembly.

The speakers in this laptop use auxiliary power through the motherboard, and are attached with adhesive to the base of the laptop. A set of broken speakers in the laptop will result in sound that is muddy, distorted, or just plain no sound at all.

Before beginning this guide, you need to make sure that the power on your laptop is completely turned off since we will be removing the battery for this replacement.

  1. HW5BodCuLFRRT2vG
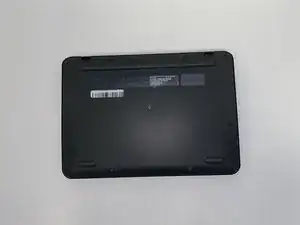
    • Place the Chromebook face down.

  2. 2MQk1V6BamayS1B3
    • Make sure to completely turn off the device before beginning this step.

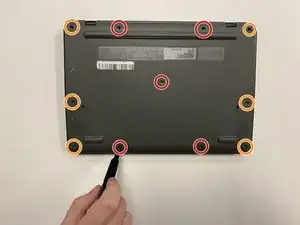
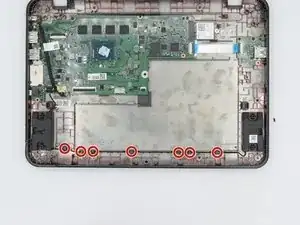
    • Use a JIS #00 screwdriver to remove the 11 screws on the underside of the laptop.

    • These 2 mm screws have washers and will be located on the left and right of the device.

    • The 2 mm screws marked orange do not have washers attached and must be placed in these specific areas.

  3. EEJALhsrAHw2qJHP
    EEJALhsrAHw2qJHP
    HflXKUMwhSmacXLB
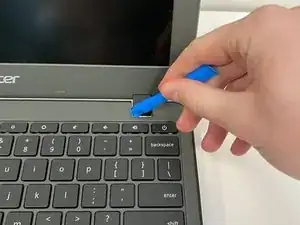
    • Use the iFixit opening tool to remove the keyboard from the device by prying it loose from the base.

  4. KHlEIegKUqCPtHNX
    KHlEIegKUqCPtHNX
    11jObU4wVHCRqFsh
    JZgSU1x5xdAKAHRT
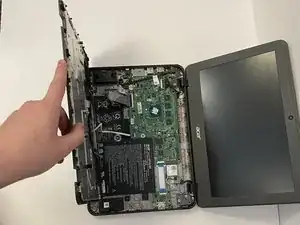
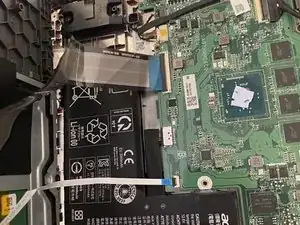
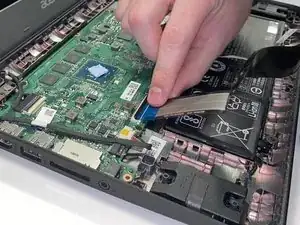
    • Detach the wires connecting the keyboard and the touchpad to the motherboard by lifting the black connectors up.

  5. iPdXFbmWjuweipPg
    iPdXFbmWjuweipPg
    SKjuWOYHyNpnPT6f
    VRC1wcgXxn6rsDGr
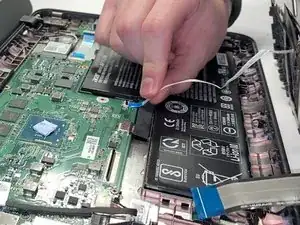
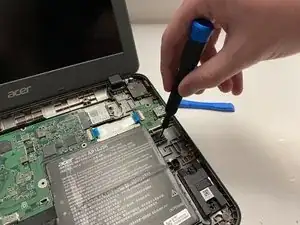
    • Use the JIS #00 screwdriver to take out the 1mm screw that connects the battery to the base.

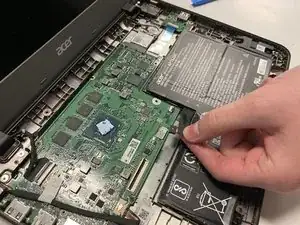
    • Detach the battery from the motherboard by lifting it up gently to avoid any damage to the motherboard.

  6. AFoGbFySB42JGQMS
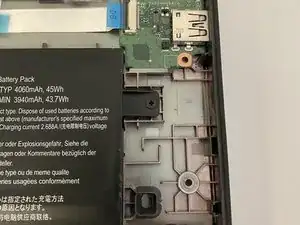
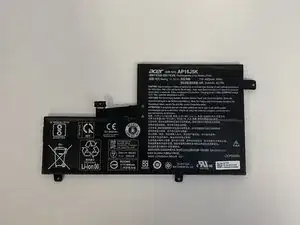
    • Remove the battery from the base of the device.

    • Do this step slowly to ensure that you do not damage the battery or the motherboard.

  7. 4Op3SjkcXNhFAGBD
    4Op3SjkcXNhFAGBD
    XJmkYTUmnvaBfN2Z
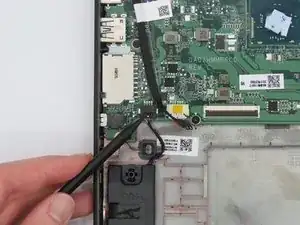
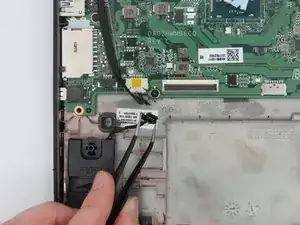
    • Unplug the speaker cable from the motherboard at the connection using a pair of tweezers.

    • Be sure to pull from the plastic casing, as pulling the wires might result in a damaged plug.

  8. 1rER46nDWTE3rEoa
    1rER46nDWTE3rEoa
    WsUMWcFKYKBSUvGu
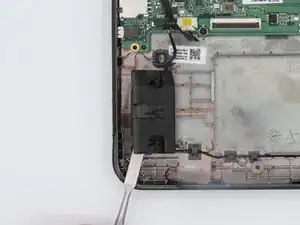
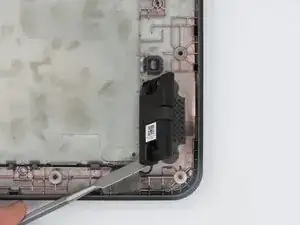
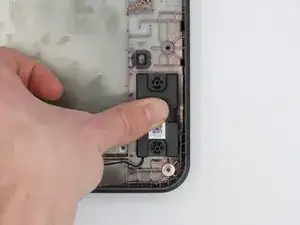
    • Using a nylon spudger, pry the speaker from the housing of the laptop.

    • There are no screws connecting the speakers, so you just need to pry the adhesive off of the board.

    • The adhesive will have some resistance, but the new speakers will have a new layer of adhesive on them. This means there is no worry about damaging the tape on the old assembly.

  9. hrhkDmaNIbJoI5kY
    hrhkDmaNIbJoI5kY
    W1DM6jIHxgonPctA
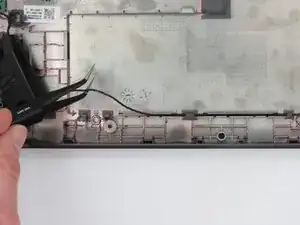
    • Unhook the cables connecting the two speakers from the anchor points on the device.

    • Since some of the anchor points are facing different directions, it is important to take it slow and unhook one point at a time.

  10. NFeAhhskQDIAxNRX
    NFeAhhskQDIAxNRX
    ma1mKCDMeQdFMIlt
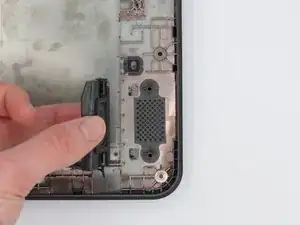
    • Remove the speakers from the laptop.

Conclusion

To reassemble your device, follow these instructions in reverse order.
Ethan Johnson

Member since: 21/02/23

199 Reputation

0 comments