Introduction
If the keyboard has stopped working for your Acer Chromebook ( model C731-C8VE) this guide will help you with all of the steps you need to take to replace the keyboard assembly.
A broken keyboard can result in certain keys not registering, or none of the keys registering at all. If this is the case, its important to make sure you replace the keyboard in order to get your Chromebook up and working like new again!
Before starting on this repair, you need to make sure that the power on the laptop is completely turned off, especially since we will be removing the battery for this replacement.
-
-
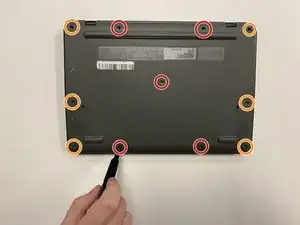
Use a JIS #00 screwdriver to remove the 11 screws on the underside of the laptop.
-
These 2 mm screws have washers and will be located on the left and right of the device.
-
The 2 mm screws marked orange do not have washers attached and must be placed in these specific areas.
-
-
-
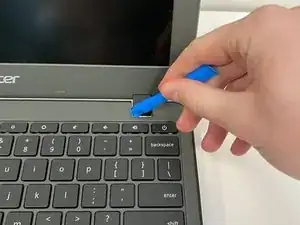
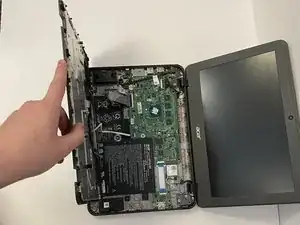
Use the iFixit opening tool to remove the keyboard from the device by prying it loose from the base.
-
-
-
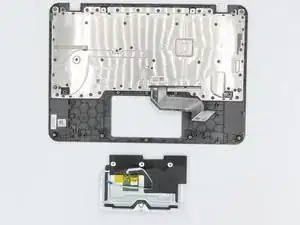
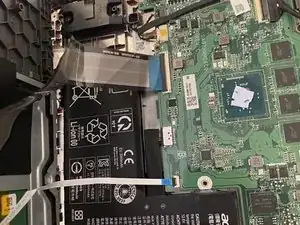
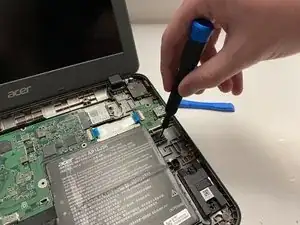
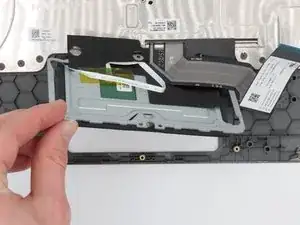
Detach the wires connecting the keyboard and the touchpad to the motherboard by lifting the black connectors up.
-
-
-
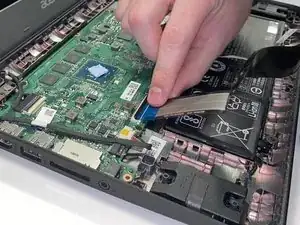
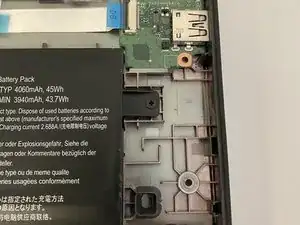
Use the JIS #00 screwdriver to take out the 1mm screw that connects the battery to the base.
-
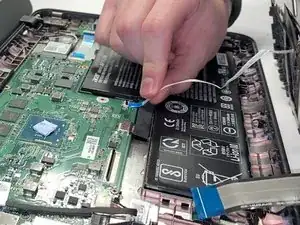
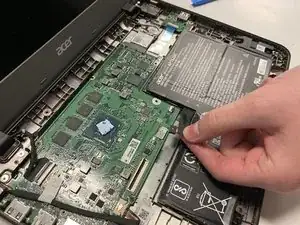
Detach the battery from the motherboard by lifting it up gently to avoid any damage to the motherboard.
-
-
-
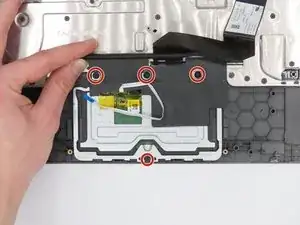
Use the JIS #00 Screwdriver to remove the four 0.5 mm screws holding the trackpad in order to detach it from the keyboard.
-


To reassemble your device, follow these instructions in reverse order.

One comment
Thank you for guide