Introduction

Step-By-Step Guide: Created By ATUS Service

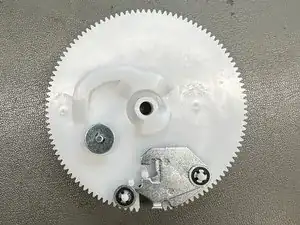
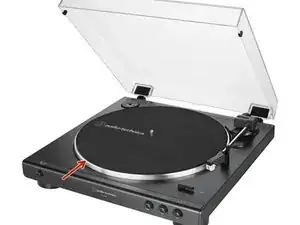
This guide is used to provide step-by-step instructions for replacing the Cam Gear Assembly on all AT-LP60/LP60X and AT-LP3/LP3X models. The part being replaced has a possible link to inconsistent functionality of the auto start/stop function of the automatic turntable.

The part number for the cam gear assembly is 701-SL24F-192, and can be purchased through the Audio-Technica parts department; (330)686-2600 ext.5002 || parts@atus.com

  1. tokqkB2HSx1W1euN
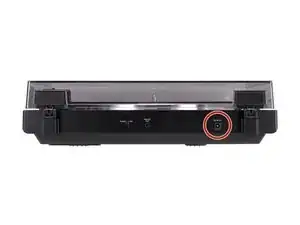
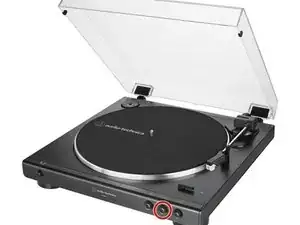
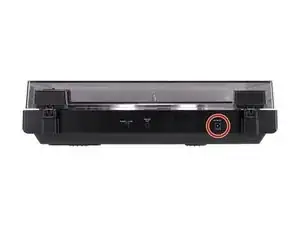
    • Unplug the power source located on the back of the turntable.

  2. gJHLFIfZ4ZiHUNS5
    • Press the stop button located at the front of the turntable one time.

    • During this step, remove your record (if one is on the turntable) and remove the black felt mat.

  3. hJo2LSFvGKYiPr2W
    • With your right hand, hold the tone arm in the rest so that it does not move.

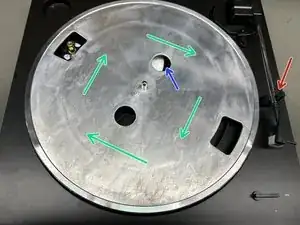
    • With your left hand, slowly rotate the platter clockwise until you hear a series of clicks.

    • After hearing the series of clicks, the cam gear assembly should not rotate while you continue to rotate the platter - if the cam gear is still rotating, press the stop button again and repeat step 3.

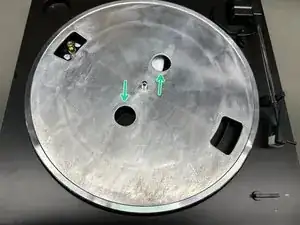
    • Cam gear assembly - white gear visible through holes of the platter.

    • Allowing the tone arm to move freely during this process can result in the stylus being broken.

  4. knKKtQoI1ZNyEEx1
    knKKtQoI1ZNyEEx1
    OwTHpQQstUso3mH5
    • Gently pull the belt up and off of the gold pulley.

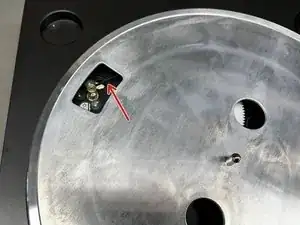
    • Remove the platter by grabbing the platter from the two circles, and pull straight up.

  5. biS6kjUOBrUlpKAb
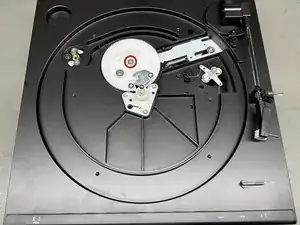
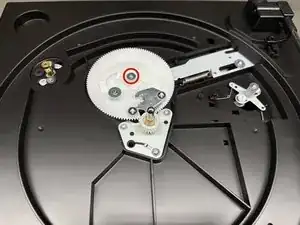
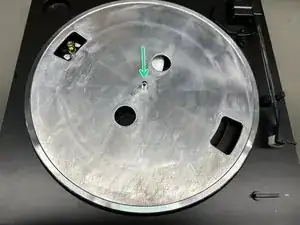
    • Remove the screw in the center of the cam gear assembly.

    • Keep screw for Step 9.

  6. evwGsskmhYUBsqqS
    • Once the screw is removed, pull the cam gear directly up to remove it.

  7. ADkhCXWg6WZNaXfG
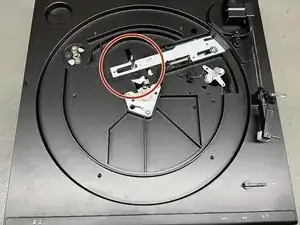
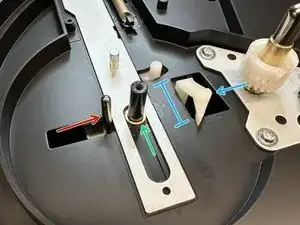
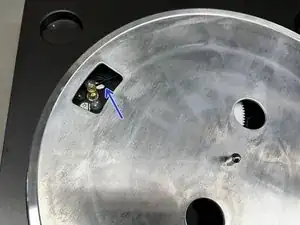
    • Position the metal shaft against the metal bar.

    • Ensure brass bushing is lying flat in between the grooves.

    • Position the white plastic part such that it is touching the hole closest to the center post.

  8. f6kQZXaHldTZJAYO
    f6kQZXaHldTZJAYO
    msWmNiJVROOHIDAK
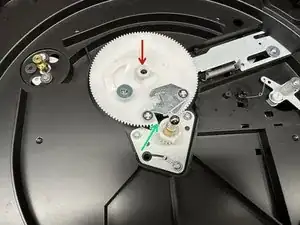
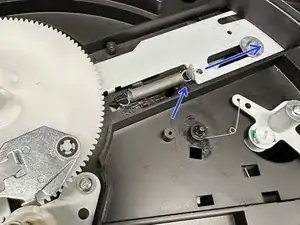
    • Place the new cam gear assembly on the center post, it will fall into place once the rest of this step is complete - DO NOT force the cam gear assembly down.

    • When the cam gear is placed, the open area of the cam gear should be facing the inner spindle as shown.

    • Locate the metal hook at the end of the spring, and gently slide it away from the cam gear until the cam gear drops into position.

  9. JYlTQBEdZv5rP3TV
    • Secure the cam gear assembly with the screw set aside from Step 5.

  10. 1IkYMeGUJAUgnXHp
    1IkYMeGUJAUgnXHp
    CRxPW6iUrtaNdRAg
    sUonhmOSpGsojqEo
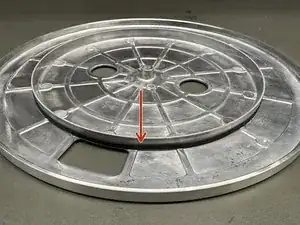
    • Flip the platter upside-down and ensure the belt is stretched around the inner ring.

    • Mount the platter back onto the center spindle.

    • Stretch the belt around the gold pulley.

    • If the belt is connected to anything except the silver platter and the gold pulley this will cause the platter to spin inconsistently.

  11. nXODPwtbDXToghwM
    • Reconnect the power source to the turntable.

  12. KDM4Zuctyn3i3ZXy
    • Place the slipmat back onto the platter, and try a record.

    • If the automatic start/stop function still does not work properly, the turntable would likely need to be sent in for repair. Please follow the instructions found in the warranty/repair section at the bottom of www.audio-technica.com

    • If you are sending the turntable in for repair - DO NOT SHIP ANY ACCESSORIES (DUST COVER, HINGES, BELT, PLATTER, SLIPMAT, OR CABLES). IMPROPER SHIPPING CAN CAUSE NON-REPAIRABLE DAMAGE TO THE TURNTABLE.

Anthony @ ATUS

Member since: 28/02/19

1075 Reputation

0 comments