Introduction
Use this guide to replace the speakers in your ASUS TUF Gaming FX505DY laptop. The speakers are vital for listening to audio on your device.
Only a Phillips size #1 screwdriver and a plastic pick (or a similar pointed object) are needed for this tutorial.
It is recommended that you keep track of the screws and remember where they should be when reassembling.
Make sure that your laptop is off and unplugged before beginning this tutorial.
-
-
Turn off the laptop.
-
Disconnect the charging cable.
-
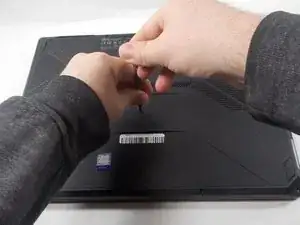
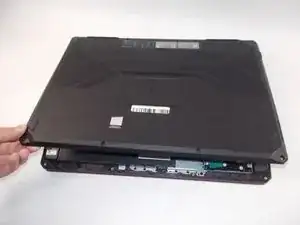
Flip the laptop so the back is facing up.
-
-
-
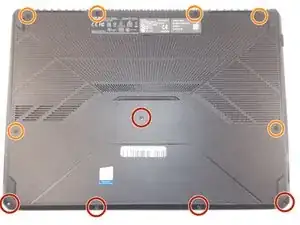
Use a Phillips #1 screwdriver to remove the five 6 mm screws that secure the back panel.
-
Use the same screwdriver to remove the six 13 mm screws securing the back panel.
-
-
-
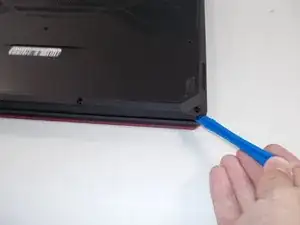
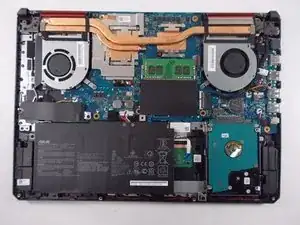
Insert the plastic opening tool at a corner and pry up along the edges, leaving the back side with the hinges for last.
-
-
-
Gently lift up the back panel to release any remaining clips on the side with the hinges and remove the panel.
-
-
-
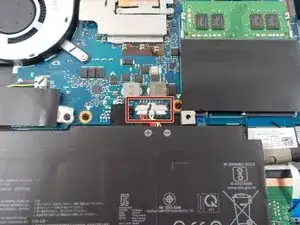
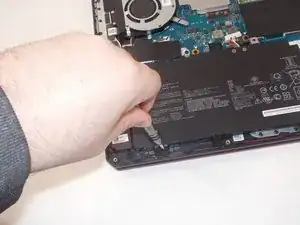
Using an ESD-safe spudger, disconnect the battery connector by pulling the plug away from its port.
-
-
-
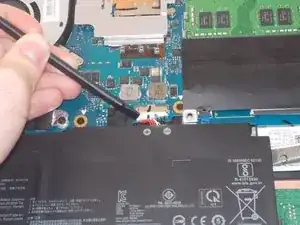
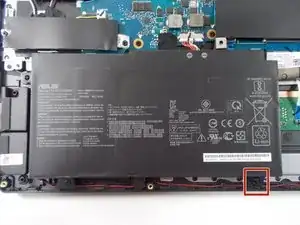
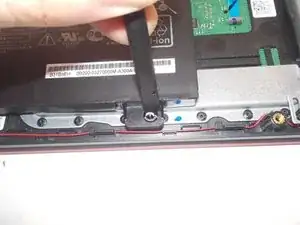
Use a spudger to pry the retaining pin into the closed position to allow the battery frame to be removed.
-
-
-
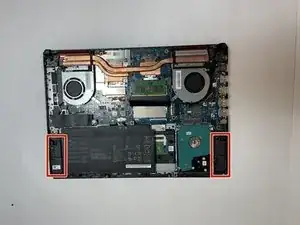
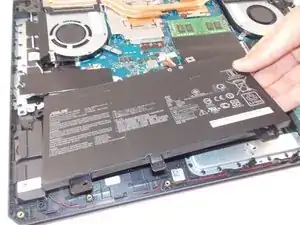
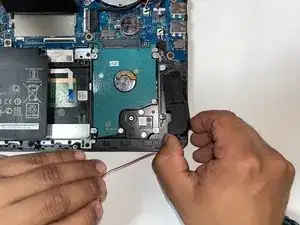
Lift the speakers from the pegs holding them down. Use minimal force as to not break the pegs or the speakers.
-
-
-
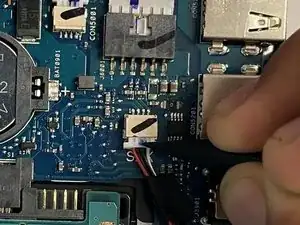
Identify the place where the speaker cable connects to the motherboard. The port should be "SPK"
-
-
-
Pull the cable off the motherboard using a plastic pick or other pointed item and remove the speakers.
-


To reassemble your device, follow these instructions in reverse order.
One comment
model for the speaker. I want to buy a replacement , which one should I buy . I cant get original.