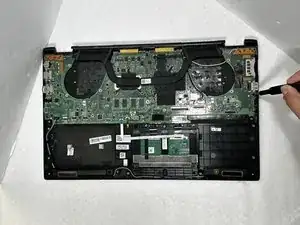
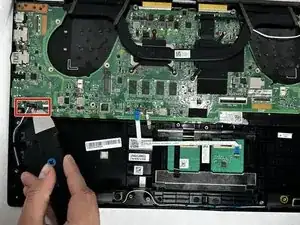
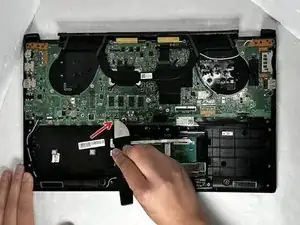
Introduction

When replacing a motherboard, it's crucial to select a compatible replacement and consider factors like form factor, chipset, and socket type. Additionally, users should ensure they have proper technical knowledge or seek professional assistance, as motherboard replacements can be complex and may require transferring components from the old motherboard to the new one.

  1. bXFlenZxmhSPiFhG
    bXFlenZxmhSPiFhG
    yIyKfQbYATaCRMnK
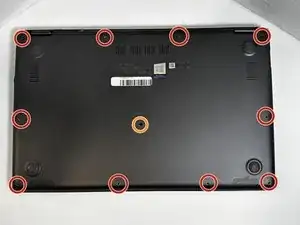
    • Remove ten 2 mm screws using a Phillips #0 screwdriver.

    • Remove the screw in the center using a T4 Torx screwdriver.

    • Use an iFixit opening tool to pry open the back panel.

    • It's normal to hear some cracking, but proceed with caution.

  2. mDQXiLZZuwVLSYIv
    mDQXiLZZuwVLSYIv
    bKDjDNJiEEnNuRVJ
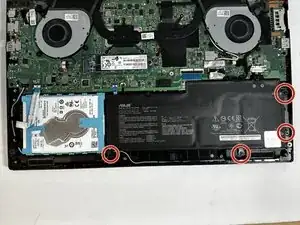
    • Remove the four 2 mm screws from the battery using a Phillips #1 screwdriver.

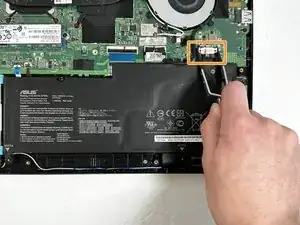
    • Detach the battery cable from the motherboard using a pair of tweezers.

  3. c1RydawonZJERCAE
    c1RydawonZJERCAE
    OqAFmVsZMBNUJQbY
    NBuQHq2xvMaNmNeU
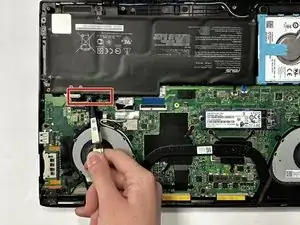
    • Unhinge the fan cable using your fingers or a pair of tweezers.

    • Remove the battery from its slot.

    • There should be no resistance from any cable wiring at this point. If there happens to be resistance, make sure to double check and confirm nothing is being pulled.

  4. ncjX3qnktNkhssfj
    ncjX3qnktNkhssfj
    SZjeXb15KAH6yVki
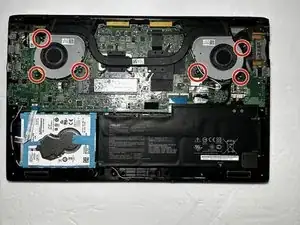
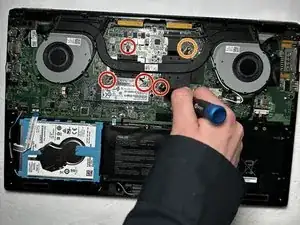
    • Use a Phillips #0 screwdriver to remove the six 2 mm fan screws.

    • Use a Phillips #0 screwdriver to remove the five 2 mm heatsink screws.

    • Warped Screw

    • Heatsink shown has warped screw, so unable to remove

  5. I3Mte1lgujgynvtt
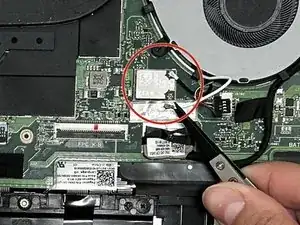
    • Disconnect white and black antennae cables.

    • Using tweezers for this would be helpful.

  6. 4Xv4pAgfnYN4vA4h
    4Xv4pAgfnYN4vA4h
    IrHJeASeG4JqGGnf
    • Disconnect fan cables pulling outwards as shown.

  7. Lq6JJNmgIWvO6hjZ
    Lq6JJNmgIWvO6hjZ
    oIOfNe3YFoQHUrEH
    OUfZOEjwTElpIBKW
    • Carefully lift heatsink upward using a Ifixit opening tool or Fingers pull fan out from under the heat sink.

    • The fan can be removed without removing the heatsink, although it may be easier to remove.

  8. AMrFxaOqWnN2Sjik
    AMrFxaOqWnN2Sjik
    CO44Aynat6iLWKo5
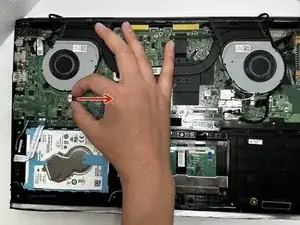
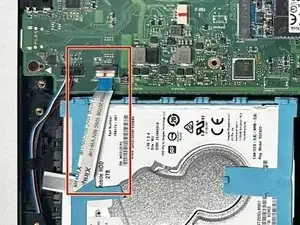
    • Disconnect the white ribbon cable from the connection lever using a Jimmy.

  9. IbUpaVBS421Wj6f1
    IbUpaVBS421Wj6f1
    SwpdDxLsKPJoACDN
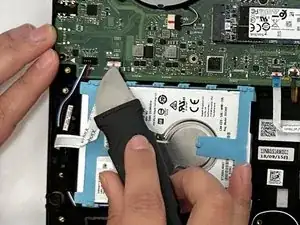
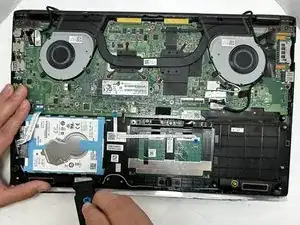
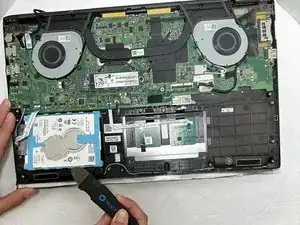
    • Using the Jimmy, lift the hard drive out of its slot.

  10. LCYZTtwvdcWBOKvu
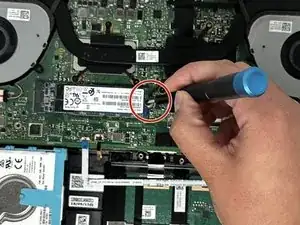
    • Remove the single 2 mm screw from the SSD with a Phillips #0 screwdriver.

  11. NXQFi1yScScqvVnf
    • Pull the SSD out of its slot.

  12. PcHNBHphHAvjnMVI
    PcHNBHphHAvjnMVI
    RCZUIMXGDwxbh3Ll
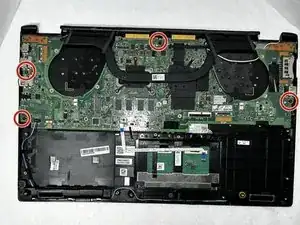
    • Use a Phillips #0 screwdriver to remove the four 2 mm screws that secure the motherboard.

  13. 6TdAWuOTGJGhclTR
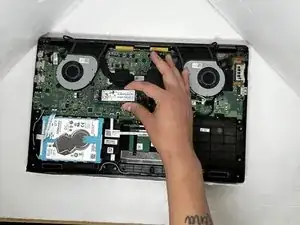
    • Using a Jimmy, pull up on power cable

  14. FCBeMsuxwNCngIQU
    FCBeMsuxwNCngIQU
    aLaRx2kpP1cPLTAB
    AheFRw6vaQfNpDHS
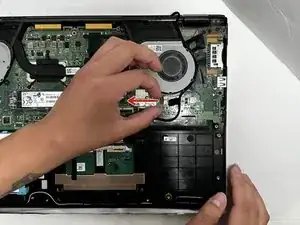
    • Using opening tool, lift up on both ribbon cable clamps, releasing the connection point.

    • Notice both ribbon cables out of connection point.

Conclusion

To reassemble your device, follow these instructions in reverse order.

Adra Ledward

Member since: 07/09/23

557 Reputation

0 comments