Introduction
Laptops may need a fan replacement to address overheating, noise, reduced performance, frequent shutdowns, error messages, physical damage. It's essential to use compatible replacement fans and follow proper installation procedures for optimal functionality.
-
-
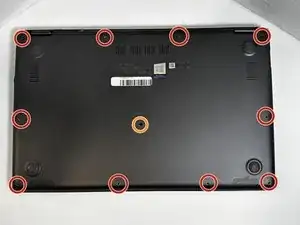
Remove ten 2 mm screws using a Phillips #0 screwdriver.
-
Remove the screw in the center using a T4 Torx screwdriver.
-
Use an iFixit opening tool to pry open the back panel.
-
-
-
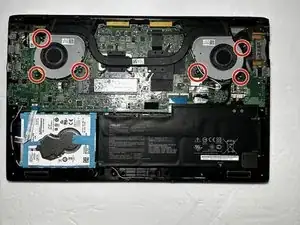
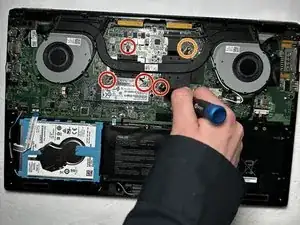
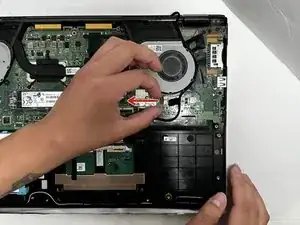
Use a Phillips #0 screwdriver to remove the six 2 mm fan screws.
-
Use a Phillips #0 screwdriver to remove the five 2 mm heatsink screws.
-
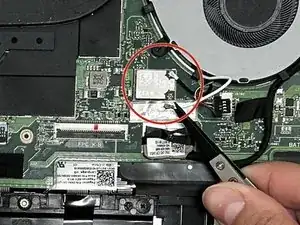
Warped Screw
-
-
-
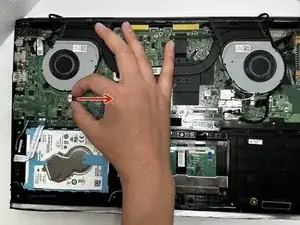
Carefully lift heatsink upward using a Ifixit opening tool or Fingers pull fan out from under the heat sink.
-


To reassemble your device, follow these instructions in reverse order.