Introduction

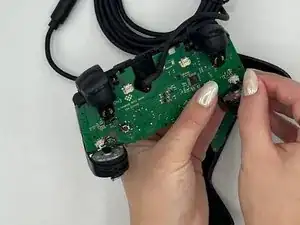
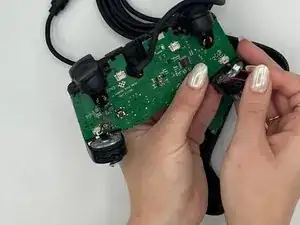
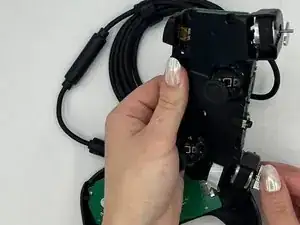
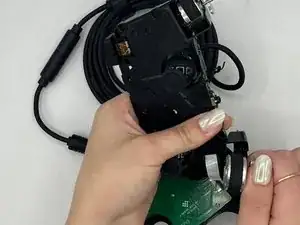
You can access the motherboard with this guide if you need to replace it. You may need to change the motherboard when it's not being listed in consolle accessories or the controller is not syncing with the xbox.

For this guide, you will need a plastic opening tool, a Phillips #0 screwdriver, a TR6 Torx Security screwdriver, and ESD-safe blunt nose tweezers (optional).

You will not need to do any difficult steps, but be careful not to damage anything when you take off the top panel. Ensure the controller is not plugged into a power source or operating system.

  1. EpfhNSPfNabITNSG
    EpfhNSPfNabITNSG
    AyxqFWy52Vdy3RuW
    wBLmTU3ZYkqRhYen
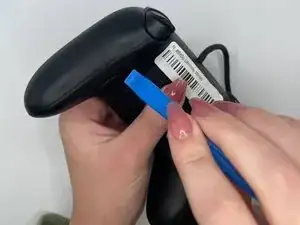
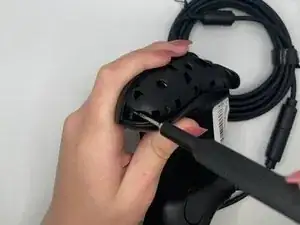
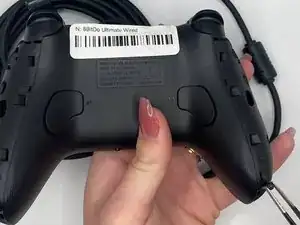
    • Orient the controller such that the back of the controller is facing you.

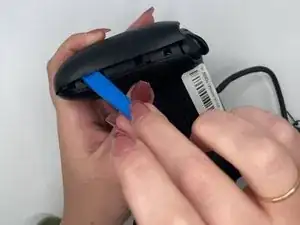
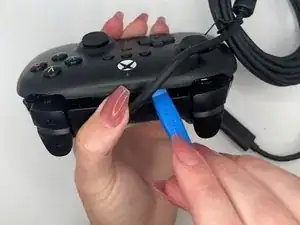
    • Insert an opening tool into the small opening on the back of the grip, and gently pry the grip cover away until it pops free.

  2. 1sTLHL3lURAZrUoK
    1sTLHL3lURAZrUoK
    pS4DFyyRnghfwnbu
    idkhDSXev5nxR1wh
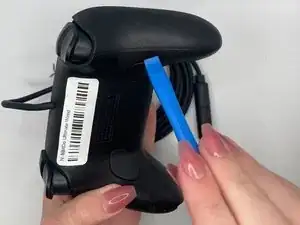
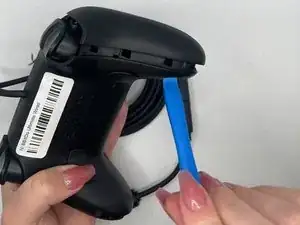
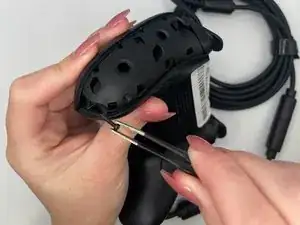
    • Pry the other grip panel off using the same method.

  3. yreWruvDteKq6hCd
    yreWruvDteKq6hCd
    yH3oUuERSsSuj154
    o6FiL3WCLRi1KMp1
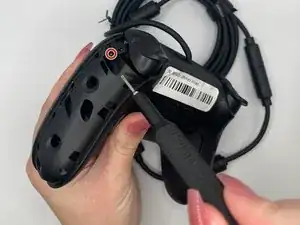
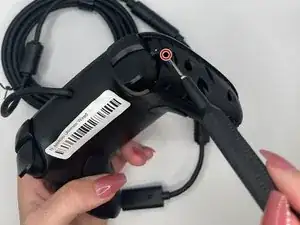
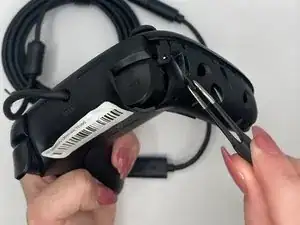
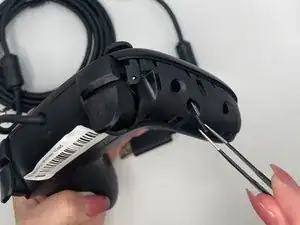
    • Use the TR6 Torx Security screwdriver to remove the top left 10.44 mm torx screw on the backside.

    • Use tweezers to remove the screws (optional).

  4. o4o5Gs5UsOAHG1SA
    o4o5Gs5UsOAHG1SA
    YDoGjfRvMD2eTvbB
    BDhfDwnE46HMgIxI
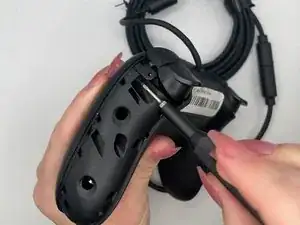
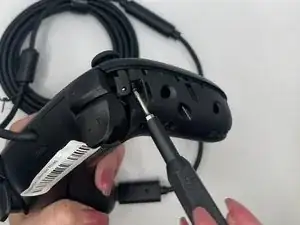
    • Use the TR6 Torx Security screwdriver to remove the middle left 10.44 mm Torx screw on the backside.

  5. ElpFTqcI2CP5RMDe
    ElpFTqcI2CP5RMDe
    vXqXHREkGAaQglOO
    EpNfqeTOfxcVZ2Oi
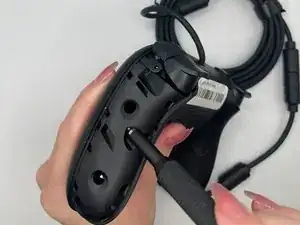
    • Use the TR6 Torx Security screwdriver to remove the bottom left 10.44 mm Torx screw on the backside.

  6. 2gNlLSHFPfXWFGCQ
    2gNlLSHFPfXWFGCQ
    OBXRNfcM6JeWyoUZ
    vPDUCv1GCOOxe1BZ
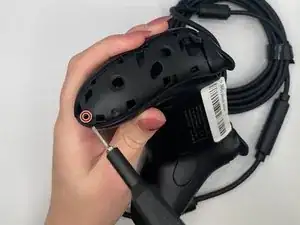
    • Use the TR6 Torx Security screwdriver to remove the top right 10.44 mm Torx screw on the backside.

  7. IZFoCCcXwdWnU2Hp
    IZFoCCcXwdWnU2Hp
    GwyKKenOxAEY5KPJ
    jSXQTvbJ6mFyUlvg
    • Use the TR6 Torx Security screwdriver to remove the middle right 10.44 mm Torx screw on the backside.

  8. ZIlQ4ZCmO1TW5Hfv
    ZIlQ4ZCmO1TW5Hfv
    nmcFtJIXPS4D3ni6
    FThI6FvYltuGwS2O
    • Use the TR6 Torx Security screwdriver to unscrew the bottom right 10.44 mm Torx screw on the backside.

  9. VpUOUoembijKvPyQ
    VpUOUoembijKvPyQ
    Rb45pwDxkSRYjHNX
    • Orient the controller such that the back of the controller is facing you.

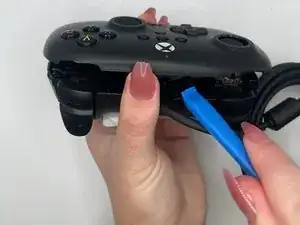
    • Insert an opening tool into the small opening between the front and back panels, and gently pry the back panel away to open the bottom clamps of the top panel of the controller.

  10. oa4ocofCDnoNculh
    oa4ocofCDnoNculh
    5tkXbHkFkCwD2YPe
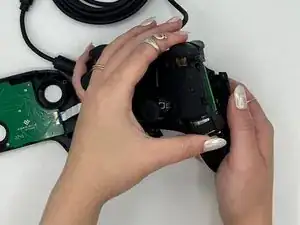
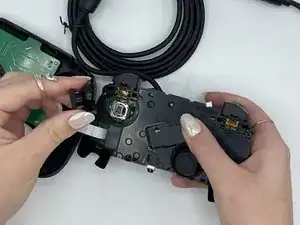
    • Insert an opening tool into the small opening between the front and back panel (top view) and pry away to remove the top half.

    • A ribbon cable connects the front and back portions of the controller.

  11. RsutJKYDxPhreGbK
    RsutJKYDxPhreGbK
    CDeFDj6Hu36XduA2
    6AIFTMRRJf1nEsoY
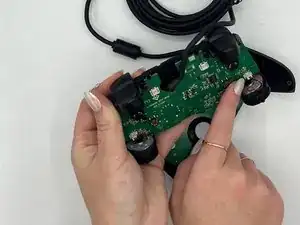
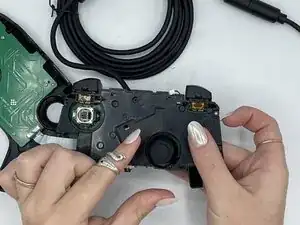
    • Pull the midframe with an adequate amount of force.

  12. eECwno3En3qOCjMJ
    eECwno3En3qOCjMJ
    gPakJV4s5IYIxvVN
    jD5W1eMkOaFwvrVZ
    • Gently pull the vibration motor connector out of its socket.

  13. plMTuQxlN13YSSRH
    plMTuQxlN13YSSRH
    ElTIaO5xgqFNav2s
    • Pull the weight out of the housing with adequate force.

  14. R4DlFnPwNjfLeWUL
    R4DlFnPwNjfLeWUL
    OkiAeY2GqWeUuDLg
    IsbmbyrBUWQbPfHS
    • Use tweezers to gently unplug the bumper on the right hand side.

  15. 4SAi3sFZOPmvUeLp
    4SAi3sFZOPmvUeLp
    qFe2iGYOce6BqJrX
    L1bjFMAQkfjyAwuC
    • Use tweezers to gently unplug the bumpers on the left hand side.

  16. CeMFVOYXkaX2TrDg
    CeMFVOYXkaX2TrDg
    4E1FL4JbO3INTEY1
    lWEHDEU5MDT3JBHg
    • Use your fingers to remove the joystick cover on the left hand side with adequate force.

  17. hY6hnC1cI3nQgUwe
    hY6hnC1cI3nQgUwe
    MhfjcIs5AkyjlZkC
    uLENXLfnYvQqXaQK
    • Use your fingers to remove the joystick cover on the right hand side with adequate force.

  18. PTOPuUUBSYUPQVbY
    PTOPuUUBSYUPQVbY
    kIE52cF2dLexdsER
    IUSR1MyNwLKifHuV
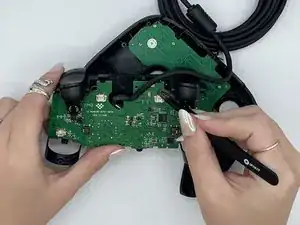
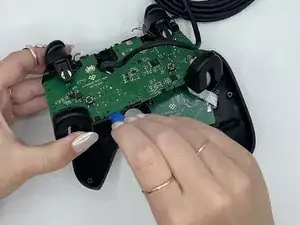
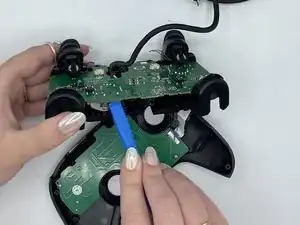
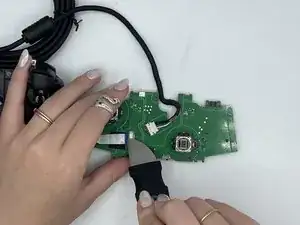
    • Use an opening tool to pry the motherboard apart from the structure of the controller

  19. s4sxyIkZflmbITDc
    s4sxyIkZflmbITDc
    X2TrG5IUfbTpsHx3
    ukIpwOJdvEdESPON
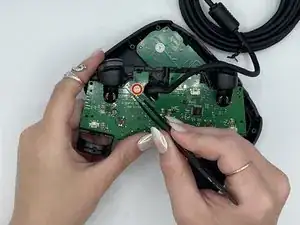
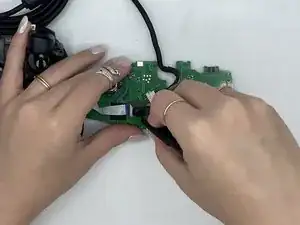
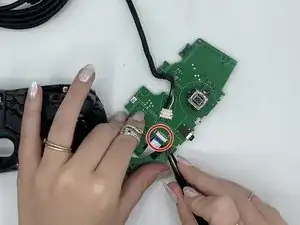
    • Use a Jimmy to open the small metal bracket (right) on the front side of the motherboard.

  20. UeHiirGvrV5EAYkQ
    UeHiirGvrV5EAYkQ
    A6TlKiPZPQxoyHBK
    RqDdFnOYxcbm4KSh
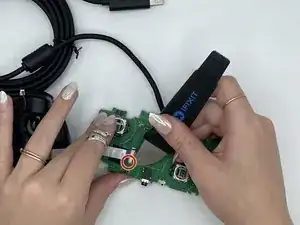
    • Use a Jimmy to open the small metal bracket (left) on the front side of the motherboard.

  21. ZRnp4IHe1YTR2XuE
    ZRnp4IHe1YTR2XuE
    WpZypmxHrqBWnjEA
    yYqnOxQTsU2tZLTK
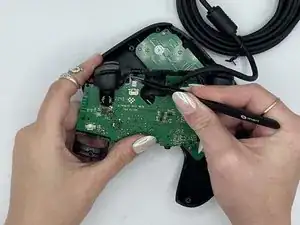
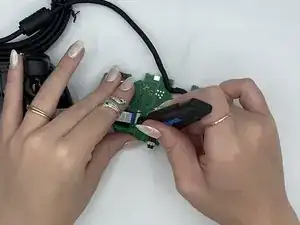
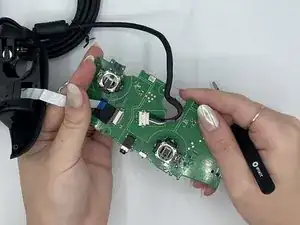
    • Use tweezers to remove the white strip from the black bracket.

  22. GBjKvNWmDZ1gWAIy
    GBjKvNWmDZ1gWAIy
    KYLLrF53HLAmn6No
    u3gQUtH4gyeQYOTV
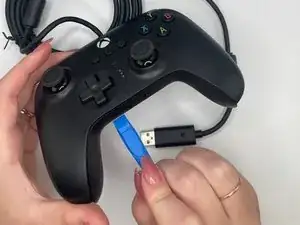
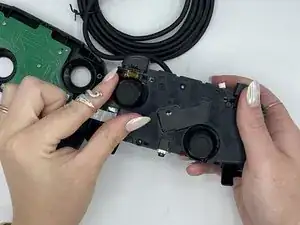
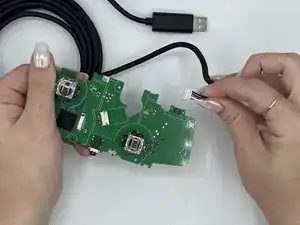
    • Use your fingers to gently remove the power cord.

Conclusion

To reassemble your device, follow these instructions in reverse order.
Sebrina Abubeker

Member since: 08/02/24

640 Reputation

0 comments