Introduction
So you've got a new shell for your 3DS XL and want your SD cover to be the same color as your device? Follow this guide to have it done in 10 - 15 minutes, with minor disassembly.
-
-
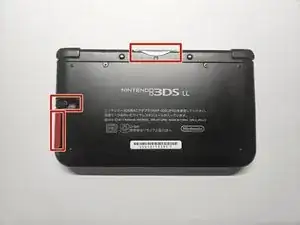
Loosen the two #0 Phillips 4.2 mm-length screws located at the top of the back cover
-
The screws have locking washers that prevent the screws from falling off of the back cover. Leave these locking washers on the screws; it is not necessary to remove the washers for this repair guide.
-
-
-
Using a plastic opening tool, pry off the cover starting at the top right corner.
-
Look for the small section below the stylus compartment. Pry off the cover at that point if it is still attached.
-
Take off the cover of the device and set it aside.
-
-
-
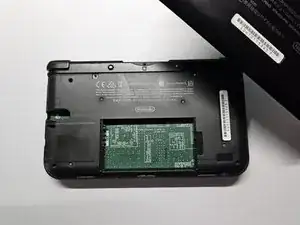
Insert the plastic opening tool into the opening located on the right side of the battery.
-
Pry off the battery from the lower casing.
-
Lift the battery out of the case and set aside.
-
-
-
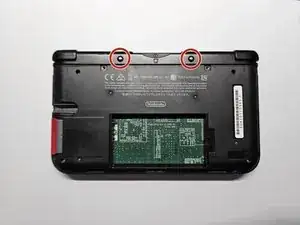
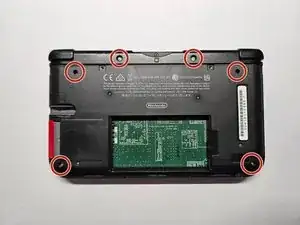
Remove the six 6.2 mm screws using a Phillips #00 screwdriver
-
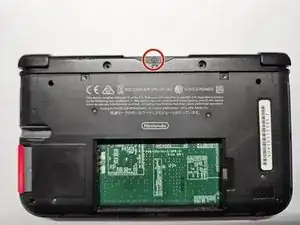
Remove the 2.3 mm screw located above the game cartridge slot with a Phillips #00 screwdriver.
-
With a plastic opening tool pry off the lower case starting at the bottom edge and working around the perimeter.
-
Two ribbon cables connect the case to the circuit board. Be careful to not pull the case too hard and rip the ribbon cables.
-
-
-
Remove the ribbon cables located underneath the left and right bumpers by prying up the base of the cables with a plastic opening tool.
-
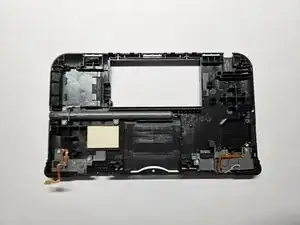
Completely remove the upper case from the rest of the device and set aside.
-
-
-
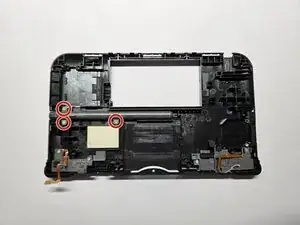
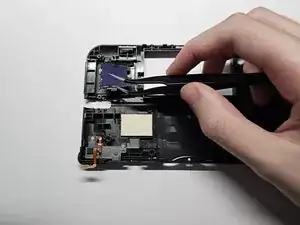
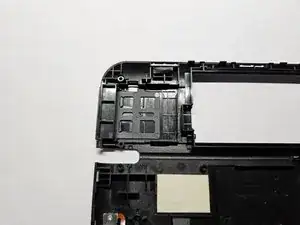
Remove the 3 golden, 2.3 mm screws located around the stylus slot with a Phillips #00 screwdriver.
-


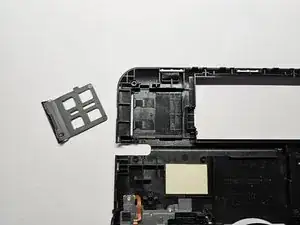
To reassemble your device, follow these instructions in reverse order.
