
Introduction
Change the oil in your Mk4 Jetta equipped with the naturally aspirated 2.0 liter engine. TDI and GLI models have different engines, and may have different procedures and requirements, such as oil capacity.
For years, 3,000 miles was the correct interval to wait between oil changes, but that is no longer the case. Conventional oil in today's engines can easily last over 5,000 miles between changes. Synthetic oils are even more durable, maintaining good engine performance beyond 10,000 miles.
-
-
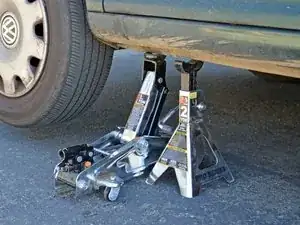
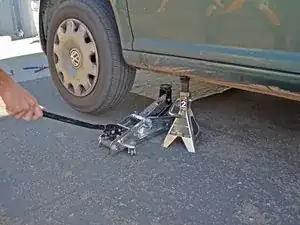
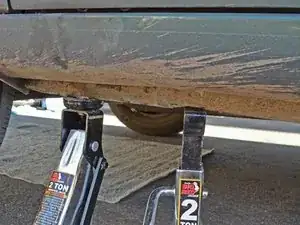
Begin jacking up the front driver's side corner of the car by placing a jack about 5" back from the front wheel cutout on the long vertical part of the frame. This is the jacking location as stated in the owner's manual.
-
-
-
Raise the corner of the car enough so that you can comfortably work underneath it.
-
Place a jack stand underneath the frame next to the jack.
-
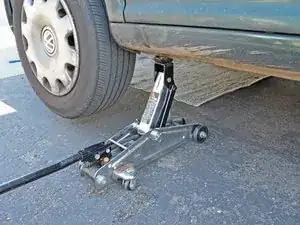
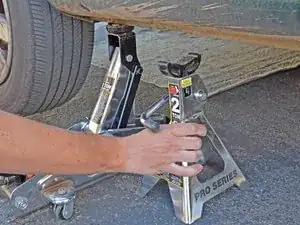
Raise the jack to the highest notch you can before it reaches the car.
-
Lower the jack so that the car is resting on the jack stand.
-
-
-
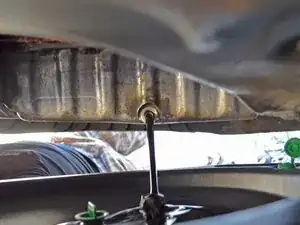
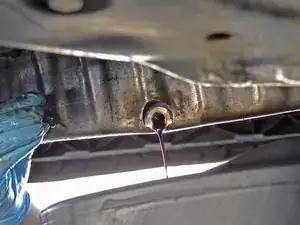
Locate the 19 mm hex oil drain plug on the backside of the oil pan.
-
Place an oil drain pan underneath the oil drain plug.
-
-
-
Use a 19 mm box end wrench or socket wrench to loosen the oil drain plug.
-
After a few full turns with the wrench, use your fingers to loosen the oil drain plug.
-
-
-
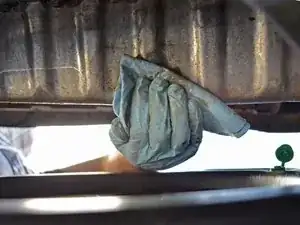
When the drain plug is completely loose, let it fall into the oil drain pan with the draining oil.
-
Allow oil to drain out of the oil pan until it slows to small drops.
-
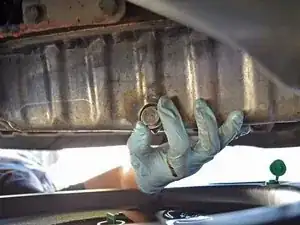
Once the draining has slowed significantly, wipe off the area around the oil drain with a rag or towel.
-
Replace the drain plug and hand-tighten it.
-
-
-
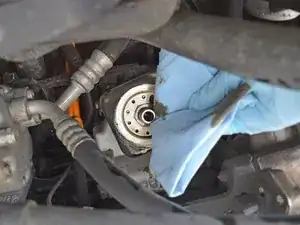
Locate the oil filter on the front side of the engine. It should be pointing downward and slightly forward.
-
Move the oil drain pan directly under the oil filter.
-
Use an oil filter wrench to loosen the oil filter by turning it counterclockwise about a quarter turn.
-
-
-
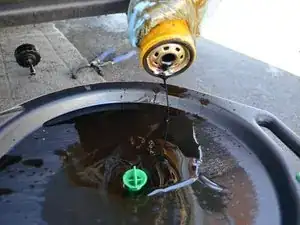
Once the oil running down the filter has slowed significantly, continue removing it by hand. There will be some oil left inside the filter, so allow it to drain completely while you continue with changing the oil.
-
Use a rag or towel to wipe off any excess oil around the filter threads.
-
-
-
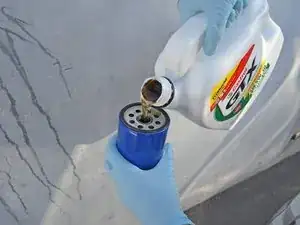
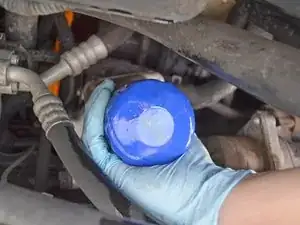
Fill the new filter about halfway full with clean, new oil.
-
Make sure when you add the rest of the oil (Step 20) that you take into account the oil added to the filter. There should be 4.5 liters total.
-
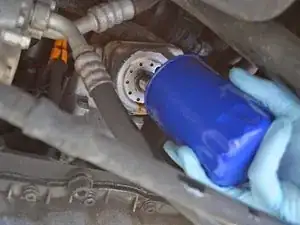
Use your finger to apply some of the excess oil evenly around the rubber O-ring. If you didn't spill any oil, dip your finger into the new container of oil instead.
-
-
-
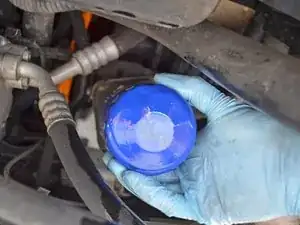
Place the new filter over the threads where the old filter was.
-
Twist the filter clockwise to screw it into place. Tighten it only until the filter is snug; do not over-tighten.
-
-
-
Place the oil drain pan back underneath the oil drain plug.
-
Remove the oil drain plug to allow the last of the old oil to drain.
-
-
-
Use a rag or towel to wipe off the area around the oil drain plug.
-
Replace the oil drain plug by first hand-tightening it.
-
Finish tightening the oil drain plug using a socket wrench.
-
Wipe off the area around the oil drain plug one more time with a rag or towel.
-
-
-
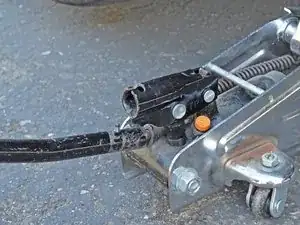
Place your jack back in the same location on the frame you used to jack up the car. Raise the jack until it touches the jacking point on the frame.
-
-
-
Jack the car up so that it is no longer resting on the jack stand.
-
Use the handle on the jack stand to lower it and remove the jack stand from underneath the car.
-
-
-
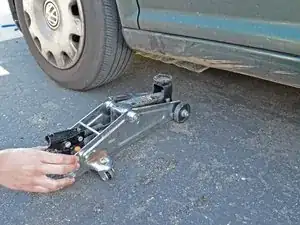
Slowly lower the jack completely so that it is no longer supporting the car.
-
Slide the jack out from under the car.
-
-
-
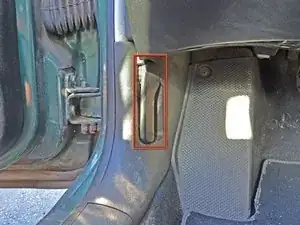
Open the driver's side door and locate the hood-release lever.
-
Pull the lever until you hear the hood click open.
-
-
-
There should now be a black lever with a red arrow protruding from under the hood.
-
Use one hand to pull the lever straight forward while using the other to lift the hood.
-
-
-
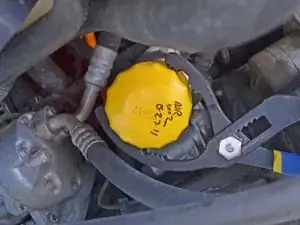
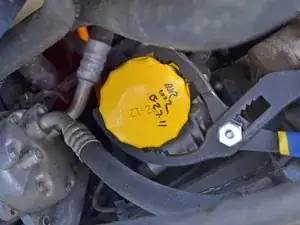
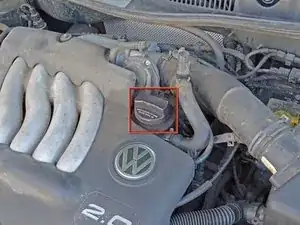
Locate the oil filler cap on top of the engine.
-
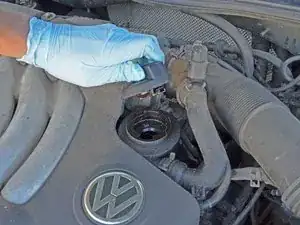
Twist the cap counter-clockwise one quarter turn and remove it.
-
-
-
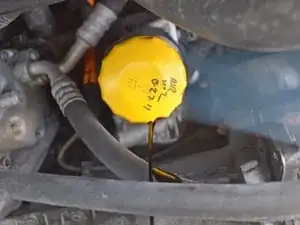
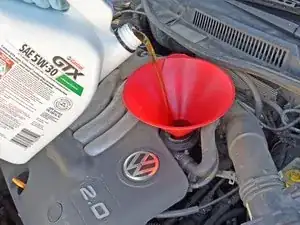
Wipe down the area around the filler cap with a rag or towel to remove any oil or debris.
-
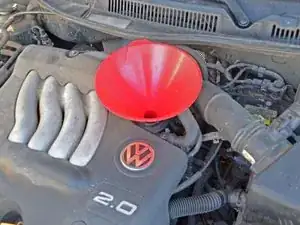
Place a funnel into the filler hole to reduce the chance of spilling.
-
-
-
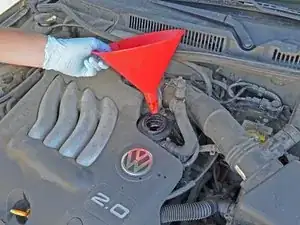
Time for the part we've all been waiting for! Let's add some oil.
-
Pour 4.5 liters (4.75 quarts) of 5W-30 oil into the funnel. This is 4.5 liters total remember that you already added some into the oil filter.
-
Remove the funnel and replace the filler cap by turning it a quarter turn clockwise.
-
-
-
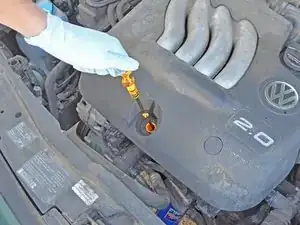
You're almost finished! But before you drive away, you should check to make sure you have the right amount of oil. Locate your yellow dipstick at the front of the engine and remove it.
-
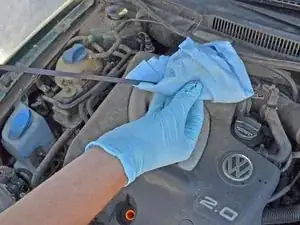
Wipe the dipstick down with a rag or towel to completely remove all oil so you can get a good read.
-
Reinsert the dipstick all the way.
-
-
-
Remove the dipstick again.
-
The bent length at the end of the dipstick marks the minimum and maximum oil levels. Check to make sure that you have the right amount of oil. It takes about one quart to go from minimum to maximum.
-
Before driving anywhere, start the car and let it run for a couple minutes. While the engine is running, check underneath the car for any oil leaks. If oil is dripping from the drain plug you should first check for any cracks in the drain pan. If there are no cracks, you can turn off the car, and tighten the drain plug. Also, check again that the oil level has not gone outside the limits while the car was on.
-
-
-
Allow 12-24 hours for all of the oil to drain out of the old oil filter.
-
Take your old oil and filter to a recycling facility. Most auto parts stores and repair shops accept these at no charge to you. In addition, some cities and/or counties have a service where they will collect used oil and filters from your home. For more information, see the American Petroleum Institute's web page on used motor oil collection and recycling.
-


11 comments
Thanks for the article it help me a lot
Be careful on step 22, to much oil on this picture.
You need to be on the top of the bent length, NOT ABOVE.
Pat -
The stick is stained above the top bend. It doesn’t have oil coating the stick, so it is perfectly fine in the picture. Not too much.
22 ft-lb of torque when tightening the oil plug, per the Bentley manual. I used to just tighten it until I thought it was decently snug, but always had leaks. 22 ft-lb works well.
John -