Introduction
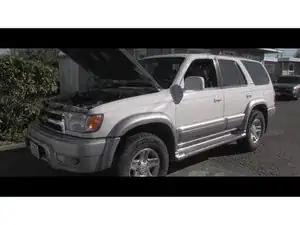
Follow this video guide to replace the oil and oil filter on a 1995-2002 3rd generation Toyota 4Runner.
-
-
Make sure the engine oil is hot so it can flow out of the engine easily
-
Either drive the vehicle or run the engine for about 5 minutes before starting the oil change.
-
-
-
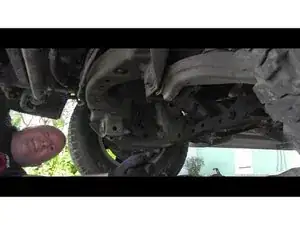
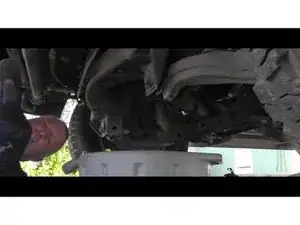
Begin with removing the steel guard from underneath the vehicle
-
Start by removing the three 12mm socket bolts located at the front of the guard.
-
-
-
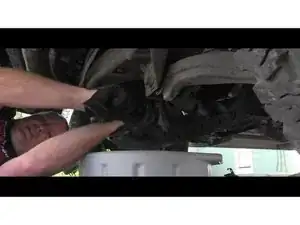
Remove the rear bolts, but the steel guard will not fall off because it has hooks attached to the front frame.
-
-
-
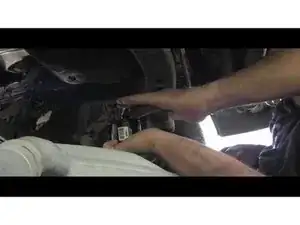
With the steel guard removed, locate the engine oil pan and use a 14mm socket wrench to remove the drain plug.
-
-
-
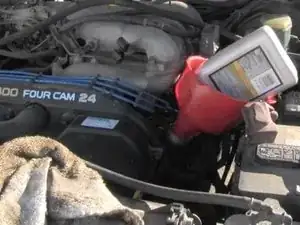
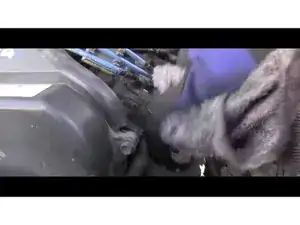
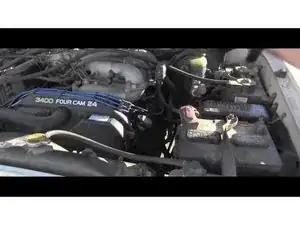
Open the filler cap located in the engine bay, which should indicate the required oil type (5W30)
-
Clean the area around the cap and remove it, but place it back loosely to prevent any dirt from falling into the engine.
-
-
-
Allow the engine oil to drain for an extended period, such as 30 minutes, to ensure maximum oil removal.
-
-
-
Remove the old engine oil filter by reaching it from the front and coming around the lower radiator hose
-
If the filter is not overtightened, you should be able to remove it by hand.
-
-
-
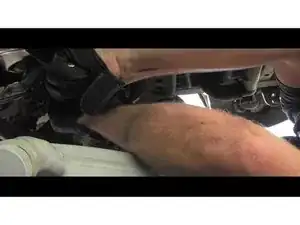
Reinstall the drain plug with its washer and tighten it using the 14mm socket wrench
-
Be careful not to overtighten it, as it could damage the threads on the oil pan
-
The torque for the drain plug is 33 foot-pounds if you want to use a torque wrench.
-
-
-
Fill the engine with the recommended 5W-30 engine oil using a funnel
-
Add 4 quarts initially, then gradually add more while checking the dipstick to avoid overfilling.
-
-
-
Fill the engine with a total of 5.5 US quarts of engine oil, as specified in the manual for an oil change with filter replacement.
-
-
-
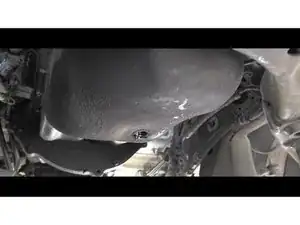
Reinstall the steel guard using the 12mm socket wrench, making sure to apply anti-seize to the bolts for easy removal in the future.
-


To reassemble your device, follow these instructions in reverse order.