Introduction
Follow this guide to replace the front and rear wiper blades on a 3rd generation Toyota 4Runner. Windshield wipers should be replaced every year, but this interval can vary based on a variety of factors such as usage, weather conditions, age, performance, and routine maintenance of the wiper blades.
Signs that your wiper blades need to be replaced are visible streaking or smearing in the windshield when using the windshield washer fluid or when there is rain, a squeaking sound when in use, or are visually worn out or damaged. Before completing this guide, make sure you have the proper tools and parts to complete the replacement of the wiper blades that is listed in this guide. This is a quick step-by-step guide on how to replace the front and rear wiper blades on a 3rd generation Toyota 4Runner.
Tools
Parts
-
-
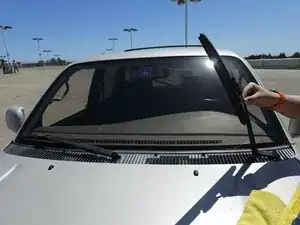
Get your wipers in the service position by lifting the wiper arm up until it stands on its own.
-
-
-
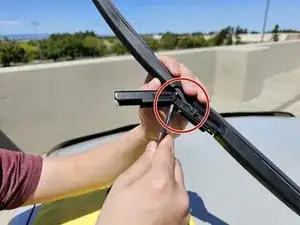
Firmly grasp the wiper blade and pull the wiper blade towards the car.
-
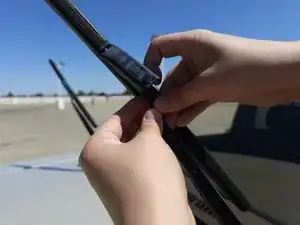
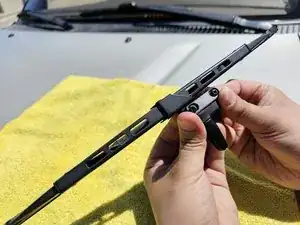
Turn the wiper blade 90 degrees so that it is perpendicular to the wiper arm.
-
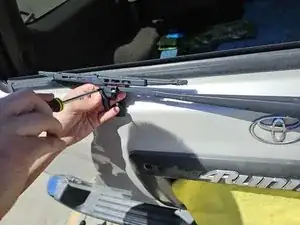
Pull the wiper blade away from the wiper arm.
-
-
-
Lift the wiper arm from the down position back into the service position.
-
Insert the wiper arm perpendicular to the wiper blade in the hole.
-
Insert the J-hook into the wiper blade.
-
Turn the wiper blade so that it is parallel to the wiper arm.
-
Firmly grasp the wiper blade and shift it away from the wiper arm until you hear an audible click that confirms that it is secured.
-
-
-
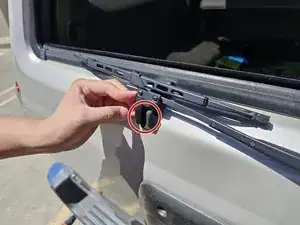
Remove the two Phillips screws from the rear wiper assembly.
-
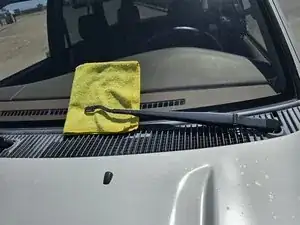
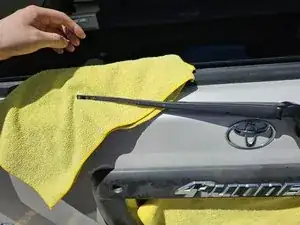
Place a towel underneath the wiper arm.
-


Replacing your wiper blades following the steps outlined in this guide is a simple yet crucial maintenance task to ensure optimal performance and safety on the road. By regularly inspecting and replacing worn-out blades, you can maintain clear visibility and confidence in various weather conditions, ultimately enhancing your driving safety.
