Introduction

If you are experiencing poor braking performance or a noise when braking, then it may be time to replace the front brakes.

Follow this video tutorial by YouTuber Steve Conant to complete the replacement yourself.

Safety

If this is your first time working on a vehicle read our safety tips before proceeding.

  1. LoEG1sL2dEwRsCMP
    • Loosen all six lug nuts on the passenger side wheel before jacking up the vehicle .

  2. uZHieqYV1AdNtoDU
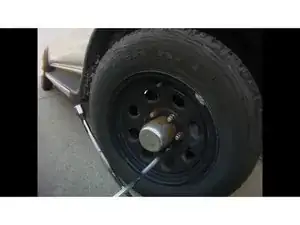
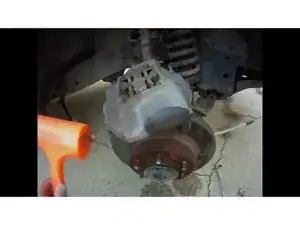
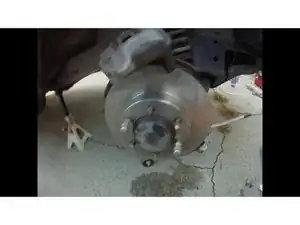
    • Use a floor jack to lift up the passenger side of the vehicle at the jacking point recommended by the manufacturer, right underneath the front suspension .

  3. jZBLAcW1i1JxUjCQ
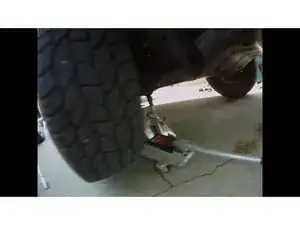
    • Place jack stands next to the jacking point and another one as a safeguard back on the frame .

  4. ZnSeMrH5BPfTwtm3
  5. hxwFVKIqNurSmGXN
    hxwFVKIqNurSmGXN
    vycN5TfWFZyP6iQ6
    MBFpGIMAJmRCAbfV
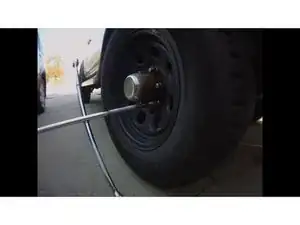
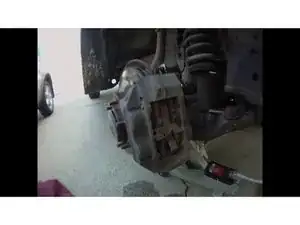
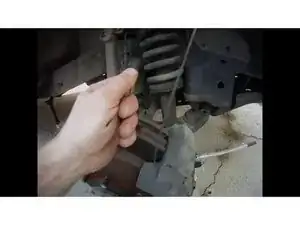
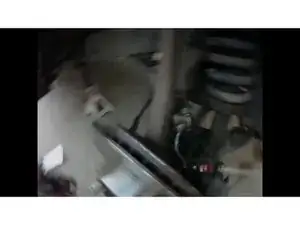
    • Spray Liquid Wrench or WD-40 on the two 17mm bolts holding the brake caliper in place

    • These bolts are located behind the caliper .

  6. hCplecVCQV3tCHZ1
    hCplecVCQV3tCHZ1
    3nHOcbsoqfJZHXoB
    f2Ll6OKxZ3pI3Sps
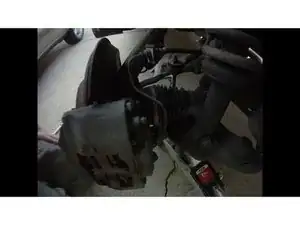
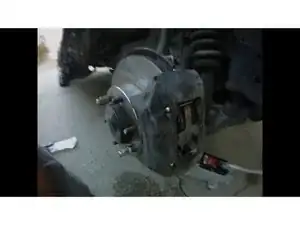
    • Use a torque wrench to break the 17mm bolts free, then switch to a socket wrench to remove them completely .

  7. gBTDlAdehRwZwr3g
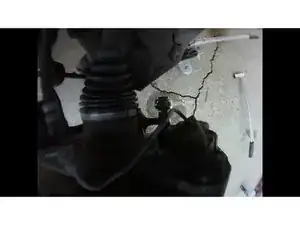
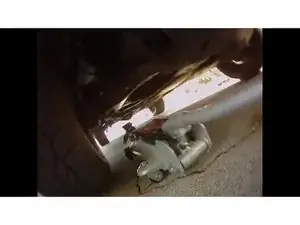
    • Pop the clip that holds the hard brake line to the soft brake line out using a hammer and flathead screwdriver .

  8. RfdjZtPeukqWPfm1
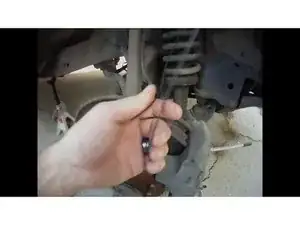
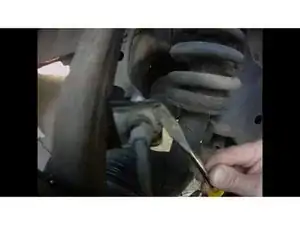
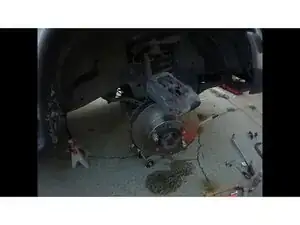
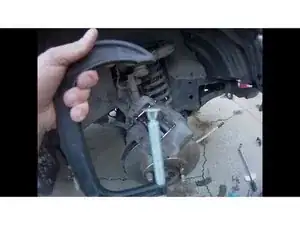
    • Use bailing wire to hang the brake caliper out of the way, ensuring it is not hanging on the brake line .

  9. nGkJNrioEN1AYlN2
    • Remove the old rotor

    • If it is stuck, use a dead blow hammer to knock it loose .

  10. XPUaItKohXJIUrnw
    • Install the new rotor and secure it in place using two lug nuts to align it correctly .

  11. ZMQT12rKvZTmLIXH
    ZMQT12rKvZTmLIXH
    RVyGDwNDRPn4RqHj
    qBgNnIgpBakHNKxo
    • Remove the pins holding the old brake pads in place and take out the old pads .

  12. Xy3SdLje4CtKVZSR
  13. CCXQFFnSMRd2wBVP
    • Install the new brake pads and grease the new pins before sliding them into place .

  14. nOER1qEiWCYYF35e
  15. GdcnswJFKtTifxFc
    GdcnswJFKtTifxFc
    RMSYcap6wwKUxPt2
    • Remove the two lug nuts used to align the rotor and put the wheel back on .

  16. RYgPViWbjoVyta5M
    • Once the vehicle is on the ground, further tighten the lug nuts to ensure they are secure .

Conclusion

To reassemble your device, follow these instructions in reverse order.

eCuration

Member since: 19/05/17

445981 Reputation

0 comments